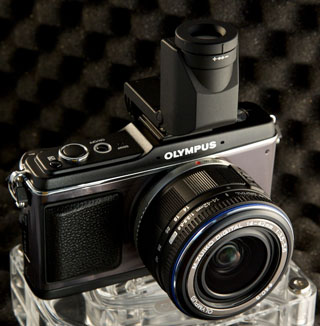
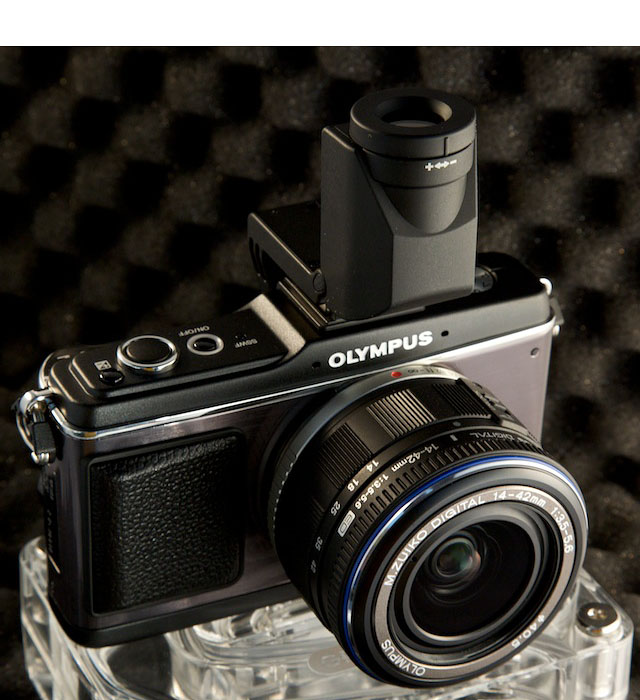
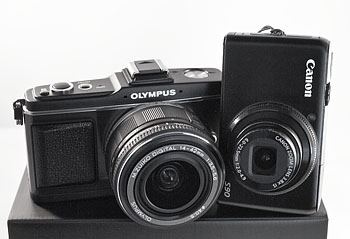
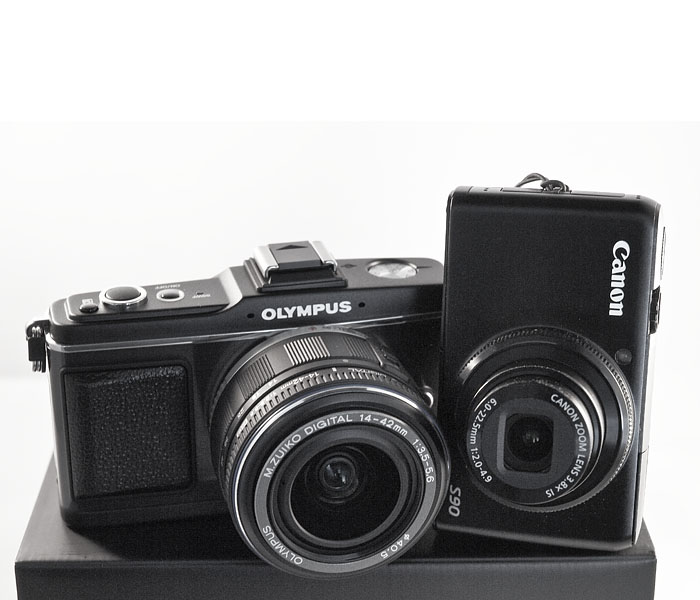
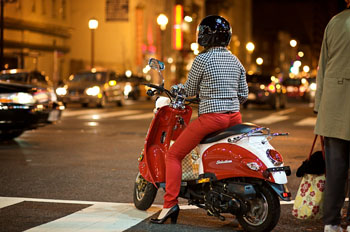
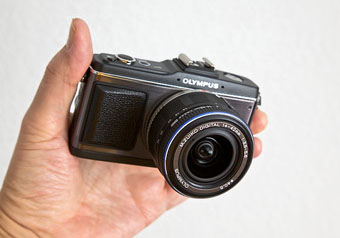
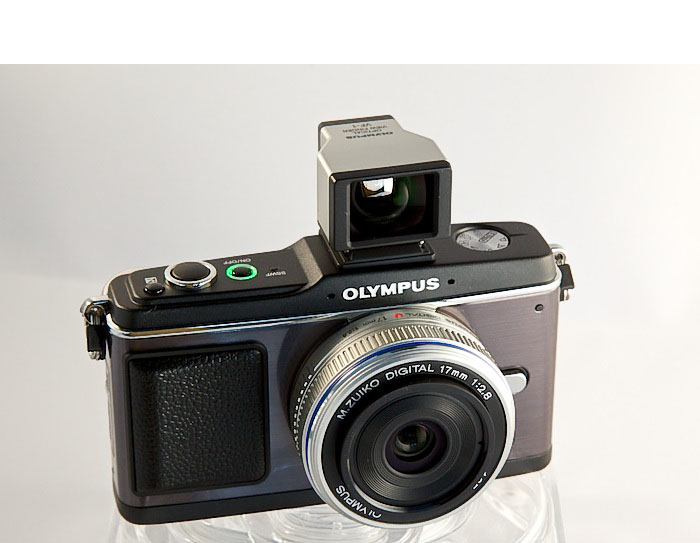
Olympus placed a sizable bet that four features would carry the new E-P2: the black metallic body, continuous autofocus tracking, EMA-1 microphone adapter, and the VF-2 Electronic Viewfinder. So, today, I'm going take a look through the VF-2 and tell you what I see.
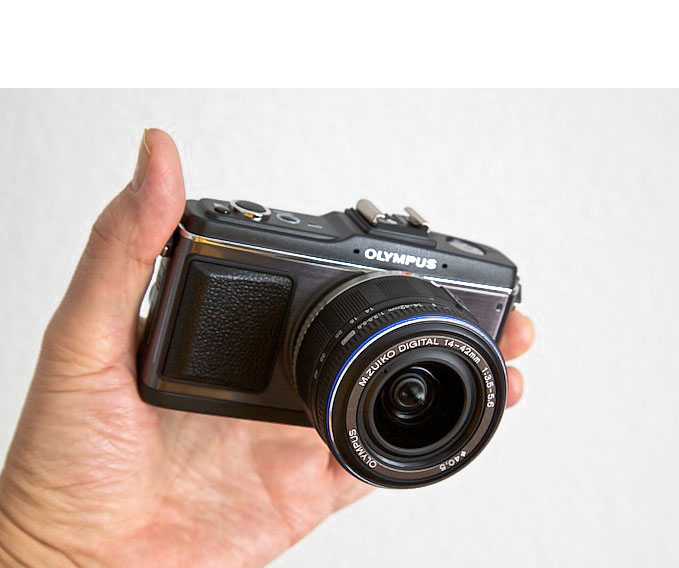
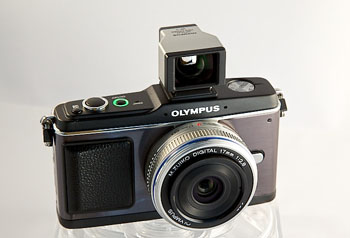
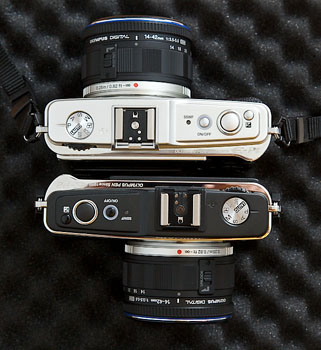
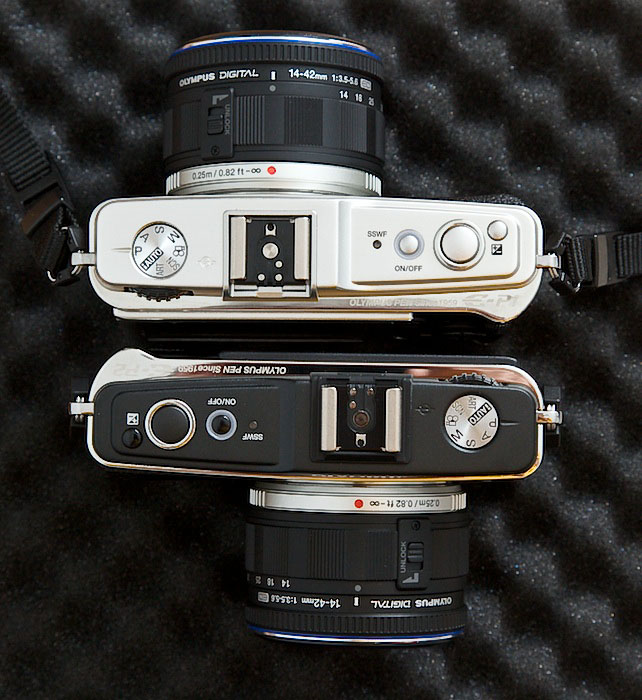
Let's start with the physical aspects. The VF-2 does add height to the camera. Without the viewfinder attached, the E-P2 is 2.75 inches (30mm) tall. When you mount the viewfinder in the hot shoe, the height of the camera increases to 4.25 inches. The VF-2 communicates with the camera through a data port on the back of the hot shoe. Keep in mind that the Olympus E-P1 does not have this data port, so the electronic viewfinder can only be used with the E-P2. It's easy to mount because all you have to do is slide it in the hot shoe and everything lines up nicely. The VF-2 is very light and it comes with a pouch to protect it when not in use.
The viewfinder is mounted with a hinge that enables you to rotate it upward as far as 90 degrees. So if you want to shoot at a lower angle, you can look down into the VF-2 to compose your shot and operate the controls. This feature adds a lot of versatility to the handling of the E-P2.
The electronic viewfinder is very responsive as you zoom through the range of the 14-42mm lens, providing virtual realtime composition. The refresh rate is decent, normal for an electronic viewfinder. If you pan quickly in any direction, there's a slight blurring during the pan, but the image becomes crisp the instant you stop.
Once thing to keep in mind with the VF-2 is that is comes with the camera. When you buy the Olympus E-P2 for $1,099, it's included in the kit with the 14-42mm lens. Now that doesn't mean that you have to use the electronic viewfinder to take pictures. When it's not mounted, the camera behaves as you would expect. The 3-inch, 230,000 dot LCD lights up ready for you to compose your shot.
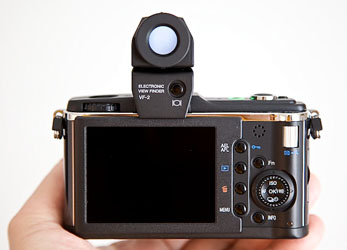
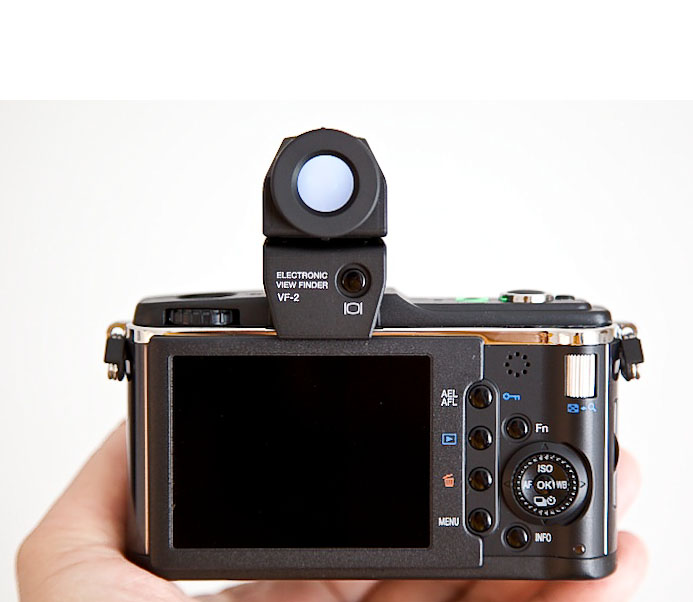
When you slide the VF-2 into the hot shoe, it remains inactive until you turn it on using the button on the back. This switches the image signal from the LCD to the VF-2. You can't have both on at once. It's one or the other. But the camera does remember which one you used last when you power down. So if you were using the VF-2 when you turned off the E-P2, it would be active when you powered back up. Same goes for the LCD.
Looking through the electronic viewfinder is fun. It's bright and sharp. You can adjust the diopter ring around the eyepiece to fine tune the image for your vision. It has a long eye relief so you can use it while wearing glasses and still see the image corner to corner. When it's bright outside, the VF-2 is a welcome relief compared to trying to discern the image on the LCD. When the lights are low, it brightens up the scene making it easier to compose.
If you're used to judging exposure off the LCD, however, then the VF-2 might throw you for a curve because it does brighten up the composition. I recommend that you switch to the LCD temporarily by pushing the VF-2 button, judge your exposure, then switch back to the viewfinder. Another route to go is to press the Info button on the back of the camera to enable the live histogram. It looks great in the VF-2, and it's a more accurate way to judge exposure.
You can use the VF-2 for anything that you would use the LCD for. Menus are crisp and easy to read. Looking at your images via playback is like viewing them on a small, sharp TV screen. And since the VF-2 is removable, you can stash it in your pocket or camera kit when you want to keep a low profile, such as shooting with the 17mm lens and the LCD.
How often you use the electronic viewfinder will depend on your shooting style. In my case, I found it very helpful outside in bright light and for low angle photography. It seems easy on the battery, so there might be some savings there compared to leaving the LCD on all of the time. And when you mount it on the E-P2, it's quite secure. So you don't have to worry about it sliding off the camera. If you decide that the VF-2 Electronic Viewfinder just isn't your cup of tea, you can go with the Olympus E-P1, and save yourself $300. Both options give you a quality micro four thirds camera.
More on the Olympus E-P2
Olympus E-P2 Black Body and Electronic Viewfinder
 Follow me on Twitter
-

 Now Available! The Digital Photography Companion. The official guide for The Digital Story Virtual Camera Club.