When you look at the new DSLR Video Fastpack, you see a next generation backpack that's evolved from the original (and popular) Fastpack. With the current model, Lowepro has updated both the design and function. The official announcement is just days away. But I've been using a test model for nearly 3 months, and I'm going to show you some of the features that have impressed me.
Mobility Redefined
- Clever Fastpack Access that combines easy entry for your gear when you need it, yet allows you to keep it protected and organized during transport.
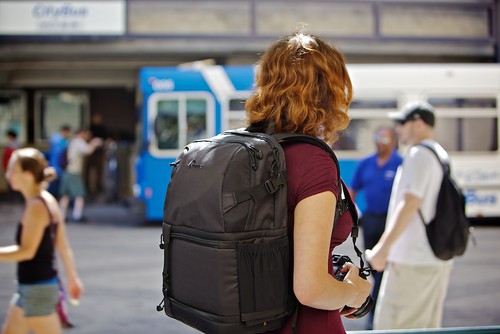
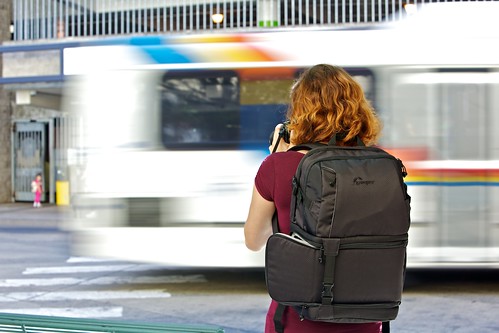
- Lightweight, Stylish Design that doesn't attract attention in urban settings. Even the Lowepro logo is stitched with black thread to downplay recognition.
- All Weather Cover that is stored in the bottom of the pack, but can be quickly deployed to cover the entire bag in just seconds. Helps protect gear from the elements.
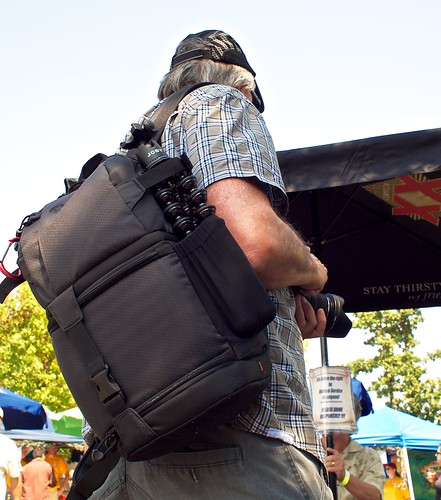
- Side Mount Tripod Holder that accommodates tripods, monopods, or DSLR video rigs.
- Built-in Laptop/Tablet Sleeve that provides quick access to your computer, yet protects it when not in use.
- Well-Designed Storage Compartments to keep both camera gear and personal items neatly stowed.
- Audio Organizer Pouch to tame those cords from microphones and the rest of your sound gear.
- Hide Away Hip Belt Storage for you when don't need the hip belt and want it out of your way.
 DSLR Video Fastpack 250 AW with Quick Access Open
What Makes it a Fastpack?
All three models (150, 250 & 350) provide side access to your camera. Here's how to best take advantage of this feature. First, loosely buckle the hip belt so you have a few extra inches of room around your waist. Then slide the top strap off your right shoulder, and swing the bag around to your front from the left side. Open the side zipper compartment and retrieve the camera. The hip belt will keep the pack attached to your body, even if the other shoulder strap slides off. Once camera is in hand, swing the pack around to the back again so it's out of your way while shooting. This entire procedure takes only seconds. The outer security strap will keep the rest of your gear in place during this process.
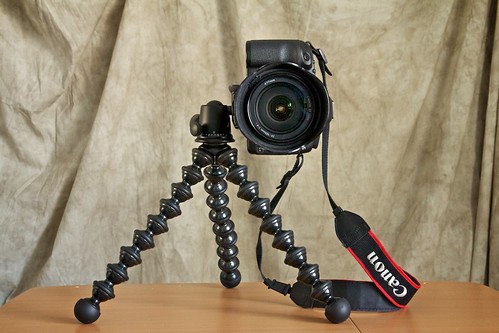
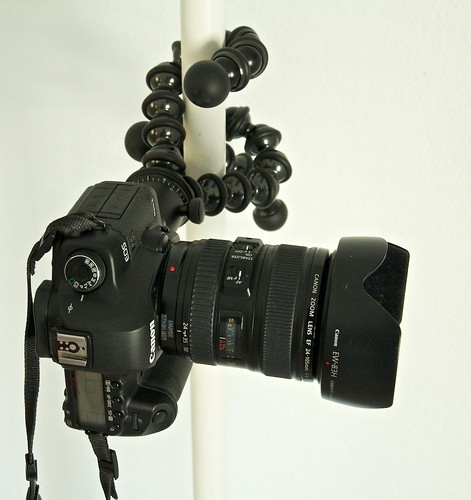
DSLR Video Fastpack 150 AW with Tripod
Side Mount Tripod Holder
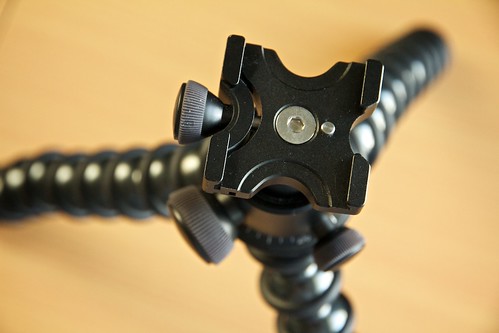
For portable tripods, such as the Joby Gorillapod Focus, you can use the side mesh pocket with top side strap to secure it during transport. For larger tripods and video rigs, pull out the tripod cup that's stashed behind the mesh pocket. When you're not using it, it hides neatly away behind the mesh pocket.
 Camera Compartment for DSLR Video Fastpack 150 AW
Choosing the Right Size Bag for your Gear
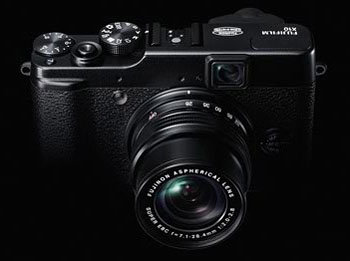
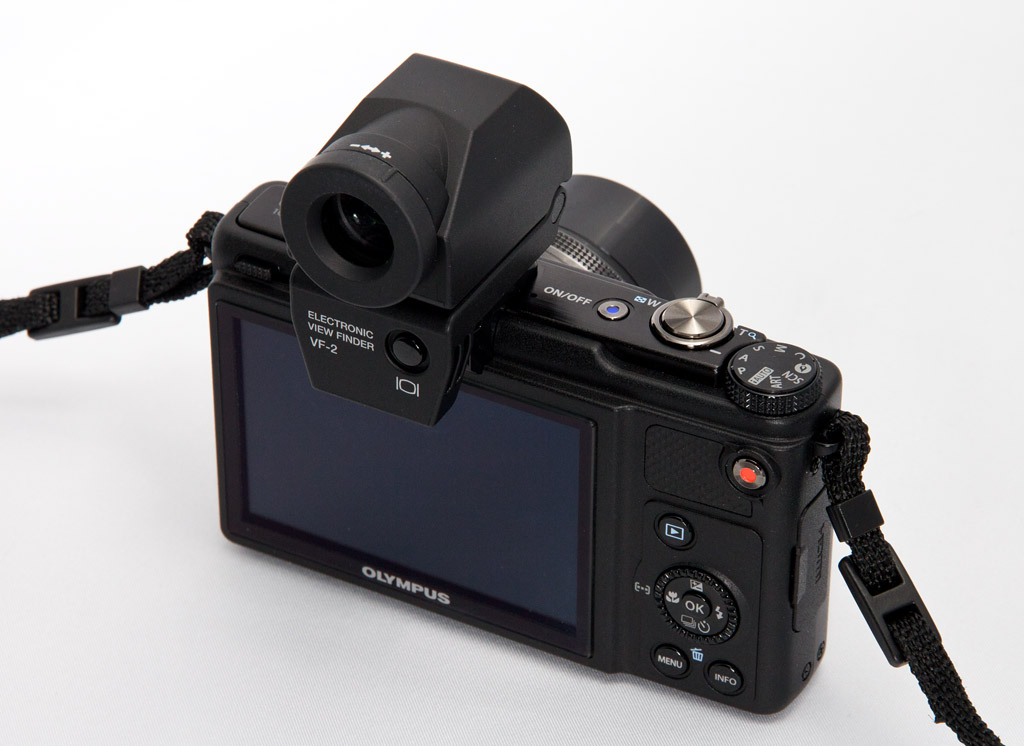
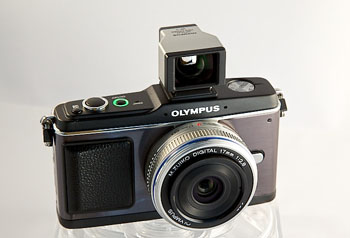
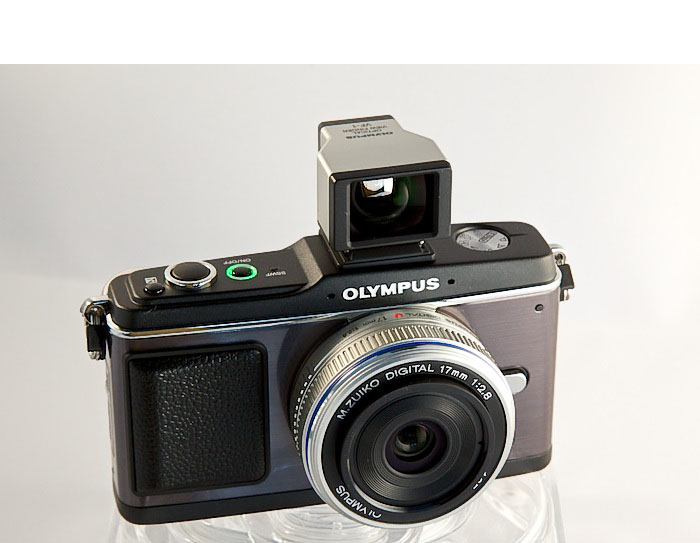
Nimble photographers should be well-served with the DSLR Video Fastpack 150 AW. It secures up to a 13" laptop or table. I've been using it with both a MacBook Air and an iPad with room to spare. The camera compartment will hold up to a Canon 5D Mark II (no grip) with 24-105 f/4 zoom (as shown above). I've been toting the Canon 60D with 15-85mm zoom (closer to the gear Lowepro recommends for this bag), plus a Canon 320 EX flash (left side) and an Olympus PEN with 17mm f/2.8 lens (right side). If needed, I can store additional lenses or another compact camera in the top personal compartment.
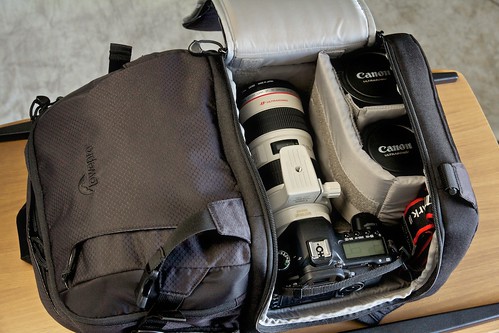 Camera Compartment for DSLR Video Fastpack 250 AW
For event coverage and bigger jobs, the DSLR Video Fastpack 250 AW holds more gear. For computer, it accommodates up to a 17" laptop. In the camera compartment I reconfigured the dividers so I could store a Canon 5D with a 70-200mm f/2.8 zoom attached to the body. It looks like there's enough head room for a grip also, but I wasn't able to test that. I also had room for the 16-35mm f/2.8 and 24-105mm f/4 zooms.
As I mentioned earlier, I did rearrange the dividers for this set up. Lowepro provides you with a stock configuration when they ship the bag, but you're not limited to that. For my set up, I removed the right divider, took the left divider, turned it around and placed it on the right side to hold the 16-35 and 24-105. This is a perfect set up for event photography, allowing me quick access to the 5D Mark II with the 70-200mm f/2.8 attached. For different gigs, I might move the dividers around again.
If you have tons of gear, you can fill up the DSLR Video Fastpack 350 AW. I didn't have one for testing, so we'll have to wait for the official announcement to see the specs for it.
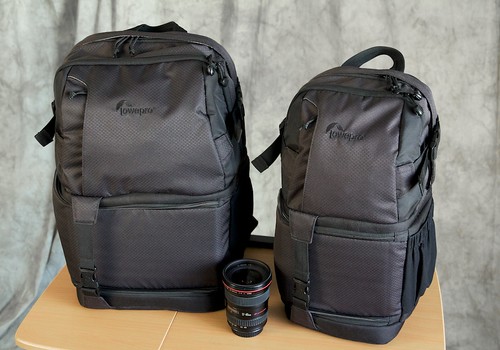 Fastpack 250 and 150 Side by Side
Pricing and Availabilty
We should see an official announcement from Lowepro as early as Oct. 3 with pricing information and availabilty. From what I understand, the pricing will be very competitive. If you're attending PhotoPlus Expo on Oct. 27-29 in New York City, you can see the bags in person at the Lowepro booth.
In addition to his other photography pursuits, Derrick Story serves as the Photography Evangelist for Lowepro.
The Digital Story on Facebook -- discussion, outstanding images from the TDS community, and inside information. Join our celebration of great photography!
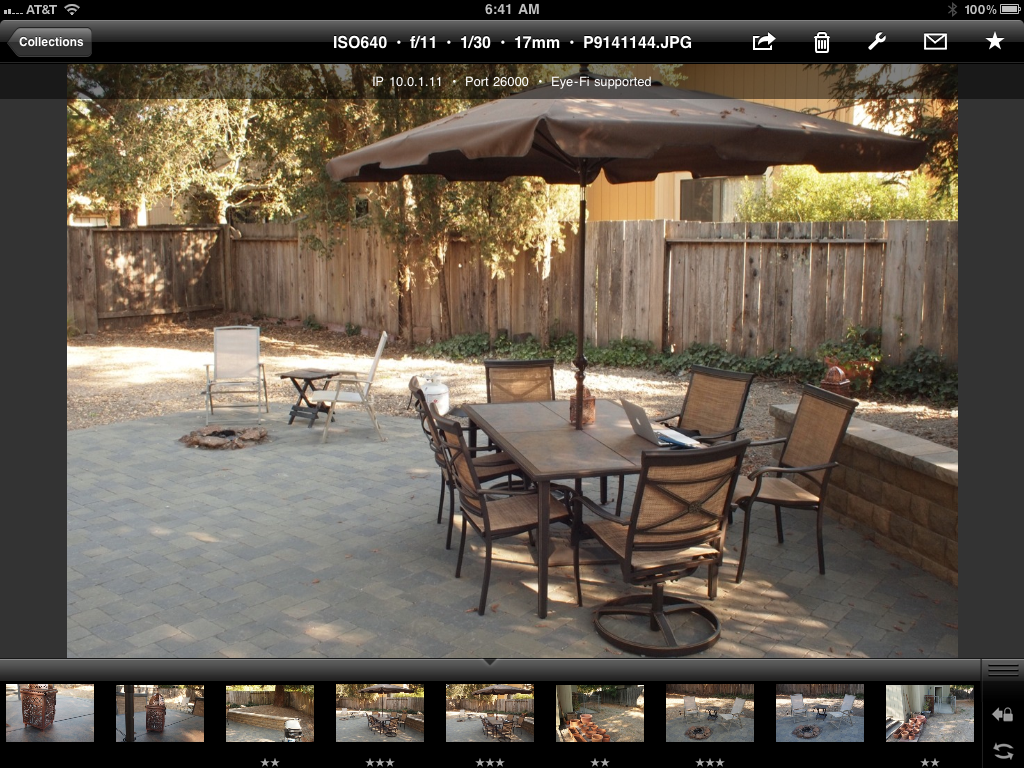
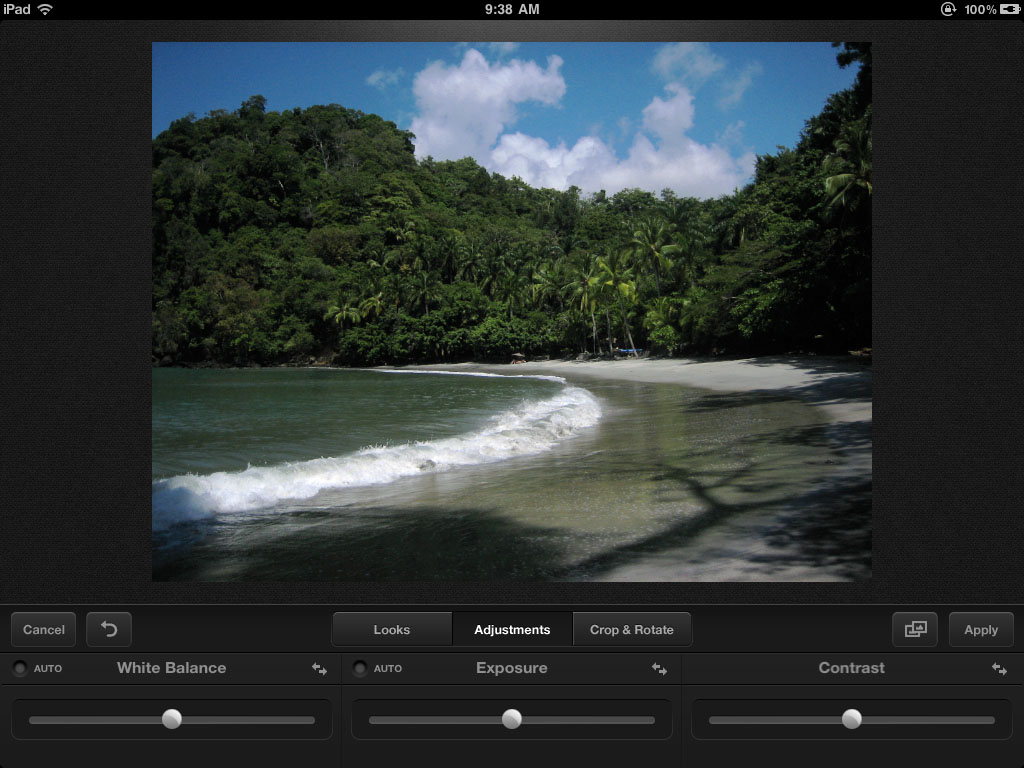
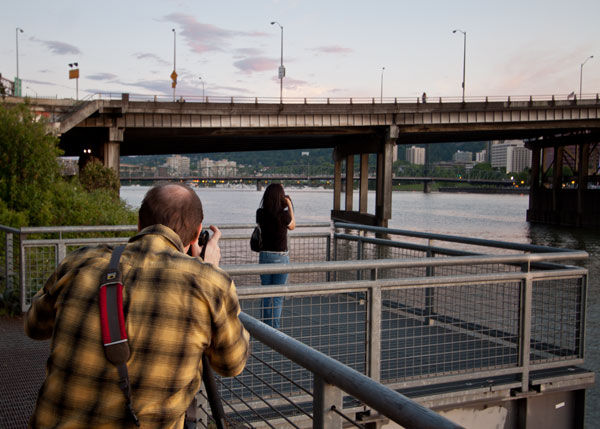
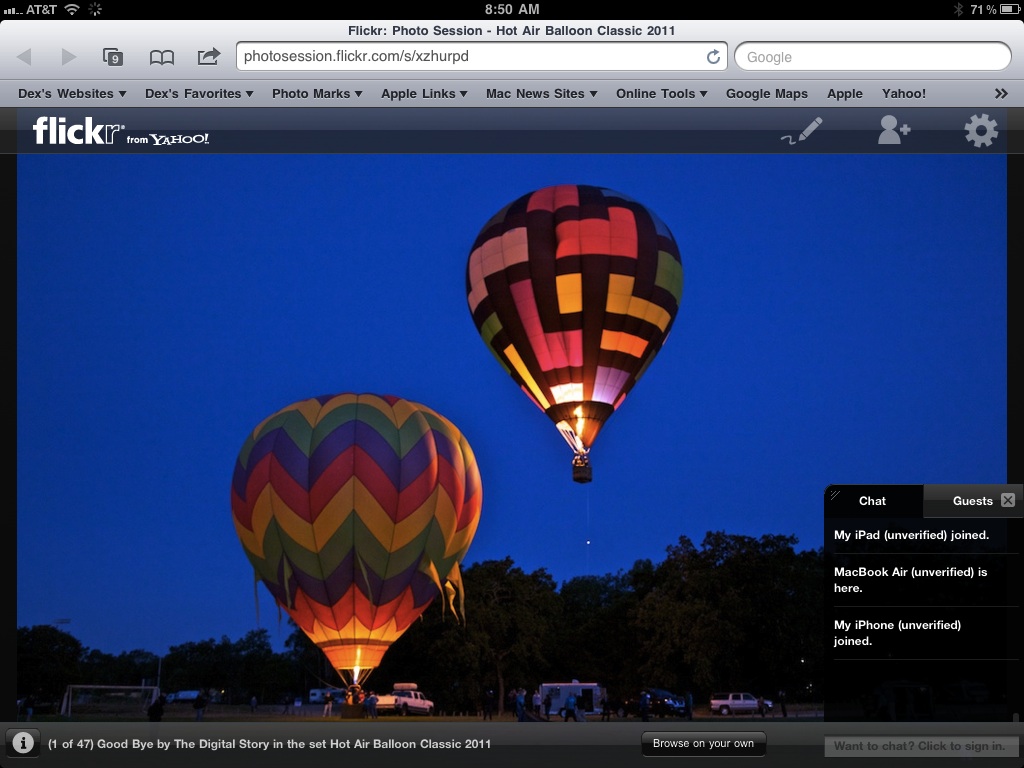 Photo Session being viewed on an iPad.