This week on The Digital Story photography podcast: New Mirrorless Cameras on the Horizon; From the Screening Room: Douglas Kirkland: Storytelling Through Photography - Nimbleosity Report - Mark Your Stuff - All of this and more on today's show with Derrick Story.

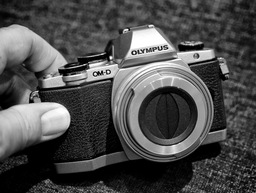
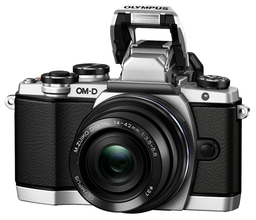
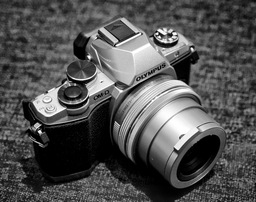
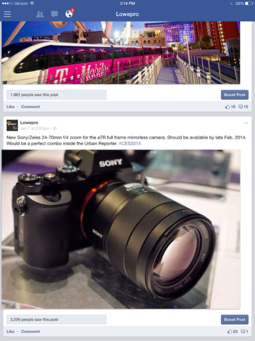
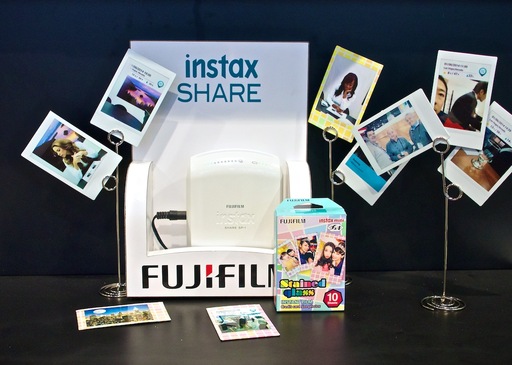
Story #1 - New Mirrorless Cameras on the Horizon - the CES announcements were fun, but we still have more to come with mirrorless cameras in the coming weeks. Leading off, Fujifilm is expected to announce a DSLR-styled camera on January 28. In the same timeframe, we're expecting new announcements from Olympus too. A few leaked images have appeared online, so it's best not to speculate too much at this point. It is safe to say, however, that mirrorless shooters will have new gear to tempt them.
Story #2 - From the Screening Room - Douglas Kirkland: Storytelling through Photography. This week's featured artist is the iconic photographer who photographed Marilyn
Monroe and Elizabeth Taylor. In this title on lynda.com, Douglas talks about storytelling through the use of his photography, and how every image should have a message.

You can watch Douglas in action by visiting the TDS Screening Room at lynda.com/thedigitalstory. While you're there, you can start your 7 day free trial to watch all of movies with Douglas, plus every other title in the library (including over 20 by yours truly).
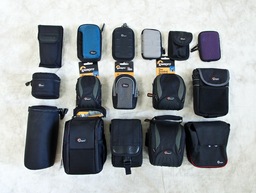
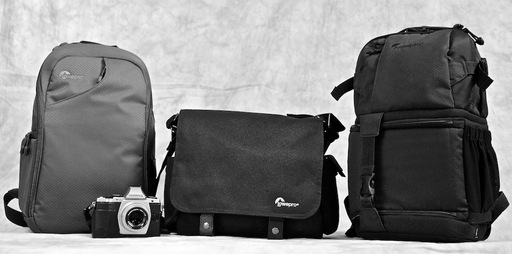
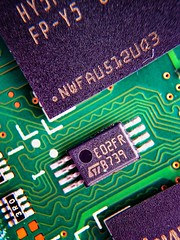
Story #3 - The Nimbleosity Report - "Mark Your Stuff"
I know at first this might seem a little bit obvious, but I am surprised at how many photographers do not have their gear marked. There are a couple of approaches you can take, to ensure that you have a chance to recover your equipment, if misplaced.
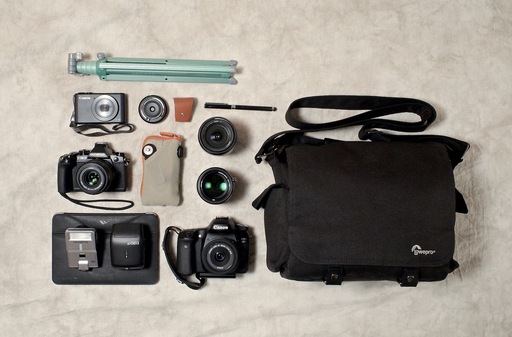
The Whole Bag Approach - for those who don't want to label every item, you can simply make sure that you have your contact information clearly visible somewhere in your camera bag.
Label it All! - some photographers are more comfortable knowing that every piece of equipment they have as a label on it. If this is you, I don't think you necessarily need your name on every lens, but your cell phone number is probably a good idea.
Serial Numbers Yes, Engraving No - cameras and lenses already have engraved serial numbers, so you don't have to engrave your name which depreciates their value. Instead, make sure that you have all of the serial numbers for your equipment on file.
Virtual Camera Club News
Photo Assignment for January 2014 is White.
Artisan Cheese Festival: March 21-23, 2014 - This advanced workshop puts you on assignment to cover Artisan Cheese Festival. You'll experience a complex event assignment from the inside out, learning about client relations, shot list preparation, lighting techniques, post production, and more. Three days - $250
BTW: If you're ordering through B&H or Amazon, please click on the respective ad tile under the Products header in the box half way down the 2nd column on thedigitalstory.com. That helps support the site.
Listen to the Podcast
In addition to subscribing in iTunes, you can also download the podcast file here (30 minutes). You can support this podcast by purchasing the TDS iPhone App for only $2.99 from the Apple App Store.
More Ways to Participate
Want to share photos and talk with other members in our virtual camera club? Check out our Flickr Public Group. And from those images, I choose the TDS Member Photo of the Day.
Podcast Sponsors
lynda.com - Learn lighting, portraiture, Photoshop skills, and more from expert-taught videos at lynda.com/thedigitalstory.
Red River Paper -- Keep up with the world of inkjet printing, and win free paper, by liking Red River Paper on Facebook.
SizzlPix! - High resolution output for your photography. You've never seen your imagery look so good. SizzlPix.com.
Want to Comment on this Post?
You can share your thoughts at the TDS Facebook page, where I'll post this story for discussion.
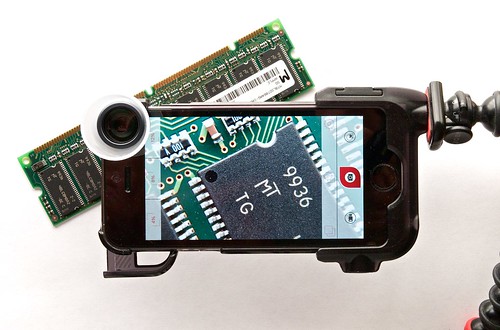 The iPhone 5S with olloclip lens and case and Joby Gorillapod for additional support. Photos by Derrick Story.