This week on The Digital Story Photography Podcast: LinkedIn Buys lynda, Is the Canon XC10 the Camera of the Future?, Snapseed 2.0 - All of this and more on today's show with Derrick Story.
Weekly Update - "Snapseed hits version 2.0 with new tools, filters and more" - The latest update adds a new way to view your edits with Stacks. Stacks allow you to see a list of filters that you've applied to an image that can be re-edited or copied over to another image. Snapseed 2.0 also includes new filters, brush and spot repair tools, and more. Available now for iOS and Android. (Source: iMore)
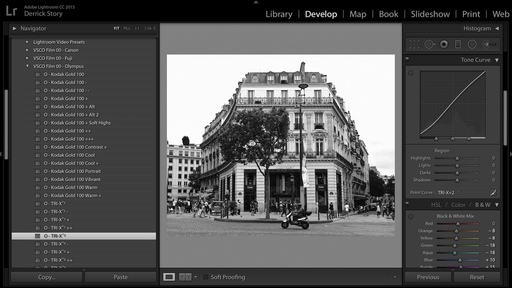
In other news... "Review: Photos for OS X is faster than iPhoto, but less powerful than Aperture" Photos for OS X is now official with the release of Mac OS X 10.10.3. On the same day (last Wednesday), Jeff Carlson publishes a review for Macworld Magazine stating, "Photos is a big step up for iPhoto users, with better speed and editing tools. Power users of Aperture will probably want to stay with Aperture or switch to another pro-level app like Lightroom." (Source: Macworld Magazine)
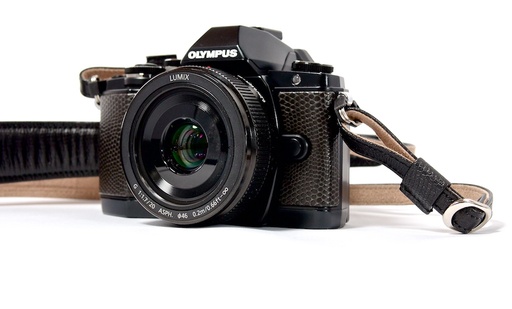
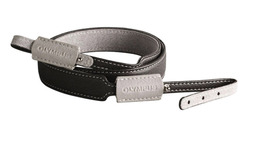
And finally... "Olympus Price Reduction on the OM-D E-M10 Premium Kit" - This kit that includes an E-M10 made from special high quality materials, 14-42mm EZ Zoom, and special edition leather neck strap and lens cap. Was available only in the UK, and for about $1,300 US, is now available for $875. And it's gorgeous! Go to http://www.getolympus.com/us/en/digitalcameras/omd/e-m10.html to learn more.
Story #1 - "lynda.com to join LinkedIn" - As part of the announcement, authors (such as myself) were sent an official FAQ about the deal. Here's what lynda has to say about this giant acquisition.
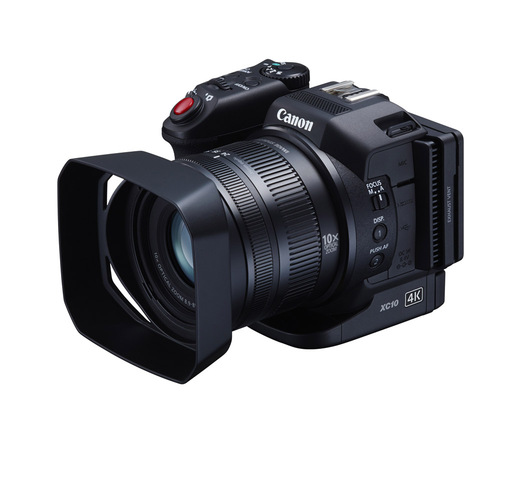
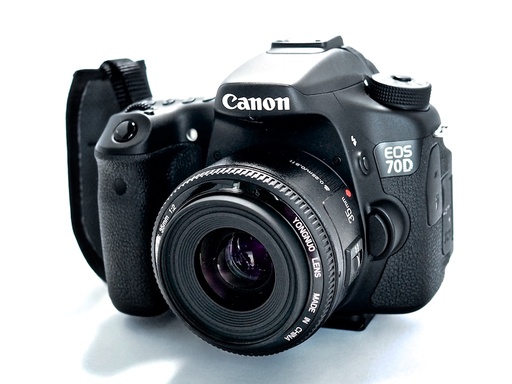
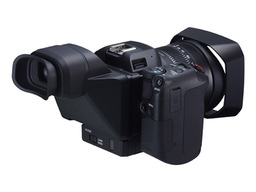
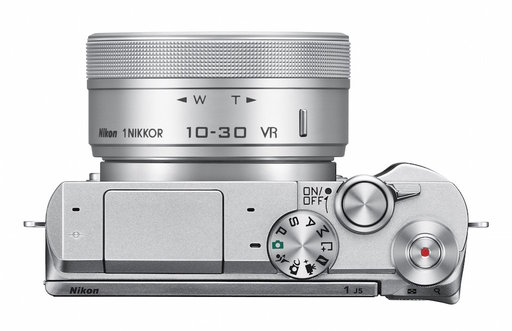
Story #2 - "Opinion: Why the Canon XC10 is a big deal" by Dale Baskin of DP Review. Dale writes, "The XC10 represents an important step on the path to convergence between the still and video imaging worlds, though it's important to recognize that it's an early step. Canon tends to be very deliberate in its product development and has smartly aimed this camera at a category of users (such as media) for whom the combination of features, specs, and physical size make a lot of sense. It may not be the camera that enthusiast stills photographers are looking for, but it might be the best example yet of a 'convergence' product that facilitates both still photography and video with equal emphasis on both."
Basic feature highlights: "12MP stills from a 1-inch sensor won't set the enthusiast photographic market aflame, but 5-axis image stabilization (a digital effect in HD video capture mode only), a maximum ISO sensitivity of 20,000 and a built-in, optically stabilized 24-240mm equivalent zoom (27-273mm for movies) should appeal greatly to multimedia professionals who increasingly need to focus on both stills and video capture."
Story #3 - From the Screening Room - iPhone and iPad Photography with iOS 8 with Seán Duggan. If the iPhone or iPad are your primary image capture devices when you're on the go, Sean can help you get the most out of them.
You can watch Sean in action by visiting the TDS Screening Room at lynda.com. While you're there, you can start your 7 day free trial to watch all of Sean's movies, plus every other title in the library (including over 20 by yours truly).
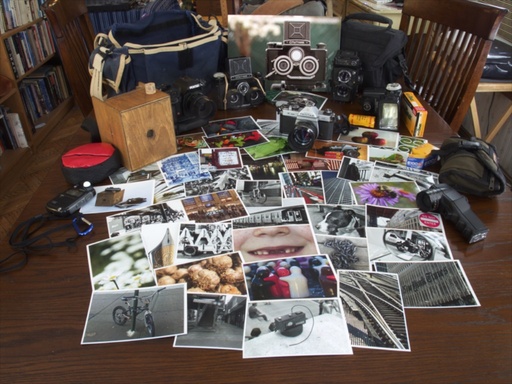
Virtual Camera Club News
News from SizzlPix: For April, We'll make it easy to delight your friends and relatives with SizzlPix of your or their favorite photographs with a Digital Story exclusive! Take a 20 percent discount; 25 percent on 2 or more shipped together. Just put "TDS April" in the comments space on the SizzlPix.com ordering page.
Thanks to everyone who recently reviewed the TDS Podcast in iTunes!
BTW: If you're ordering through B&H or Amazon, please click on the respective ad tile under the Products header in the box half way down the 2nd column on thedigitalstory.com. That helps support the site.
Download the Show
In addition to subscribing in iTunes, you can also download the podcast file here (26 minutes). You can support this podcast by purchasing the TDS iPhone App for only $2.99 from the Apple App Store.
More Ways to Participate
Want to share photos and talk with other members in our virtual camera club? Check out our Flickr Public Group. And from those images, I choose the TDS Member Photo of the Day.
Podcast Sponsors
lynda.com - Learn lighting, portraiture, Photoshop skills, and more from expert-taught videos at lynda.com/thedigitalstory.
Red River Paper -- Keep up with the world of inkjet printing, and win free paper, by liking Red River Paper on Facebook.
SizzlPix! - High resolution output for your photography. You've never seen your imagery look so good. SizzlPix.com. SizzlPix! now is qualified for PayPal "Bill Me Later," No payments, No interest for up to 6 months, which means, have your SizzlPix! now, and pay nothing until May!
Want to Comment on this Post?
You can share your thoughts at the TDS Facebook page, where I'll post this story for discussion.
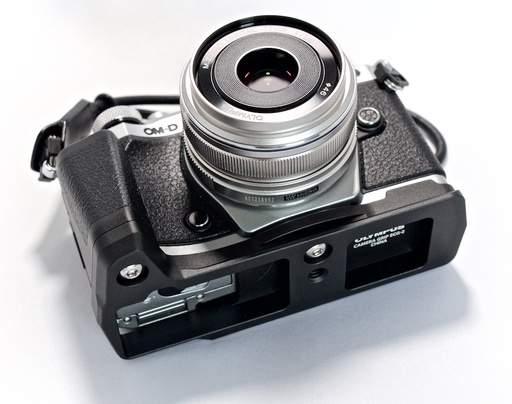 Olympus OM-D E-M5 II with 17mm f/1.8 lens and ECG-2 grip with built-in Arca Swiss compatible plate. Notice that the grip also provides access to the battery compartment.
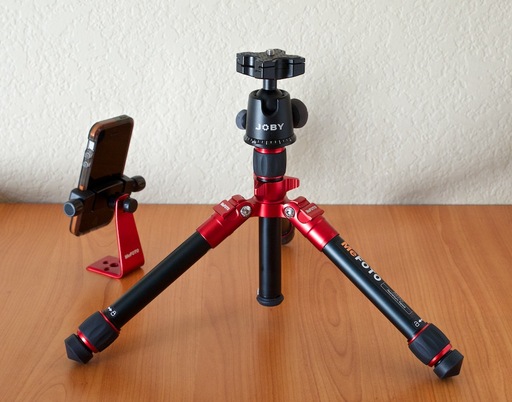 MeFOTO DayTrip with Joby Bullhead X. I don't need to bring its adapter plate if I'm using the ECG-2 grip.