This is The Digital Story Podcast #532, May 17, 2016. Today's theme is "Finding Your Place." I'm Derrick Story.
Opening Monologue
When I left Southern California in 1989, I knew where I stood in the photo community. Everyone knew me at the local camera shop, I had paying gigs as a journalist, and I was comfortable in my own skin. I had grown up there. It was home. But when I relocated, nobody knew me in Northern California, and I had to invent myself all over again. And I'll never forget how hard it was to find my place. We all go through this as photographers, sometimes more than once. And that's the main topic for today's show.
Finding Your Place
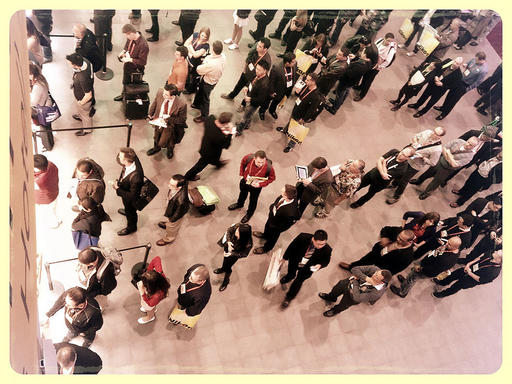
People who take pictures are different than photographers. There are many distinctions, but the one I want to focus on today is niche. Snapshooters generally don't care about what type of photographer they are: portrait, landscape, fine art, journalist, or travel. But we do. Even if we say we're a generalist, that indicates some thought has been put into this concept.
And why does it matter? Because it begins the process of connecting our artistic expression to who we are and what we care about. In my view, we're all a photographer and something else. One might be passionate about hiking, another about the care of animals, another about politics, and on and on. When we can connect our passions, then we can begin to find out place as artist. Here are a few reasons to consider this:
- Doing What We Love - Photography is my favorite pastime, but I'm a writer also. When I was able to connect those two, I flourished.
- Rising Above Others - When we're in sync, we perform better. As a result, we tend to separate ourselves from the competition.
- Better Longevity - I can't wait for the next day and the day after that. I don't know how it feels to be bored. And the universe is going to have a heck of a time pulling me away from this life on earth.
- Financial Reward - How many successful people say, "I can't believe they pay me to do this?" There's a correlation there.
- Magnet for Others - People who are engaged in what they love tend to attract others.
The takeaway here is to pinpoint your other passion. We already know that we love photography. What are you going to combine that with to truly find your place in this world?
In the News
Canon Releases 2016 Photography Trends Study as reported by PhotographyBlog.
This survey of 1004 adult U.S. consumers has revealed a surprising degree of self-confidence among amateur photographers, with 80% of respondents claiming to have "good-to-excellent" photography skills, and 62% boasting that their snapping skills have improved in the past two to five years. Food photography appears to be one of the favorite genres, with more than half of consumers taking food photos to show off a personal creation or new recipe. More than one in four respondents admit they share photos of food to brag and to give friends and family "FOMO" (Fear Of Missing Out). The survey has also revealed that more people take photos of their pets than of themselves, even as 57% confess to taking selfies on a regular basis. Less surprisingly, the majority (80%) are capturing photos during family gatherings and holidays.
Shop Talk
Comments from members of our community posted on theTDS Facebook Page. Here's are some of the thoughts from last week's Cats and Dogs podcast:
Graeme wrote: "It's taken me time understand what I, personally, want from my photography, and that is to spend more time with the camera and close to zero with the computer (though I wasn't always that way)."
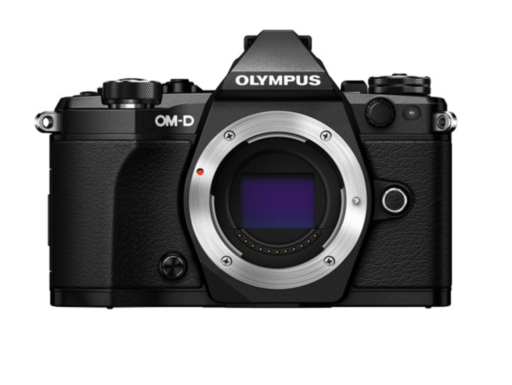
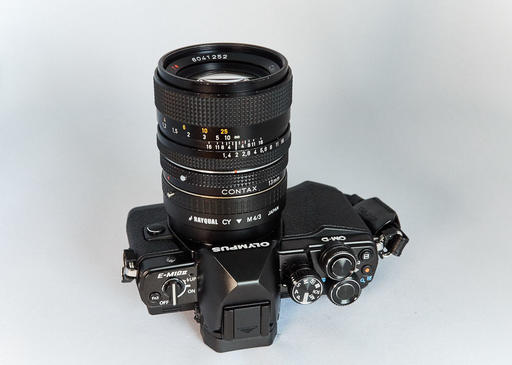
Matthew added: "Choosing Olympus mirrorless (the E-M10) is how I got hooked on listening to your podcast. In my research to switching to mirrorless to lighten the load as I wasn't taking my DSLR with me I found the Nimble Photographer webpage. It was like the website was speaking right to me and my desire to keep it light. As for the PC, I have always been on the PC platform. In the world of photography today I feel like the odd man out still using the PC platform. Most of the coverage seems to slant about all things Apple."
And finally, Bill wrote: "I chose Nikon simply because my soon-to-be wife had a Nikon film camera. I had a Kodak digital camera in the early digital days but once my kids came along I got much more serious about my photography since I now had such an interesting ( and fast moving) subject. My wife, knowing Nikon got me a D50 and from there things just took off for me - still in the Nikon Family with a D7000. So I guess you could say I chose Nikon because of love."
Thanks to everyone who contributed a comment. I so enjoy reading what you have to say.
A Word About Buying New Gear
If you plan on making an online purchase, please consider clicking on our Amazon Link or the B&H Photo Link first, then navigation to the item you're looking for. By doing so, you help support this podcast, and it doesn't cost you a dime. Much thanks!
Updates and Such
Coming Soon: The Apple Photos Book for Photographers
I've been working on a guide to Photos for OS X that's written for photographers who want to use this application at a high level. I cover workflow, iCloud integration, and editing... at the enthusiast level.
We're releasing the eBook version soon, then will go to print after Apple announces its updates to the app at WWDC. This is an exciting, ongoing project that I think you'll want to be a part of. And you can join me every step of the way via the signup page we've created. This is going to be fun...
And finally, be sure to visit our friends at Red River Paper for all of your inkjet supply needs.
See you next week!
More Ways to Participate
Want to share photos and talk with other members in our virtual camera club? Check out our Flickr Public Group. And from those images, I choose the TDS Member Photo of the Day.
Podcast Sponsors
Red River Paper - Keep up with the world of inkjet printing, and win free paper, by liking Red River Paper on Facebook.
ImageFramer Take your photos to the next level with ImageFramer. Visit www.apparentsoft.com today.
MacPaw Creators of CleanMyMac 3 and other great software for Apple computers. Visit www.macpaw.com today.
The Nimbleosity Report
Do you want to keep up with the best content from The Digital Story and The Nimble Photographer? Sign up for The Nimbleosity Report, and receive highlights twice-a-month in a single page newsletter. Be a part of our community!
Want to Comment on this Post?
You can share your thoughts at the TDS Facebook page, where I'll post this story for discussion.
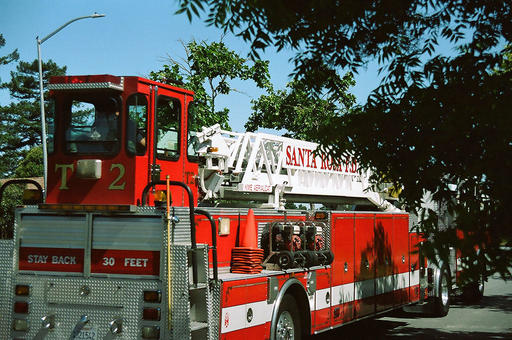 "Firetruck" - Captured with a Pentax ME Super and a Pentax 35-70mm zoom lens, Fujicolor 200 film. Photo by Derrick Story.