I've been fascinated with infrared photography since the film days. I especially like the bold B&W approach - darker sky, bright clouds, and glowing foliage. But even in the digital age, I found the workflow a little confusing. So I finally sat down and figured it out. And here's what I'm using today.
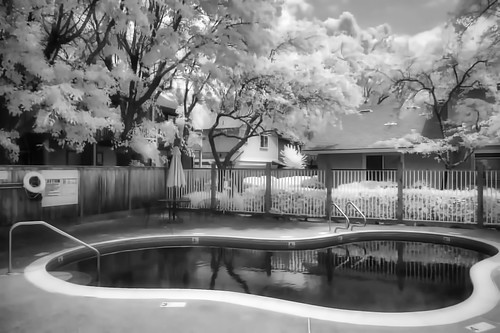 "Black Pool" - Fujifilm X-20, Hoya R72 filter, processed in Luminar and Photos for macOS. Image by Derrick Story.
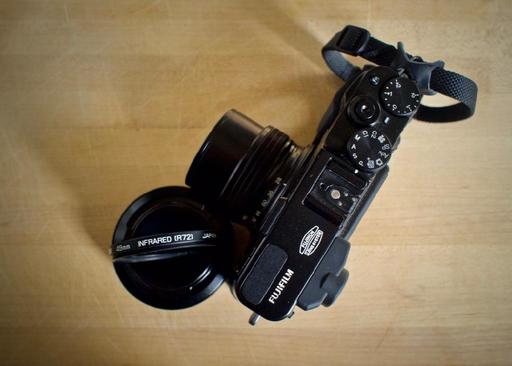
Starting with the camera itself, we all have favorites from the past that we're probably not using as much as we'd like. In my case, a Fujifilm X-20 that I adore. I tested it for IR photography by pointing my TV remote toward the lens at close distance and pressing the power button. I could see the IR signal on the camera's LCD. Good news! That meant that my X-20 had potential for infrared photography.
Next, I needed a filter. I prefer the Hoya R72 Infrared Filter ($36). I use both the 49mm and the 52mm on my cameras. It's a dense filter, but it does a great job of enhancing the wonderful IR effect that I want.
One of the things that I like about Fujifilm cameras are their film simulation modes. For this project, I use the "monochrome + red" setting in Jpeg Fine mode. Combined with the R72 filter, this setting gives my images a lot of initial pop. For handheld work, I usually have the ISO at 800 under bright sun.
When it's time to process, I use Photos for macOS with Luminar 2018. For this workflow, I use Luminar as an editing extension to keep things simple. But I could use it standalone, or as a plugin for Lightroom as well.
A good starting place in Luminar is a set of presets by Laurie Klein called Infrared Mastery that you can order for $12.95. Plus, you get an instructional eBook! I use them as super helpful starting points, then adjust on my own from there.
And that's all there is to it. Luminar has really helped my Infrared workflow by simplifying the fine-tuning process. A lot of times, photographers don't have a feel for processing IR images. The pictures, as initially captured are good. But to really get what you want, you need the post production. With Luminar's presets and noise reduction filter, I can finish my IR image quickly and beautifully.
Give it try. It's the perfect photography opportunity for a bright summer day!
Rock Luminar with my new Essential Training
You learn all the ins and outs of Luminar 2018 via my Essential Training on lynda.com and on LinkedIn Learning. It's fun, and I promise, you will learn a lot.
You can share your thoughts at the TDS Facebook page, where I'll post this story for discussion.


