There are those images that I suspect have good potential, but require just a bit of work. My rescue tool of choice is Adobe Camera Raw 7.1 and Photoshop CS6. Typically, I can salvage a picture in just a few minutes. Here's a recent example of a 3-step photo rescue.
Step 1 - Open in ACR 7.1 and Apply the Graduated Filter
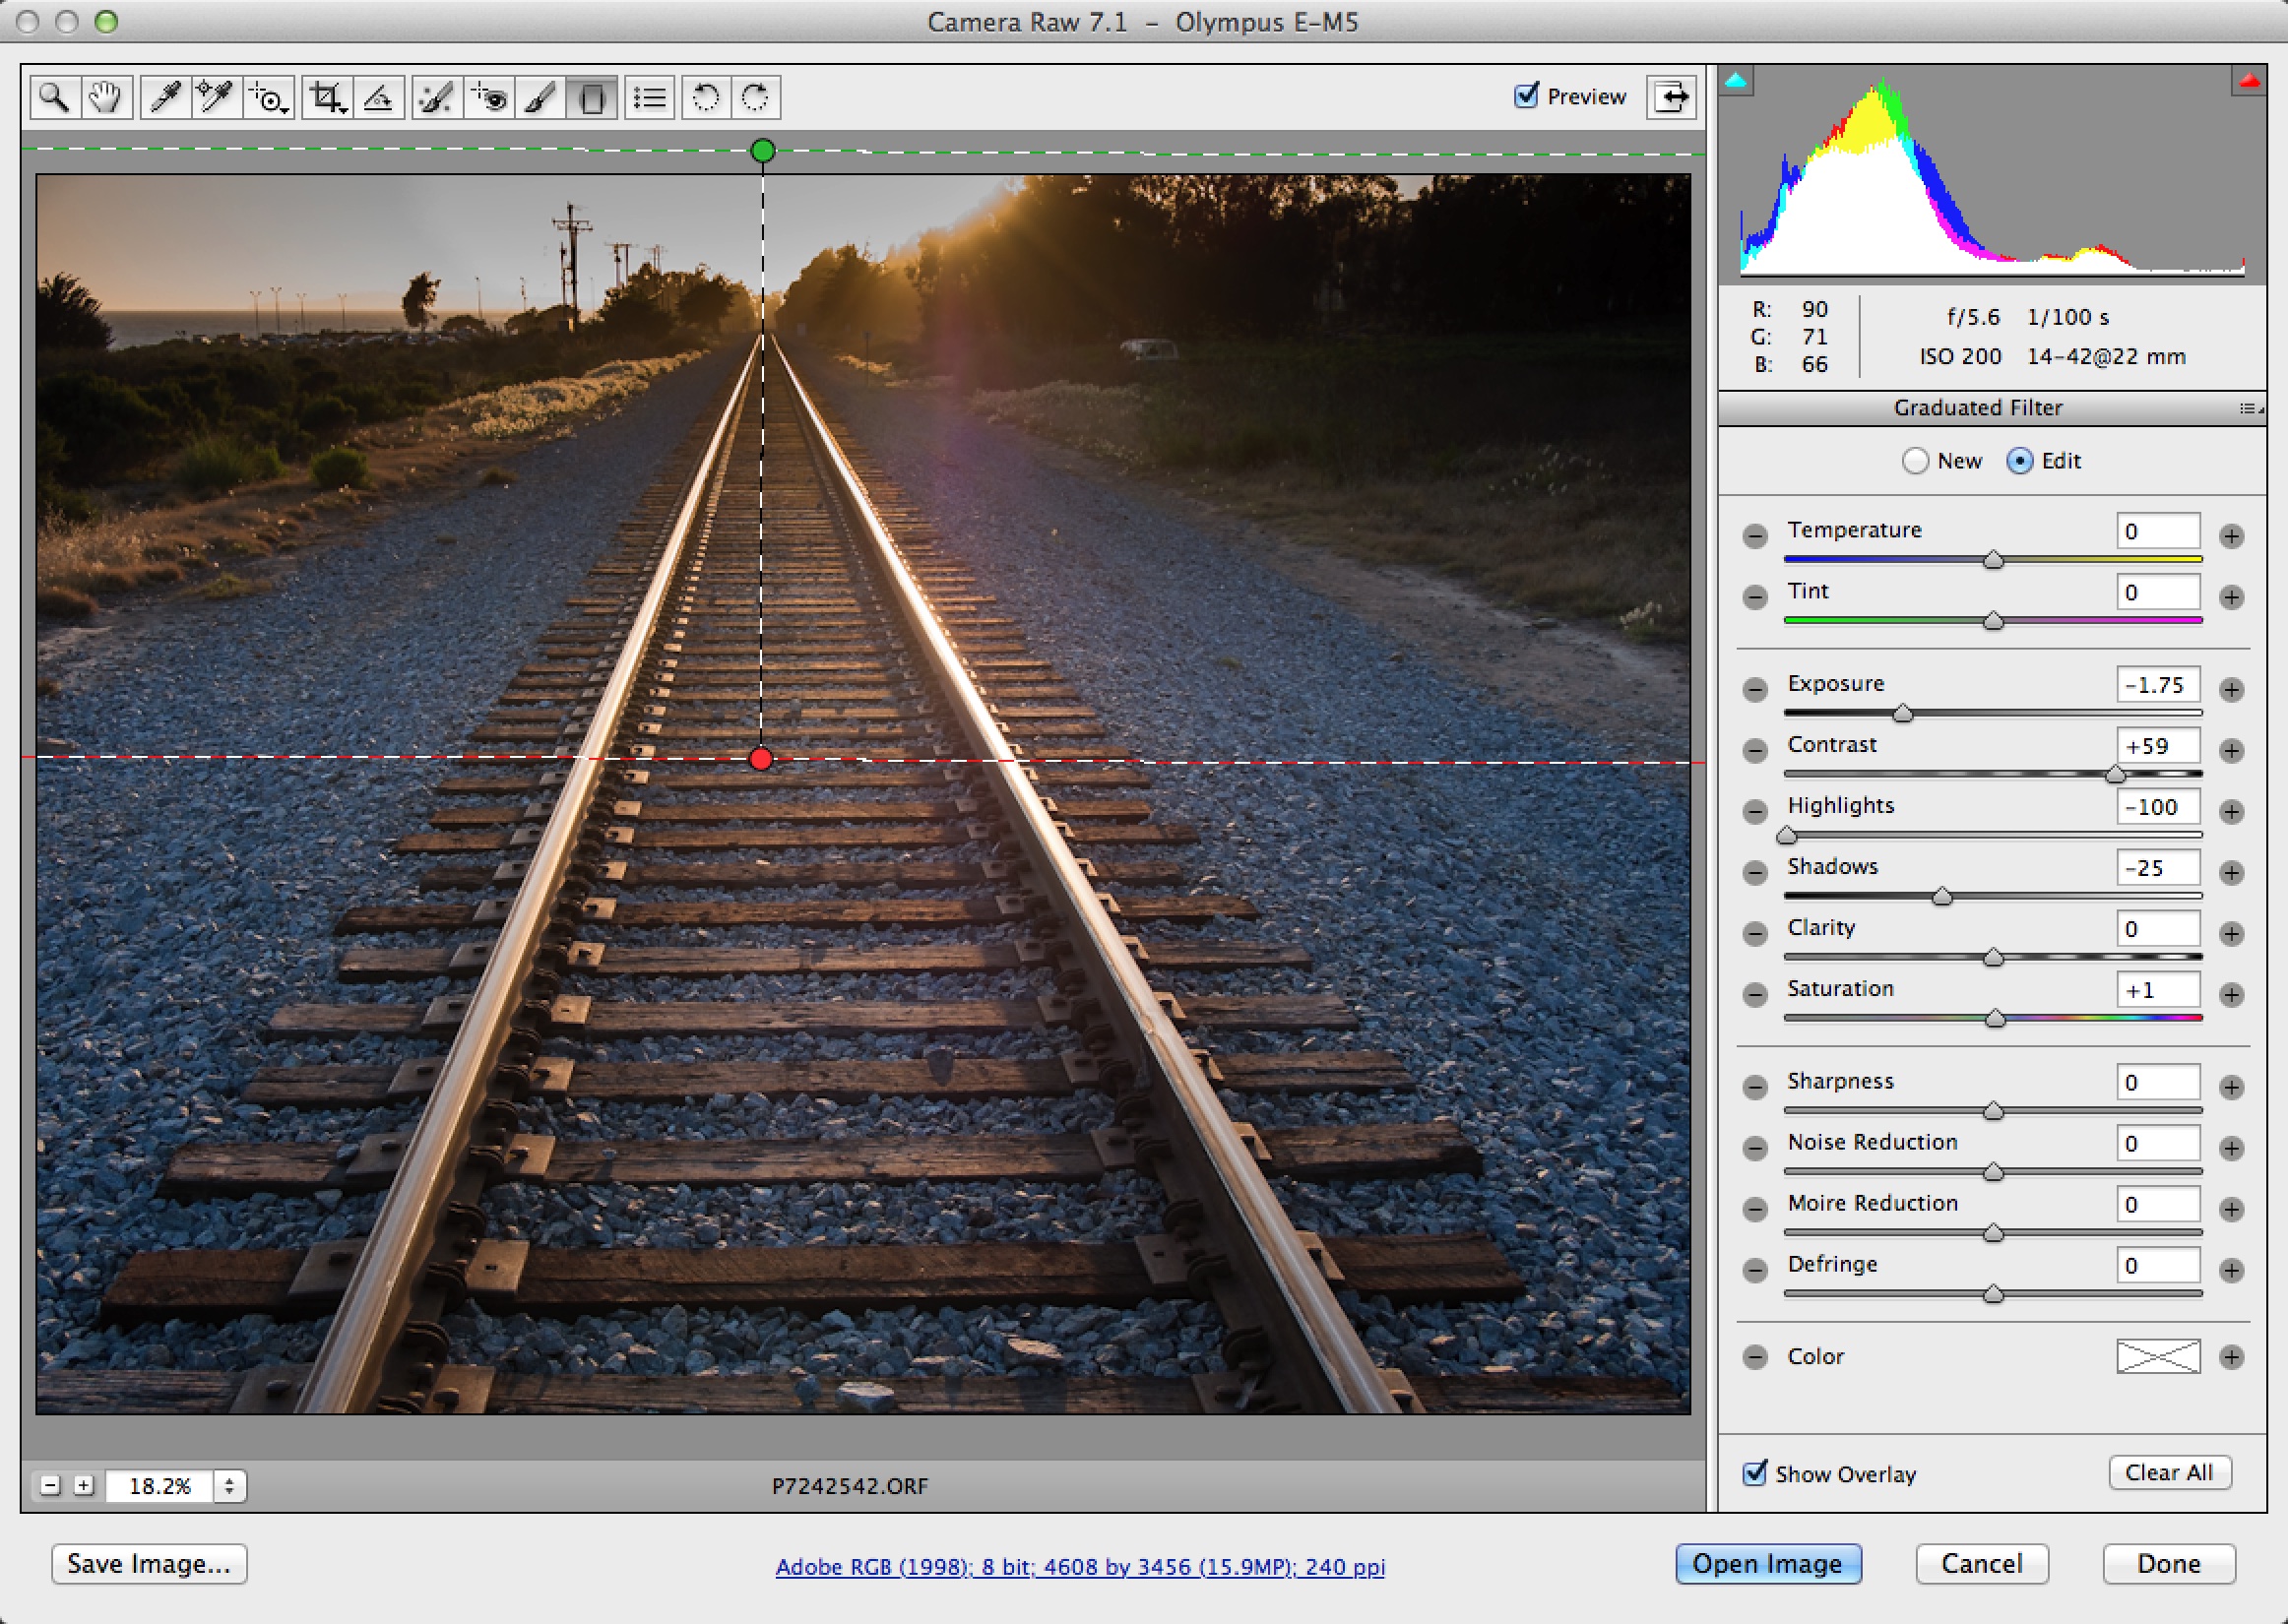 Using the Graduated Filter tool in Adobe Camera Raw 7.1
The big problem with this shot was that the top of the image was blown out from the setting sun. Since I shot RAW, I figured there was enough image information there, and the graduated filter seemed like the right tool to see what I have.
Step 2 - Open in Photoshop CS6 and Apply HDR Toning
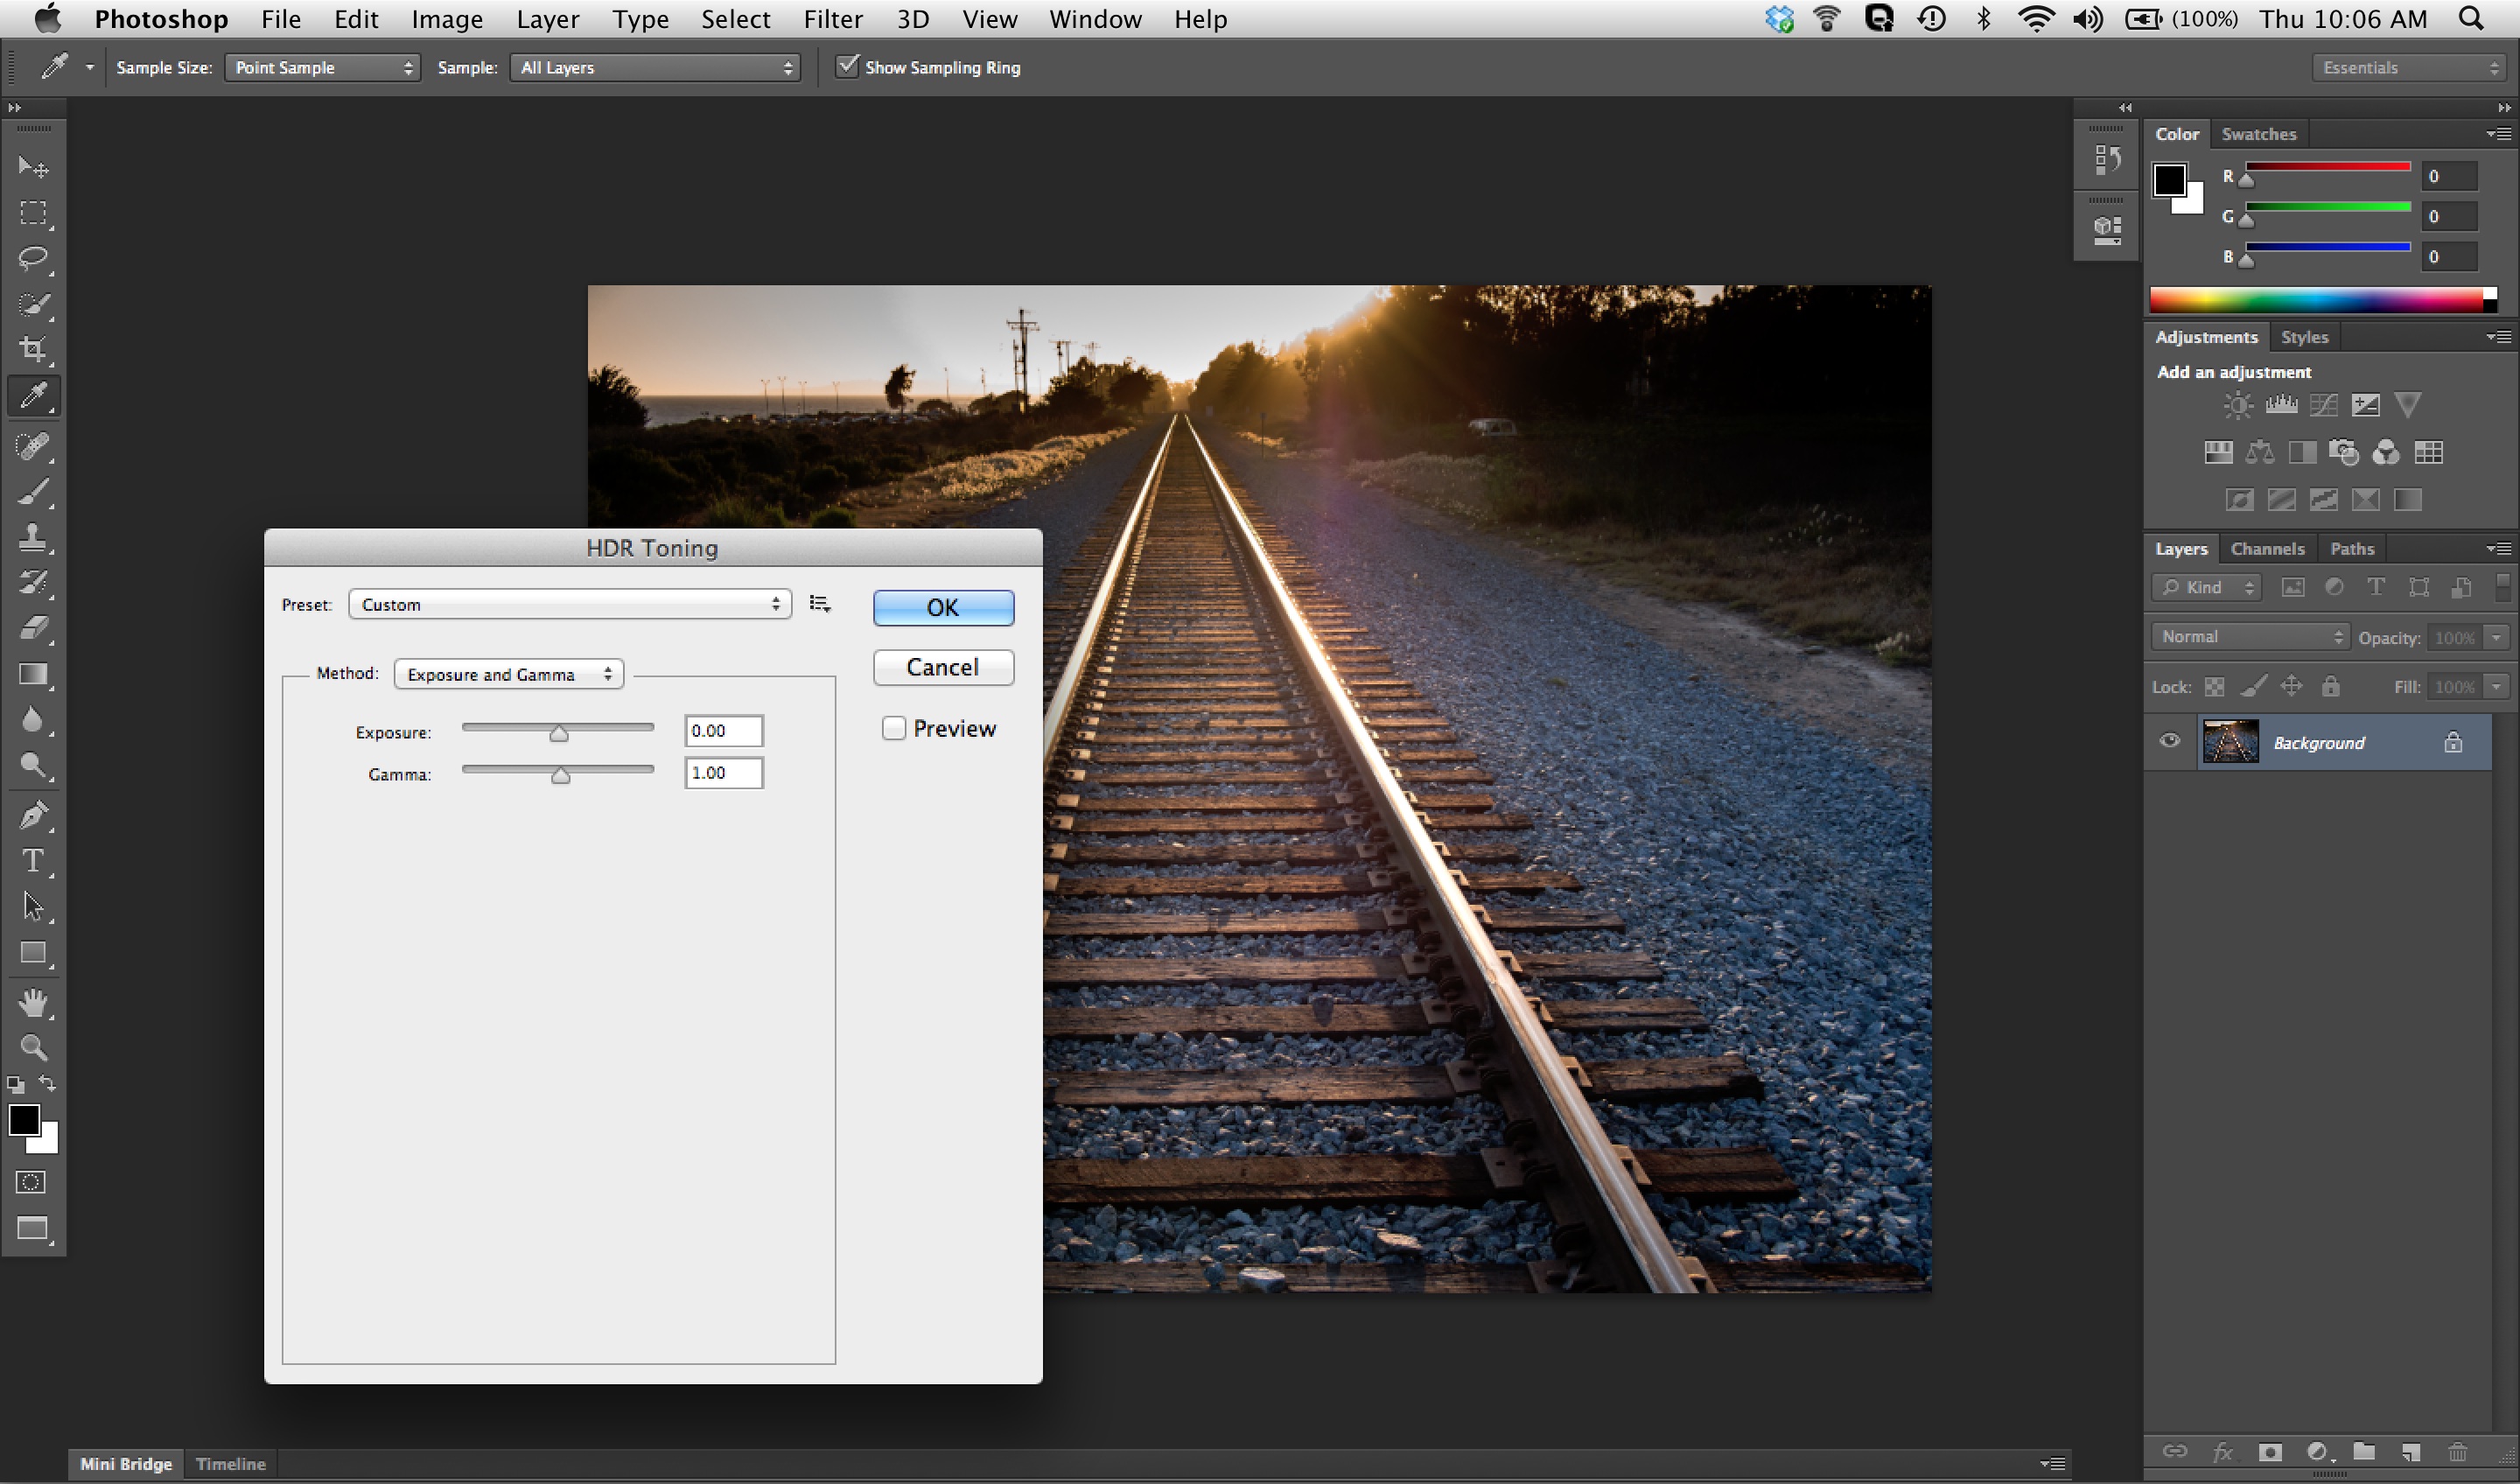 HDR Toning in Photoshop CS6
After using the Graduated Filter in ACR, I thought I could balance the overall tonality a bit more. I used the HDR Toning tool in Photoshop CS6 (Image > Adjustments > HDR Toning).
Step 3 - Smart Sharpening and Save
Now all I had to do was apply a Smart Sharpening and save the photograph. By this point you're probably wondering what the original looked like. Here ya go.
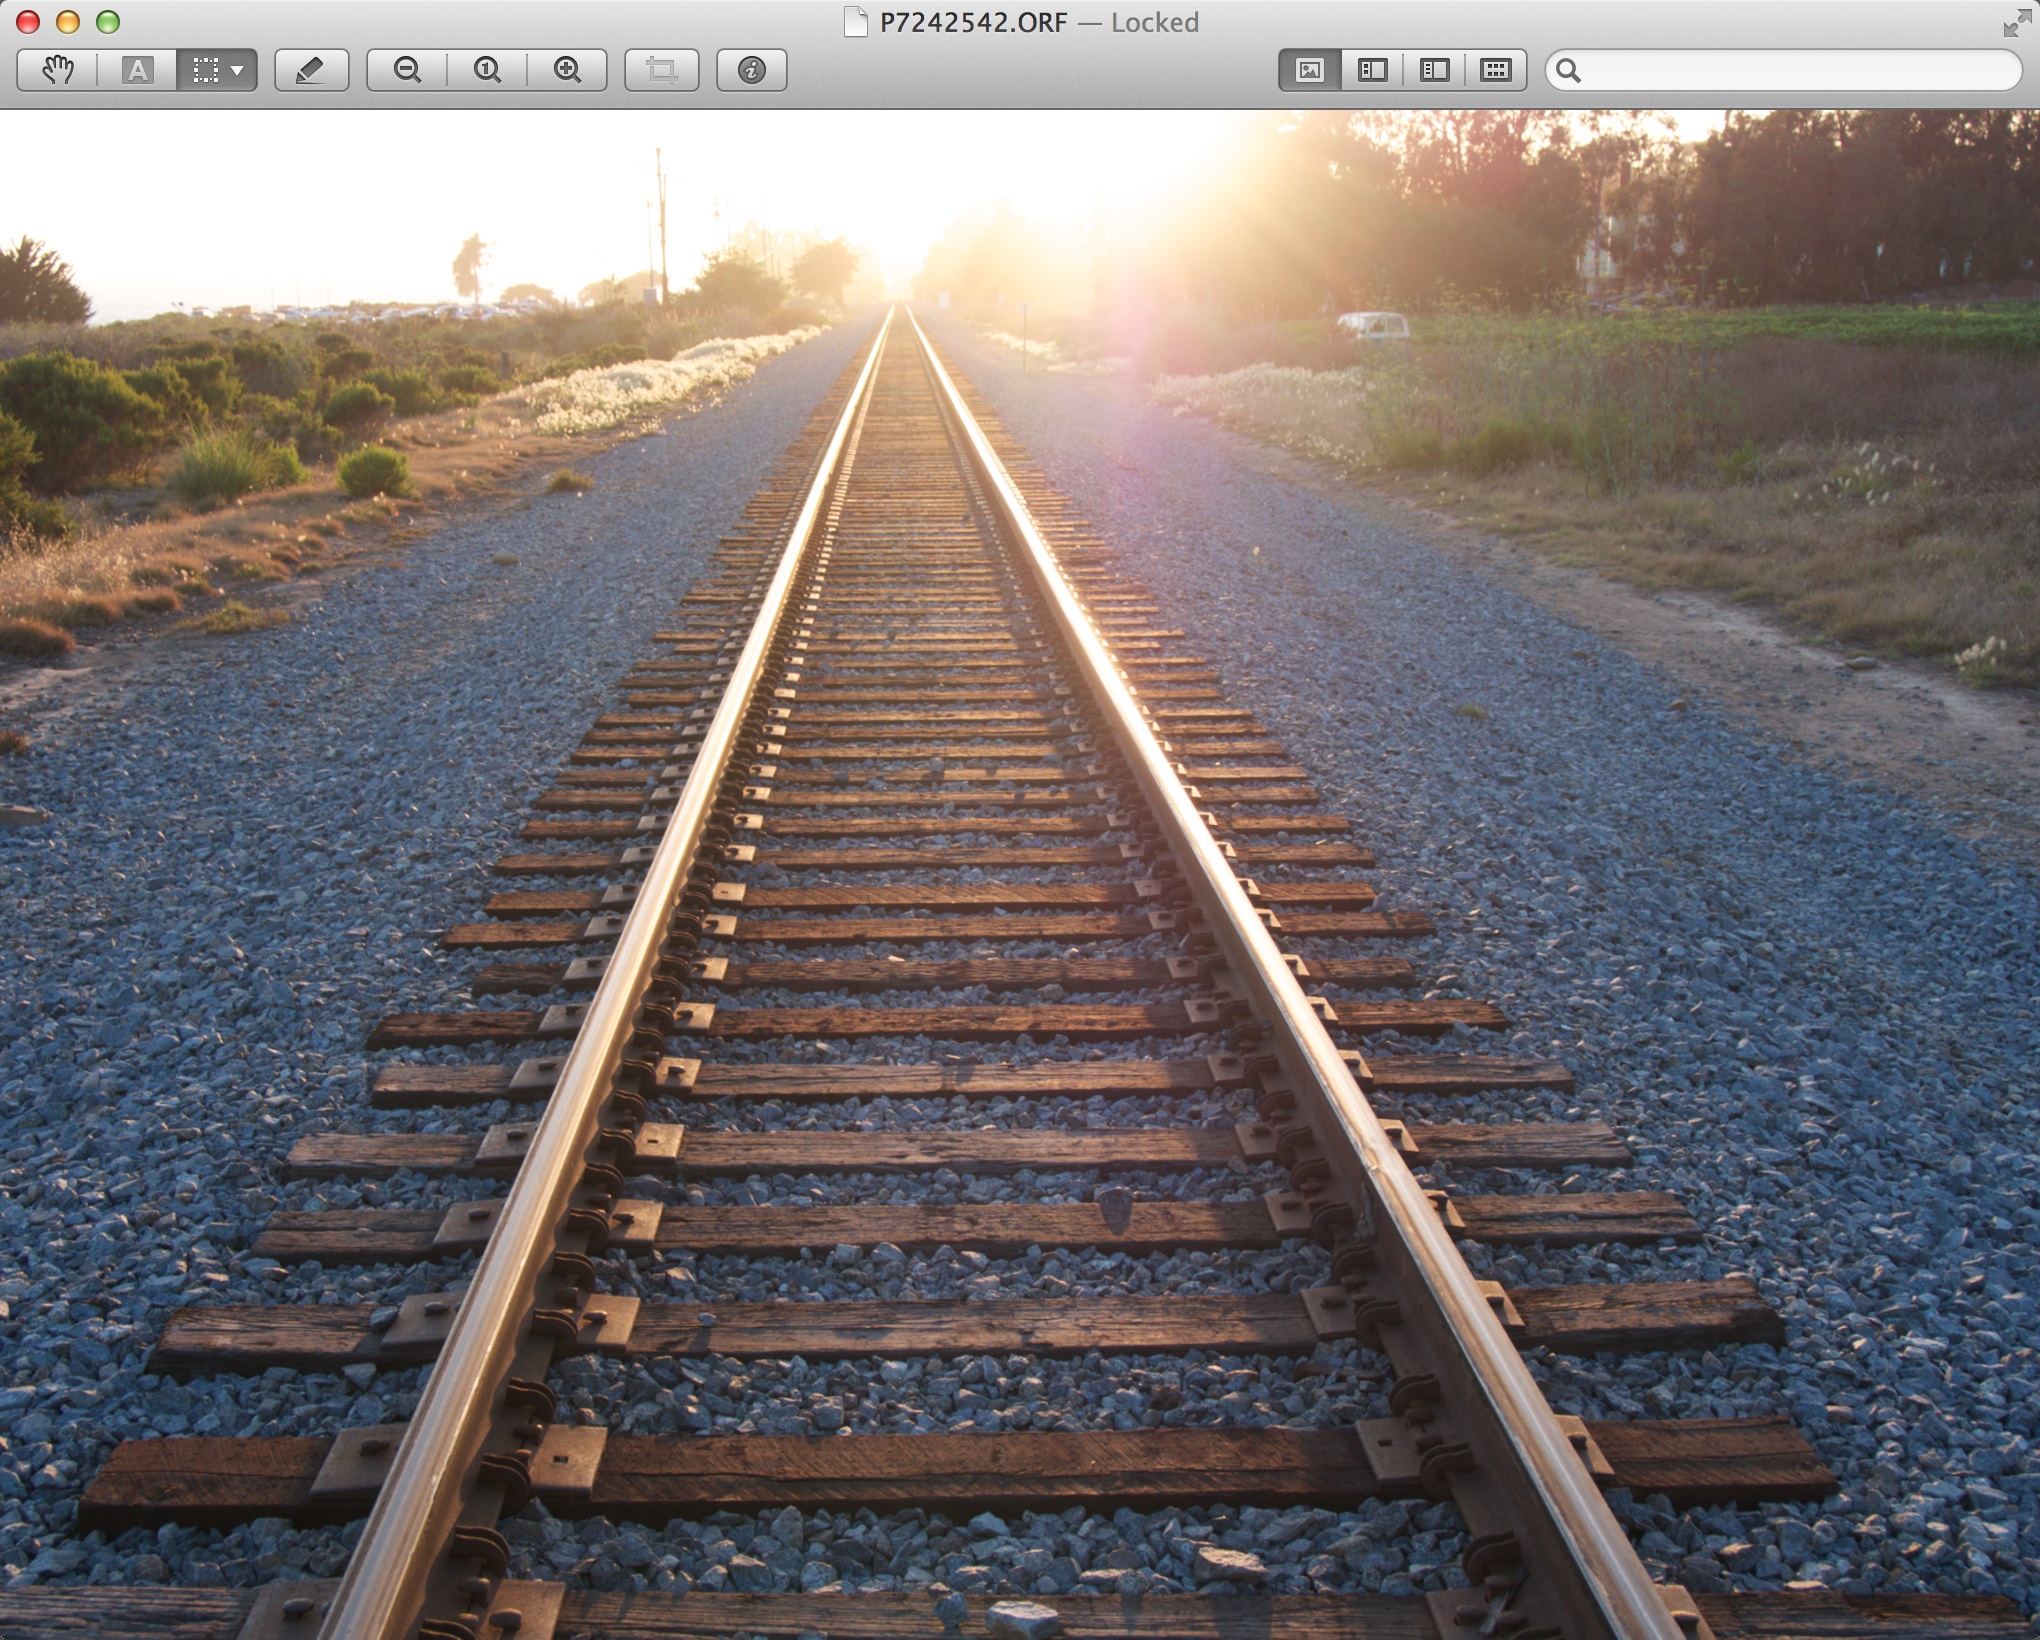 Original train tracks image before the 3-step rescue.
And here's the final image.
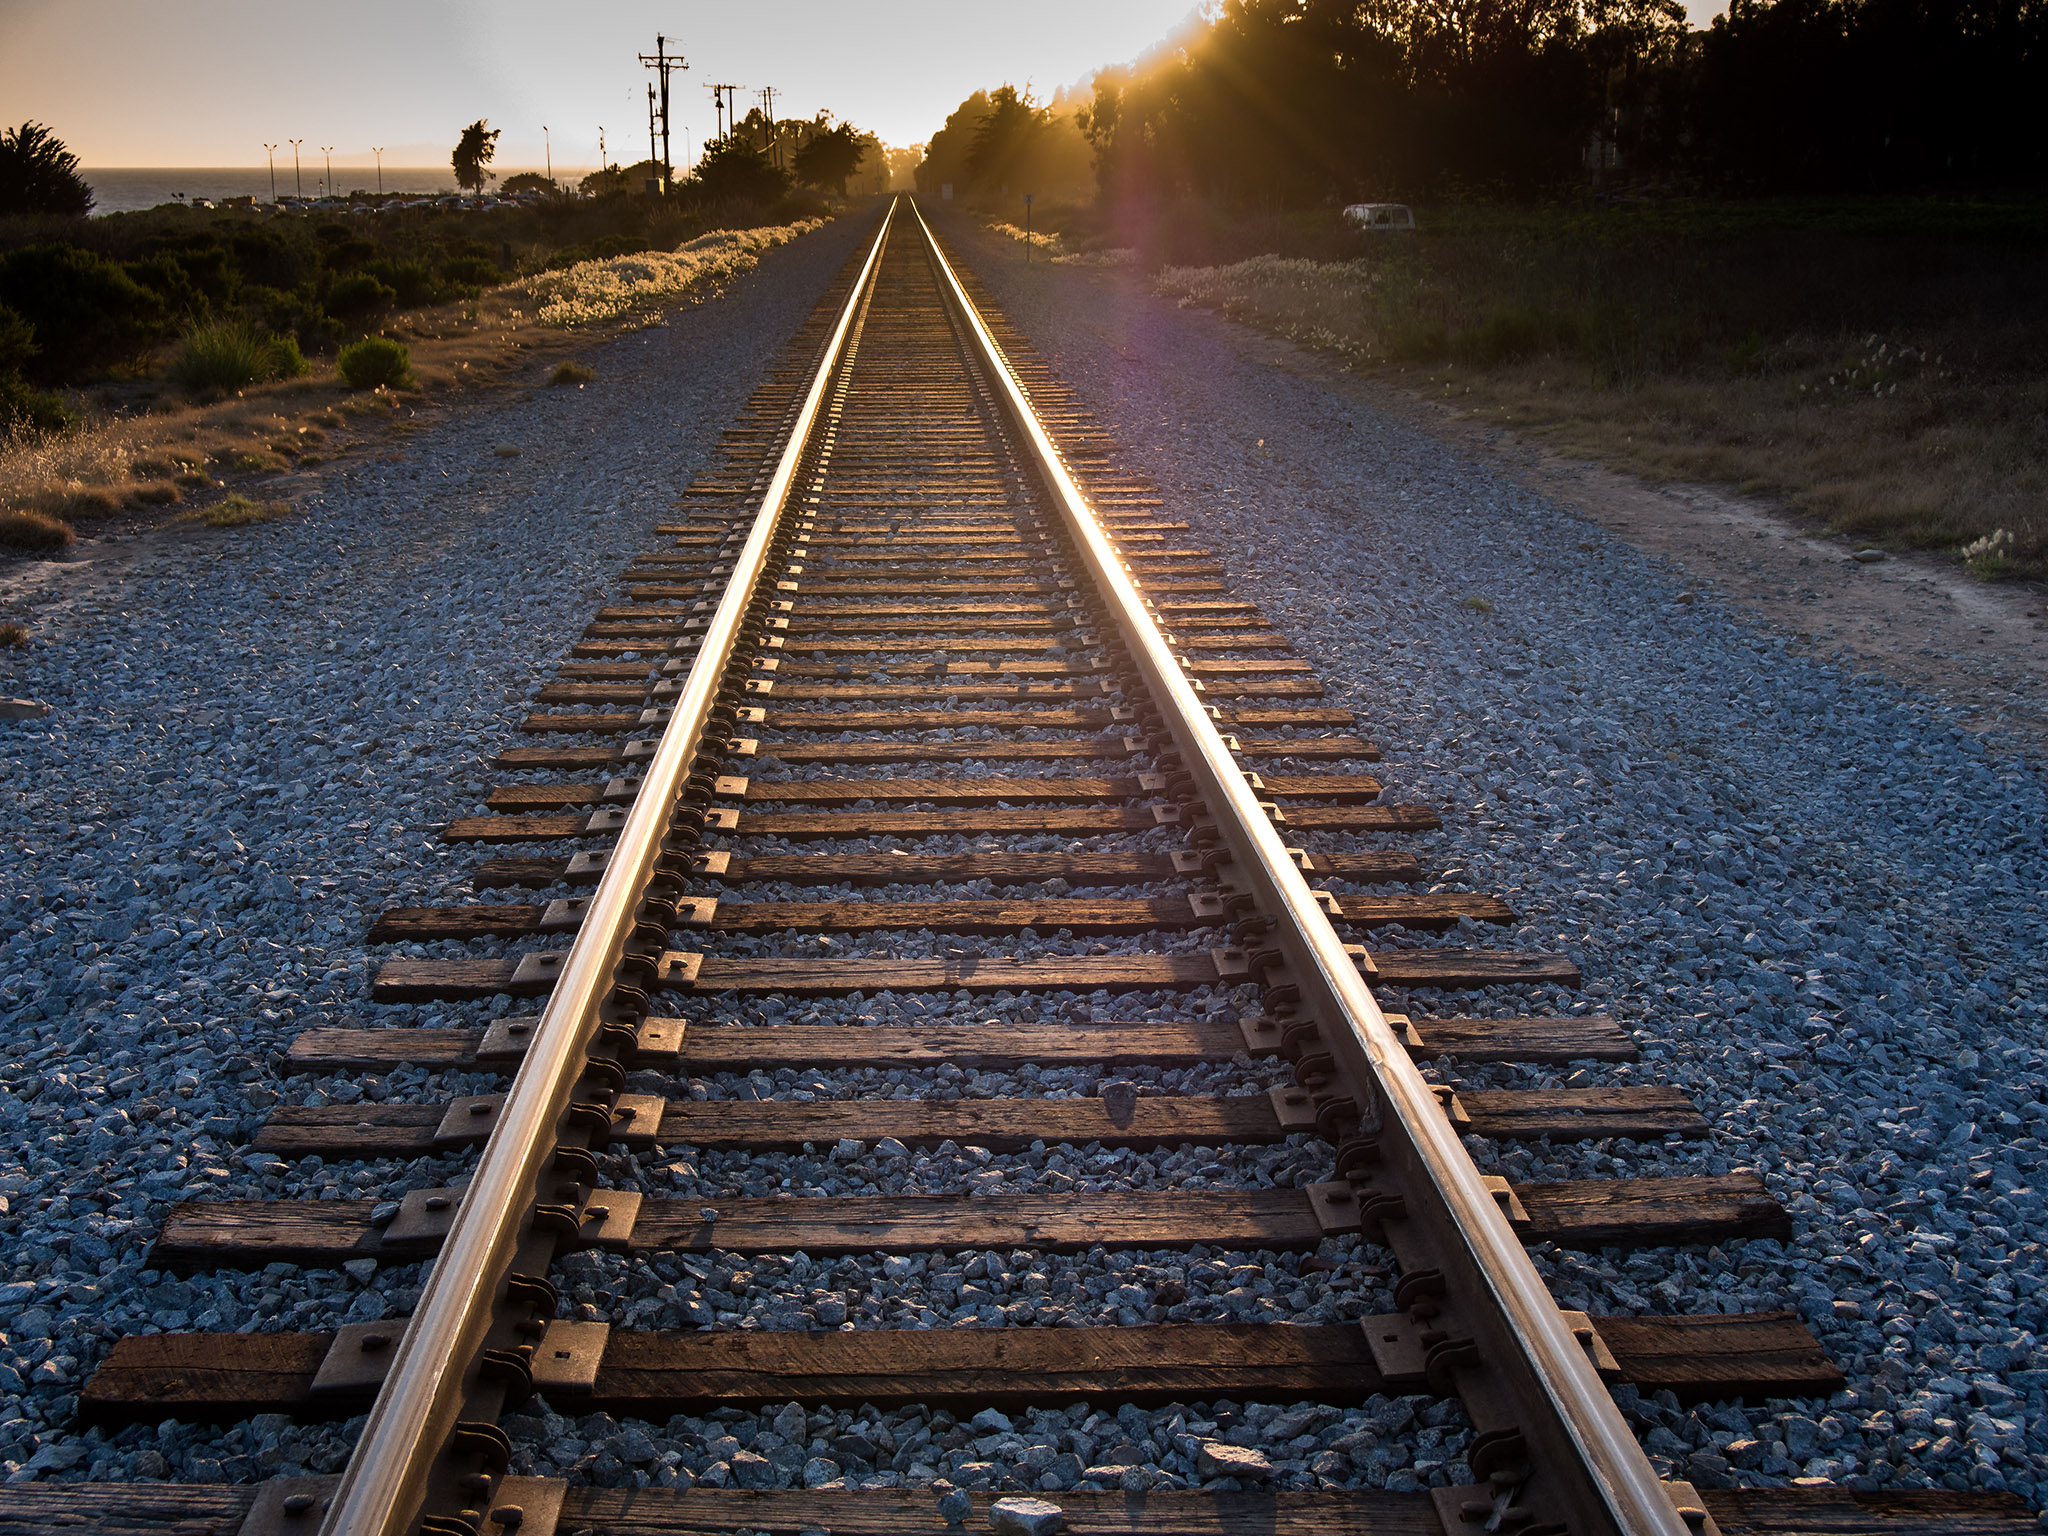 Final image after the 3-step rescue.
The entire process took about 5 minutes.
You can find more photo tips and "photography how tos" on my Pinterest page.


