As much as I love the 35mm lens on my Fujifilm X100V, sometimes I need a bit more elbow room. I looked at the WCL-X100 II Wide Conversion Lens, wanted it, but was reluctant to spend the $350 it costs. So I came up with another angle.
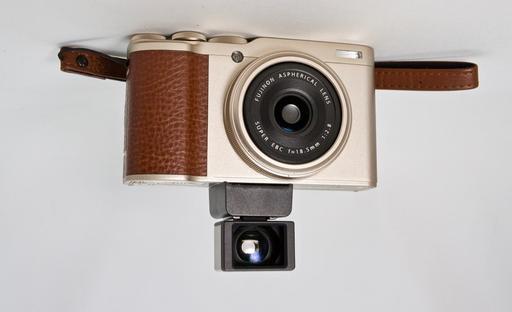
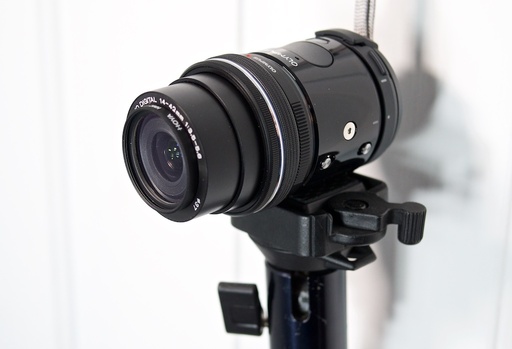
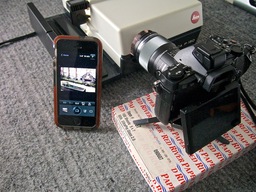
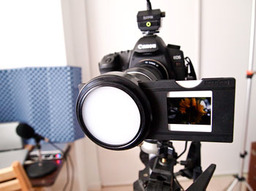
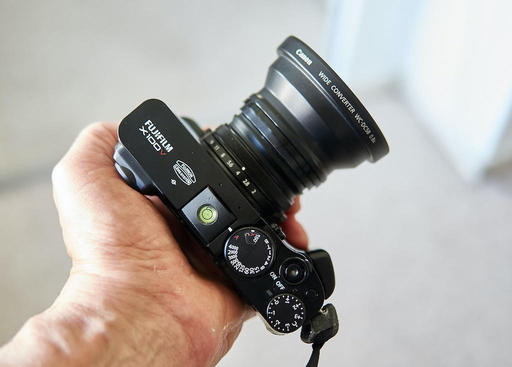
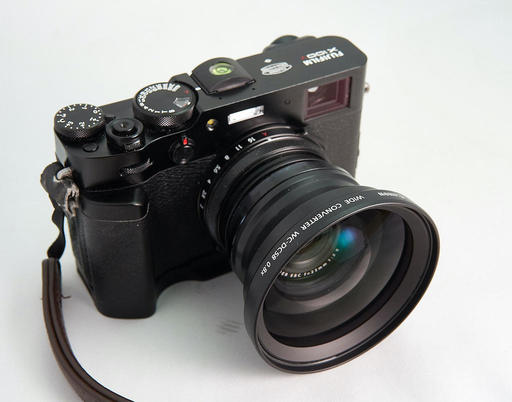 A Canon Wide Converter WC-DC58 0.8X lens mounted to a Fujifilm X100V. Photos by Derrick Story.
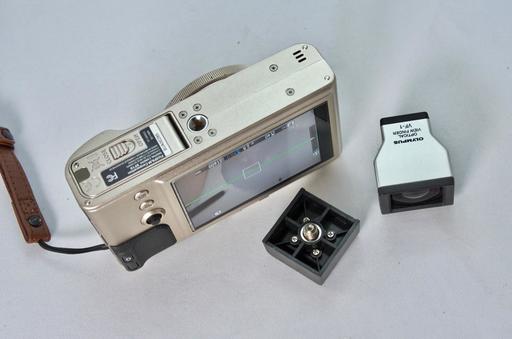
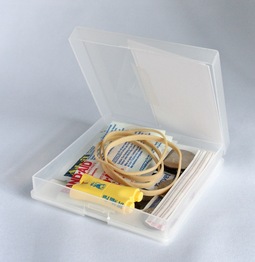
I found a Canon Wide Converter WC-DC58 0.8X lens in my photo accessory drawer, and decided to try it on the X100V. I mean, why not! I already had the filter adapter for the X100V that used 49mm threads. The WC-DC58 had 58mm threads on its backside. I kept digging, found a couple step-up rings that I could cobble together, and made the connection.
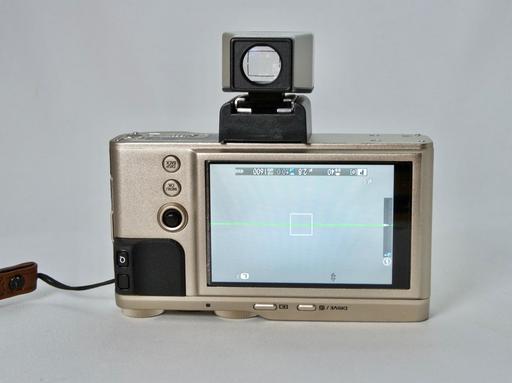
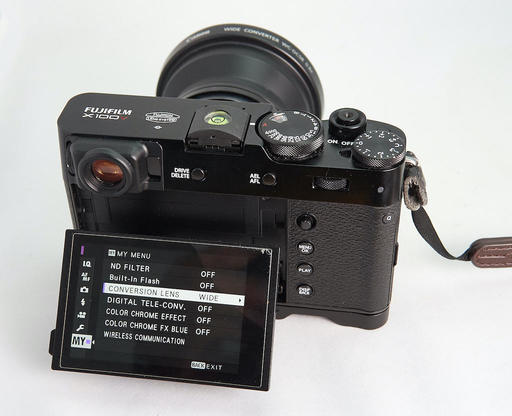
Peering through the electronic viewfinder, the world looked pretty good... and wider too. This had potential. I went to the menu on the Fujifilm and found the Conversion Lens option and set it to wide.
This does two things. First, it correctly adjust the metadata to read at the wider focal length, and it removes the frame lines in the optical viewfinder presenting you with a more accurate view of the world. Very cool.
After a bit of testing and reviewing the images at 100 percent on the laptop, I can confidently say that the lovely Canon Wide Converter works beautifully on the X100V. Sharpness was good at f/2.8 and great beyond f/5.6. Colors were deliciously Fuji, and it looks cool on the camera as well.
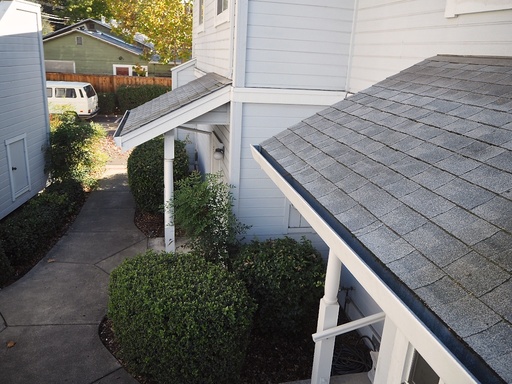
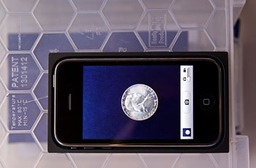
 Photo captured with the Fujifilm X100V and Canon Wide Converter. Processed in Capture One Pro 21.
An interesting note about this experiment. At first I was bummed that I didn't have a straight 49mm-58mm step-up ring, and had to use two rings to make the connection. I later bought a single ring and tested it. Interestingly, the pictures weren't quite as good. Seems that the slightly extra distance using the two rings is the proper calibration. I'll keep testing this, but the results are impressive with the two step-up ring configuration. I'm sticking with it for now.
In case you have a Fujifilm X100 and want to play with this, I did find the Canon WC-DC58 on eBay, usually for around $30. I'm using 49mm-55mm and 55mm to 58mm step-up rings to make the connection. And of course, you will need the Fujifilm filter adapter, which you should have anyway. In case you don't, I like the Vello LHF-X100 Dedicated Lens Hood with Adapter Ring for Fujifilm X100 for $19.95. It works great!
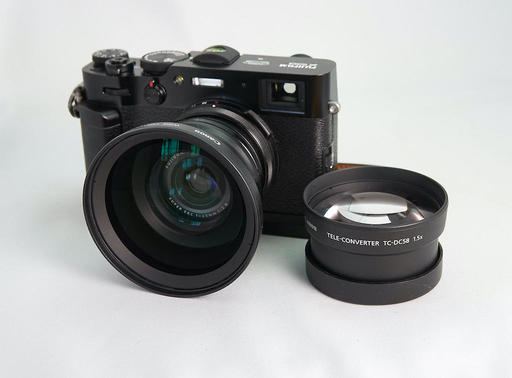
Oh, and guess what else I had in my photo accessory drawer? The Canon Tele-Converter TC-DC58 that provides 1.5X magnification. My oh my.
Product Links and Comments
There are product links in this article that contain affiliate tags. In some cases, depending on the product, The Digital Story may receive compensation if you purchase a product via one of those links. There is no additional cost to you.
You can share your thoughts at the TDS Facebook page, where I'll post this story for discussion.