A fun post on PetaPixel describes how to use Art Filter 11 (Key Line) as an aid for precise manual focusing. I've tested it myself, and it's a clever diversion that prompted me to experiment with some of the other features on the camera.
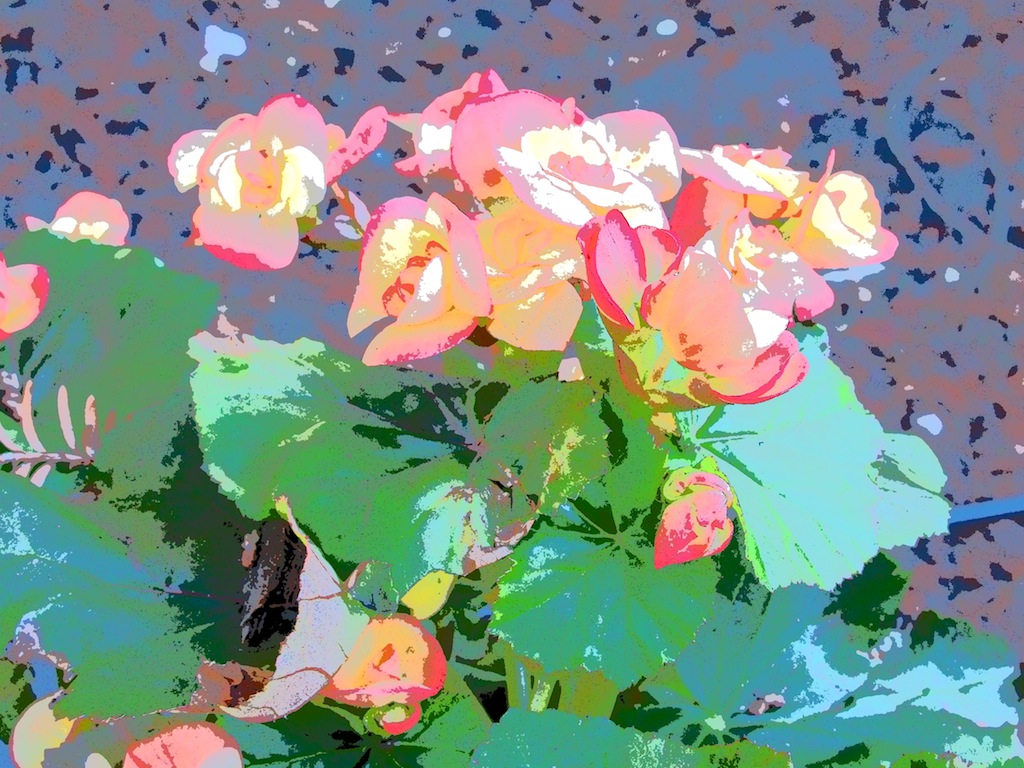 The Key Line Art Filter on the OM-D can be used as a manual focusing aid.
You can read the PetaPixel article for more detail, but in short, switching to this Art Filter makes it easier to manually focus with the camera because it converts the composition to a graphical image. So what you see in the electronic viewfinder is either in focus, or it isn't.
But there are two additional tips I want to add to help with this process. And they are good tips to know in general. First, the Art Filter hack requires that you shoot in RAW+JPEG, then later throw away the JPEG that has the Art Filter effect. Actually, you don't have to wait. You can accomplish this in-camera and view the perfectly focused RAW file right away.
On the OM-D, go to Menu H, select RAW+JPEG Erase, and choose JPEG. Now when you see the Art Filter JPEG in-camera, and hit the Trash button, the RAW file will remain and be viewable on the LCD. Only the JPEG will be discarded. If you want to get rid of the RAW file too, just erase a second time.
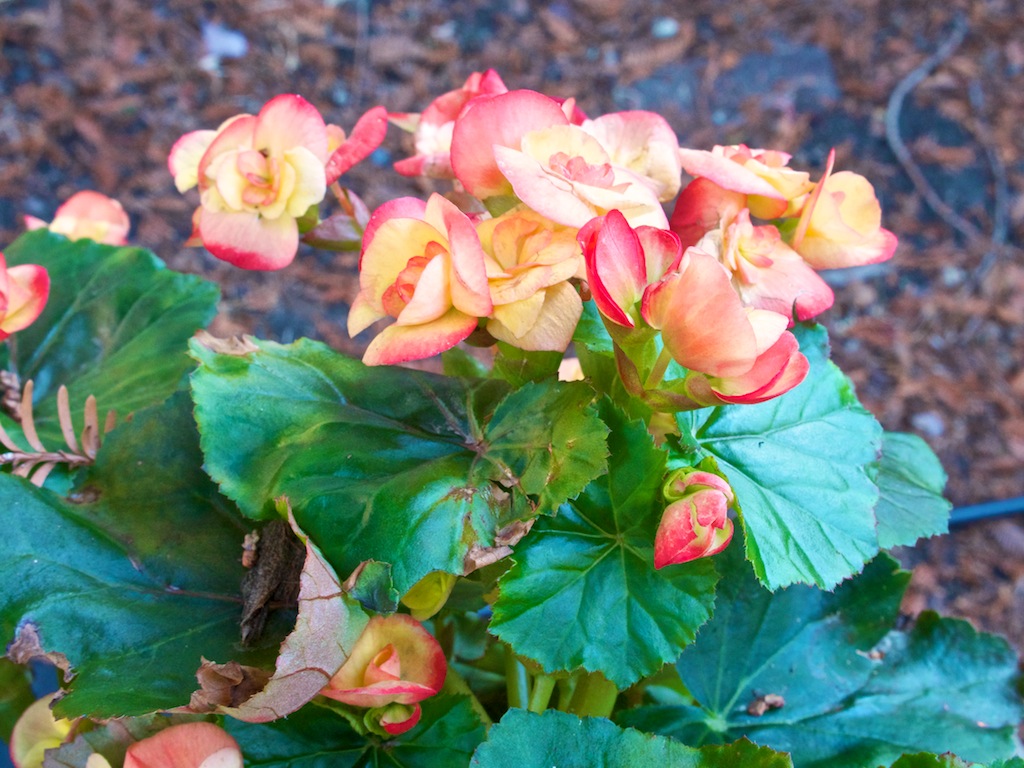 The resulting RAW file benefits from the focusing aid of the Art Filter.
Second, I've programmed Fn1 button to toggle between auto focusing and manual focusing. This is very handy. Go to Menu B, choose Button Function, and set Fn1 to MF. After making this setting, it's easy to jump to MF to use the Art Filter hack, and then back to AF when you're done.
Actually, you don't even have to capture the Art Filter shot if you don't want to. For stationary subjects, you could go to manual focus mode, use the Art Filter hack to focus, then switch to any exposure mode you want, such as Program. Just don't nudge the focusing ring in the process.
One last tip. You can program the Fn2 to switch between RAW and RAW+JPEG. Go to Menu B again, choose Button/Dial Function, choose Button and set Fn2 to RAW. After making this setting, you can easily switch between RAW, JPEG, and RAW+JPEG by simply rotating the dial around the shutter button.
Even though there are some practical uses for this technique, such as precise studio work or landscape, it's mainly a fun way to get to know more features on your camera. Give it a try.


