There are many instances when RAW doesn't work. One of the most common for me is when a new camera comes out, and it isn't supported by Adobe, Apple, DxO or practically anyone else. If I'm in an iPad workflow, I also prefer Jpegs. And sometimes I just need to manage storage space.
 Route 66, Southern California. Super Fine Jpeg captured with an Olympus OM-D E-M10 Mark II and 14-42mm EZ zoom lens. I edited this shot the same way I would RAW - opened up shadows a bit in the Palm trees, recovered a few highlights. Photo by Derrick Story.
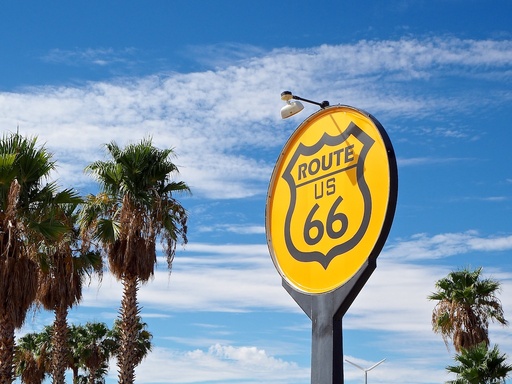
I don't lose much sleep over shooting in Jpeg mode these days. In part, because a while back I discovered Super Fine mode on my Olympus digital cameras. In this format, I capture 16 MP images that are up to 9 megabytes. RAW files from the same camera tend to be in the 13 MB range.
The Super Fine Jpegs are quite editable, with good highlight and shadow recovery. And the preprocessing of the photos that Olympus does in camera is quite beautiful. Many of my images are ready to go right off the card.
If you shoot Olympus, you can enable Super Fine by going to gear menu item G, then click on the top item "Set." This allows you to change your Jpeg parameters. I use Super Fine for large, medium, and small Jpegs. I use the Medium/Super Fine combo when I'm streaming photos to my iPad for quick-turnaround publishing. Otherwise, I like Large/Super Fine.
If you're shooting another brand, check and see what the highest quality Jpeg mode is, then test it.
RAW is important when you need it. But it's not a must for every shot. Especially not that I've discovered this setting.
Want to Comment on this Post?
You can share your thoughts at the TDS Facebook page, where I'll post this story for discussion.


