One of the many feature improvements in Aperture 3.3 is the White Balance tool. Among its enhancements is an "uber auto" button and three "filters" for different types of photos. Here's an overview to get you up and running right away.
 The new white balance tool in Aperture 3.3 includes a "skin tone" option for your portraits. Photo by Derrick Story. Click on image for larger size.
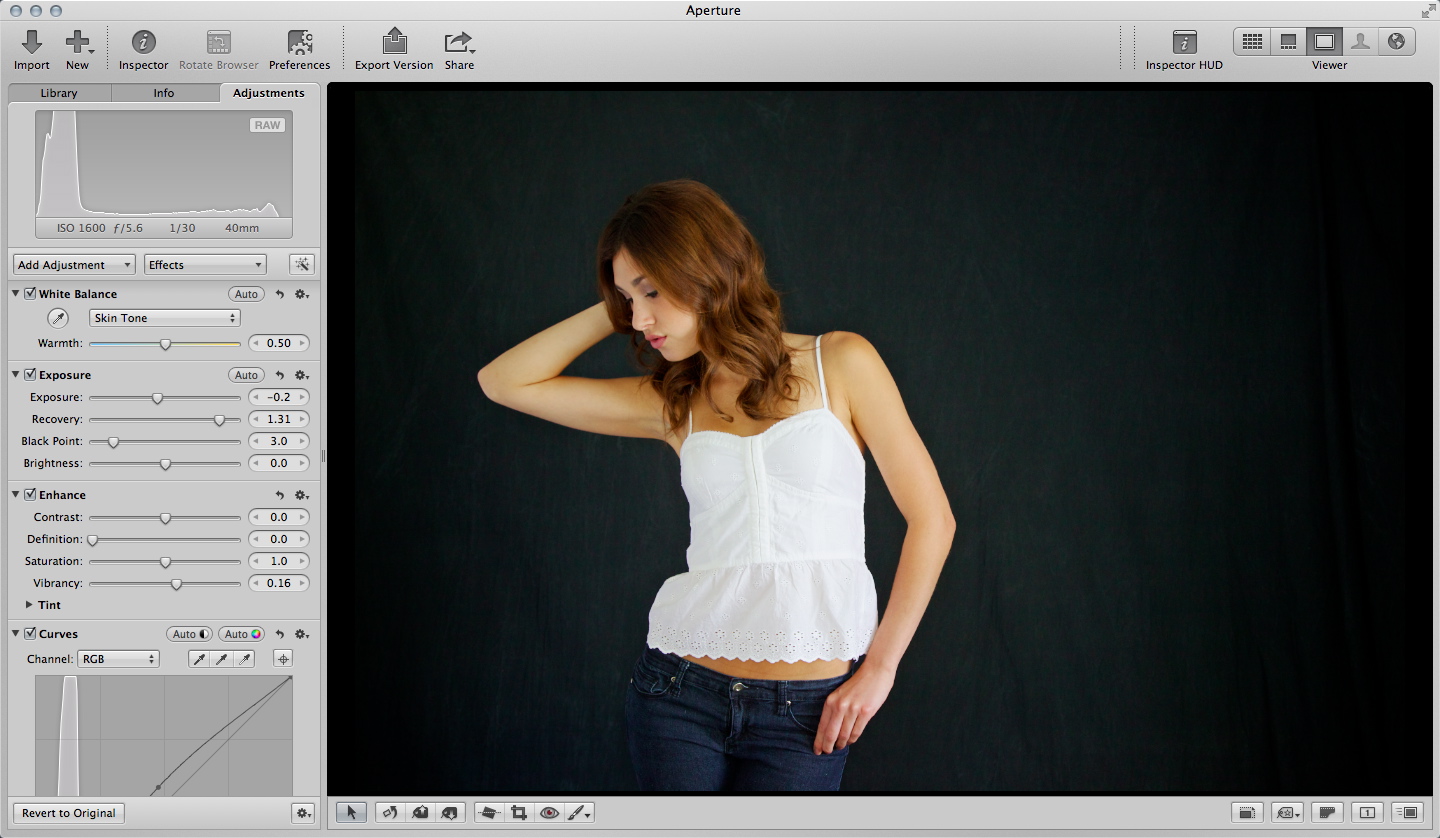
White Balance Popup Menu
Prior to Aperture 3.3 your white balance option was Temperature and Tint. Now there are two additional choices: Skin Tone and Natural Gray. Plus, there's an Auto button, but I'll get to that a bit later.
- Skin Tone - a great choice for portraits. This new algorithm is designed for portraits. Simply place the eye dropper on a skin tone and click.
- Natural Gray - designed to correct color cast, but to also leave some feel for the ambient color in your image. In other words, it won't over-correct your photo. An example could be an underwater scene where you want to temper the blue, but not eliminate it all together.
- Temperature and Tint - this choice is best for color casts that are more extreme where you really need to get in there and move sliders around.
Auto Button
The White Balance brick also includes an Auto button. When you click on it, Aperture runs all three "filters" and you can choose your favorite version. Auto Skin Tone works best when Faces is enabled because Aperture will use face detection technology to fine tune the correction. I had good luck with it, however, even when Faces was not enabled.
What's fun about Auto is that once you run it, you can cycle through the 3 filters to see the different types of corrections, then choose the one you want to use. On this portrait, for example, the Skin Tone version is beautiful, but the Natural Gray and Temperature and Tint versions were a bit too cool.
Recommended Workflow
Apple has made white balance so easy. I recommend that you begin by clicking the Auto button. Then cycle through the 3 filters and choose the look you like best. You can then fine tune the color by using the slider for that filter.
Keep in mind that these corrections are brushable too. So you can further adjust the color in specific areas. I'll cover that in a future post.
Aperture Tips and Techniques
To learn more about Aperture 3, check out my Aperture 3 Essential Training on Lynda.com. Also, take a look at our Aperture 3 Learning Center. Tons of free content about how to get the most out of Aperture.
My next open Aperture Workshop is scheduled for Nov. 2012, in Santa Rosa, CA. You can get on the pre-registration list, plus learn about all the other photography workshops offered this season by visiting the TDS Workshops page.
The Digital Story on Facebook -- discussion, outstanding images from the TDS community, and inside information. Join our celebration of great photography!


