Adding a vignette to landscape and portrait images can help direct the viewer's eye to important areas. There are times, however, when you need more control than a single vignette can provide. That's when the double-vignette technique can prove helpful.
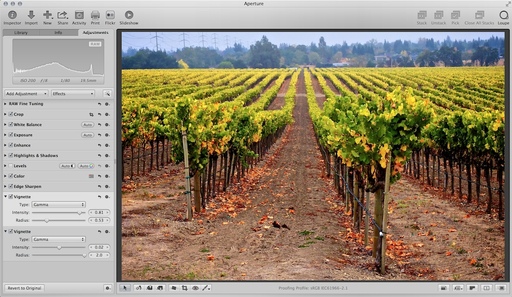 By using two vignette controls instead of one, you have more control over the gradation. Photo by Derrick Story.
Setting this up is easy. First make sure Vignette is active in your Adjustments pane. If not, go to the Add Adjustment popup menu and choose it. My first vignette usually has a radius just for the edges of the image. Adjust intensity to taste.
Then click on the gear icon in the Vignette brick, and choose Add New Vignette Adjustment. The radius for the second brick often covers more ground. By balancing the two Vignette adjustments, I have more control over the tones than with a single adjustment.
More Aperture Tips and Techniques
To learn about portrait retouching in Aperture, take a look at Portrait Retouching with Aperture. You may want to check out my other Aperture titles, including Aperture 3.3 Essential Training (2012), Using iPhoto and Aperture Together, and the latest, Enhancing Product Photography with Aperture. Also, take a look at our Aperture 3 Learning Center. Tons of free content about how to get the most out of Aperture.
Want to Comment on this Post?
You can share your thoughts at the TDS Facebook page, where I'll post this story for discussion.


