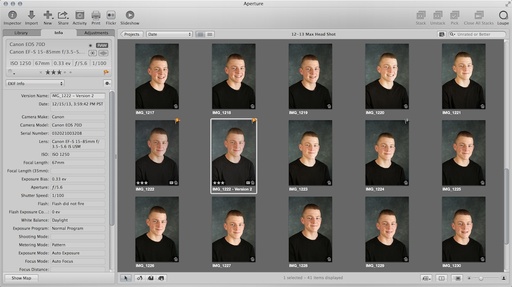
High school yearbook portraits are generally a mechanical process. With lots of students to photograph, and not much time to do it, it's understandable why the process can become a bit impersonal.
According to the students I've talked to, they get one shot in front of the photographer. There might be a second exposure if something went terribly wrong with the first. Otherwise, that's it. Next.
If your child decides that he or she doesn't like the image that was captured, offer to give them a second chance. After all, this is a photo they have to live with for a long time.
As photographers, we shoot portraits regularly. Yearbook shots are among the easiest to do. Simply look at the image that was supplied by the official photographer, find a comparable backdrop, and shoot a series of images.
That's right: a series.
Along the way, show the pictures you've already recorded to the subject. Ask which ones they like the best. Then shoot another series working that pose and expression. After just 15 or 20 minutes, you'll have a happy high school student, and you've put your skills to work for your family.
Aperture Tips and Techniques
If you have questions about portrait retouching in Aperture, or how to adjust the background color, take a look at Portrait Retouching with Aperture. You may want to check out my other Aperture titles, including Aperture 3.3 Essential Training (2012), Using iPhoto and Aperture Together, and the latest, Enhancing Product Photography with Aperture. Also, take a look at our Aperture 3 Learning Center. Tons of free content about how to get the most out of Aperture.
Want to Comment on this Post?
You can share your thoughts at the TDS Facebook page, where I'll post this story for discussion.


