Like many seasoned shooters, I have a library of slides that I'm not using, simply because they haven't been digitized. Thanks to inspiration from Victor Kaijser Bots, who converted a slide projector into an automated digitizer, I've created my own high quality rig with components that I had on hand.
My digitizer is a single-shot system that emphasizes quality over speed. I've dabbled with these projects in the past. The problem was always mediocre quality because of cheap optics.
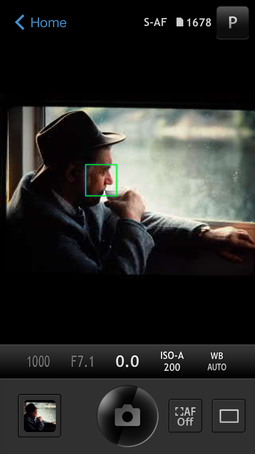
Olympus Image Share app running on an iPhone 5S controlling the E-M1 that's digitizing the slides in the projector.
This rig solves that problem by using an Olympus 60mm f/2.8 macro lens with an Olympus OM-D E-M1. The Olympus 60mm has excellent edge-to-edge sharpness, plus a small barrel diameter to correctly couple with the slide projector. I simply remove the lens that came with the projector, then point the 60mm optic toward the illuminated slide.
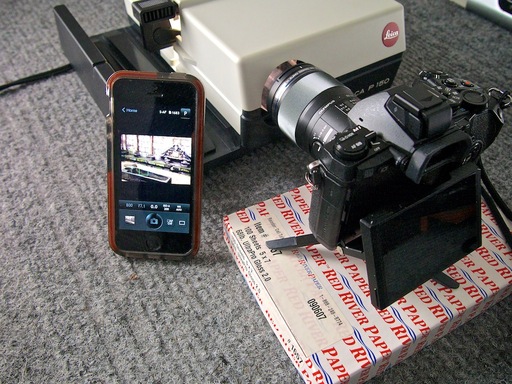 I remove the lens from the Leica P 150 slide projector and point the macro 60mm toward the image. I used the Olympus Image Share WiFi app to control the OM-D E-M1.
The trick to making this rig work is to install a diffuser between the slide and the light source. This creates even illumination that's ideal for digitizing the image. I cut an piece of translucent plastic that was originally used for a portable light box that no longer worked. (I usually take apart broken items and salvage parts before discarding them.) I sandwich the diffuser with the slide and insert them into the single viewing slot on the projector.
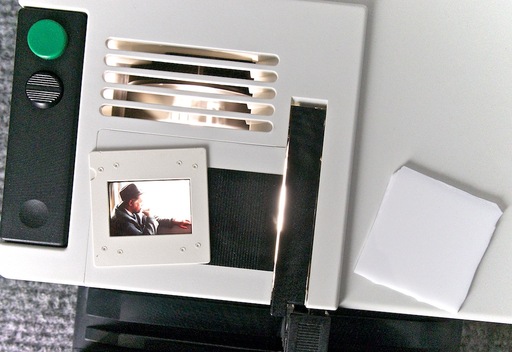 The diffuser (on the right) is placed between the light source and the slide.
I used the Olympus Image Share app on my iPhone to focus and trip the shutter on the camera. This is really nice because I get a preview on the iPhone and have access to camera controls, without have to fiddle with the camera itself. Plus, I don't jar the E-M1 when initiating the exposure.
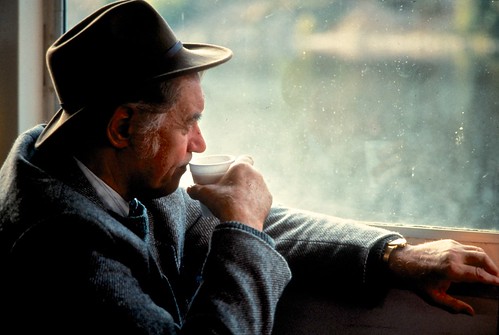
The resulting digital images were very faithful to the originals, and quite easy to scan. This portrait was captured on a train in Scotland in 1992 with a Contax 167MT and Fuji 100 slide film.
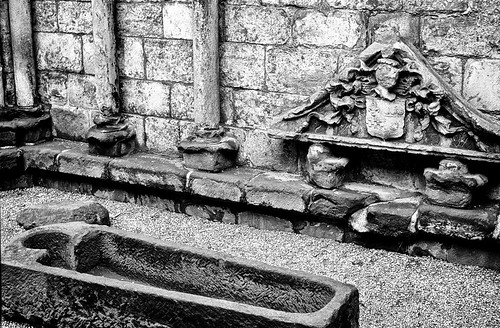
The picture below was captured with the same equipment, then converted to B&W using Nik Sliver Efex Pro.
I could further automate this process by figuring out a way to mount the diffuser in the slide projector without damaging the projector itself. I still want to be able to present traditional slide shows with the Leica P 150. But I can tackle that challenge another day. For now, I'm having a blast converting images from my past and adding them to my Aperture library.
Aperture Tips and Techniques
To learn more about Aperture, which is what I use to image edit and catalog my digitized slides, check out my Aperture 3.3 Essential Training (2012) on lynda.com. Also, take a look at our Aperture 3 Learning Center. Tons of free content about how to get the most out of Aperture.
The Digital Story on Facebook -- discussion, outstanding images from the TDS community, and inside information. Join our celebration of great photography!


