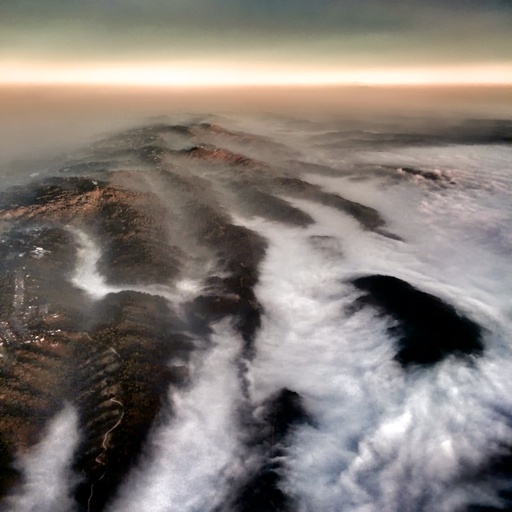
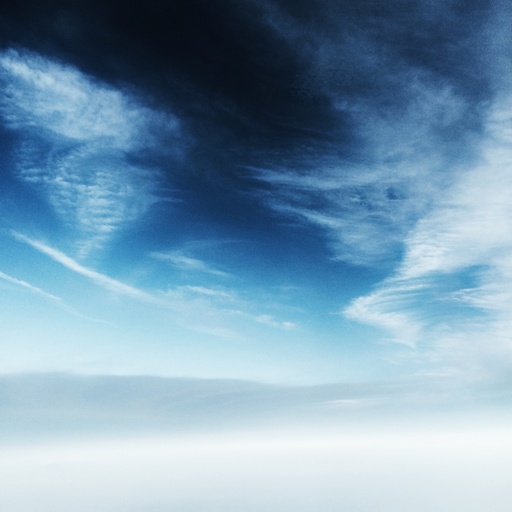
Now with eased rules about electronic devices during takeoff and landing, our opportunities for airplane window photography are better than ever. Here are a few points to consider before you lift off from the tarmac.
Seat Location
As logic would dictate, a window seat is required. There are obstacles that come with this position, especially on long trips when it's time for a bathroom run. But these are the sacrifices we make for our art.
I also prefer a seat that's not over the wing. This is easier said than done, especially if you're tall. The more roomy Exit Row seats are great for comfort, but not so good for picture taking... unless you're in to wings and jet engines.
Take these issues in to consideration when booking your reservation.
Up Against the Glass
I still see photographers position the front of their lenses too far away from the window. You need to get your lens as close as possible to the surface. (And try to find a clean spot while you're at it.) This helps eliminate reflections. Notice that I say, "helps"? That's because unlike most windows in the world, these are twin panes with lots of space in-between. So you still have to keep an eye on reflections. But a good start begins on your side of the window.
No Flash
Again, I shouldn't have to say this: no flash!
Exposure Compensation
High altitude photography is hell for camera meters. Once you compose your shot, use exposure compensation to adjust the lighting. Even with iPhones this is easy. If you have the current iOS 8, launch the Camera app, then tap on the phone screen to focus. When the sun icon appears, slide you finger along the yellow line. One direction makes the scene brighter, and the other darker. Do it!
Post Production
Generally speaking, the original images will look a little flat. I like to spice them up before posting.
Since I'm usually shooting window shots with my iPhone, it's easy to fire up Snapseed (or your favorite image editor) to adjust color and contrast. It only takes a minute or two, but makes a big difference. I usually have the image ready to go before the drink cart arrives.
When you touch down at your destination, cellular activity is allowed again, and you can post your prize-winning shot.
More Help on Managing Your Mobile Photos
In my lynda.com title, Managing Your Mobile Photos, I cover a variety of backup solutions for both iOS and Android users. These tutorials will help you build the perfect backup solution for you, so that you never lose a single memory (especially those cool shots from the air).
Join me on my Instagram site as I explore the world of mobile photography. And now Instagram features 15-second movies too.
Want to Comment on this Post?
You can share your thoughts at the TDS Facebook page, where I'll post this story for discussion.


