I've been working with the Priime Styles editing extension for Photos for macOS. I've applied its filters to my iPhone Jpegs and RAWs from my Micro Four Thirds cameras, and I've had some excellent results.
BTW: Priime Styles works for Lightroom users too. So if you're not into Photos, then still read on...
The iPhone workflow is straightforward. You open the image in Priime, choose from their vast array of professional filters, and save. But in order to get the most out of the RAW workflow, I have a few tips.
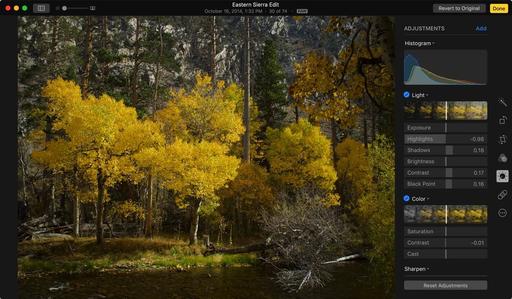
 Duplicate your RAW file in Photos, then edit it using native tools first. Images by Derrick Story.
Duplicate Your RAW and Edit First
Priime Styles can import your RAW file, but it returns a Jpeg to your Photos library. My recommendation is to duplicate the RAW in Photos, then apply your basic adjustments while it's still in the RAW state. This gives you much better control over recovering highlights and opening up shadows.
Send Edited RAW to Priime Styles
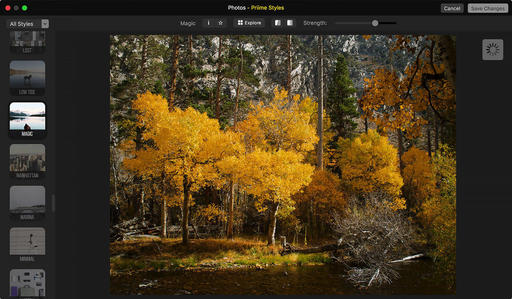
Once your RAW has received its basic adjustments, you can send it over to Priime Styles for finishing. There are lots of filters to choose from. And this part of the process is really fun. All you have to do is click on the thumbnail to apply a filter.
 Load the edited RAW file into Priime Styles and apply your favorite filter.
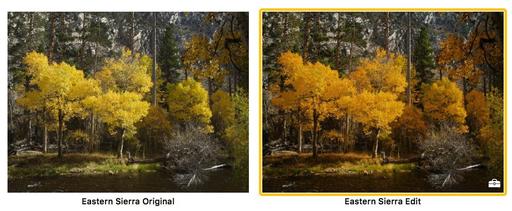
Now click the Save Changes button, and a Jpeg will be returned to your Photos library, right next to the original RAW. You have all of the standard options at this point, such as viewing the master (press the M key) or reverting to the original RAW file.
When working in Priime Styles, I like to start with the Explore button to view thumbnails of all the possibilities for my image. Once I choose a filter, I generally use the strength slider to adjust the intensity. You have two different comparison buttons so you can really get a feel for the before and after. This editing extension is very easy to use, and it provides a wealth of options for your pictures.
Master Photos for OS X
(It's More Powerful than You Think)
For hands-on tutorials, be sure to take a look at Photos for OS X Essential Training on lynda.com. I cover everything you need to know to get the most from this surprisingly powerful image management application.
For photographers who are more than just casual snapshooters, or who are making the transition from Aperture or iPhoto, The Apple Photos Book for Photographers shines a light on the sophistication of this app and the ecosystem it taps into. Available as an eBook now, and coming to print later this year.
Get it for $15 using checkout code APPLE15!
More Help and Insights on Photos for OS X
Don't forget about the Photos for OS X Special Feature Section on The Digital Story. It's a roundup of tutorials, videos, and articles focused on helping you master Apple's latest photo management software. You can also find it under Photography in the top nav bar.
Want to Comment on this Post?
You can share your thoughts at the TDS Facebook page, where I'll post this story for discussion.


