With the introduction of the Accent AI filter in Luminar Neptune, you can create what Macphun calls the "Quick and Awesome" workflow that yields beautiful images quickly.
Photos for macOS users have it even better because Luminar is also an editing extension for their host application. So not only do you get the built-in tools in Photos, but you can tap the additional power of the rapidly evolving Luminar. Here are the steps.
- Open your image in Photos, then press the Return key to enter Edit mode.
- If you have a Jpeg/RAW stack, switch to RAW mode via Image > Use RAW as Original.
- Click on Extensions at the bottom of the tools panel, and choose Luminar from the popup menu.
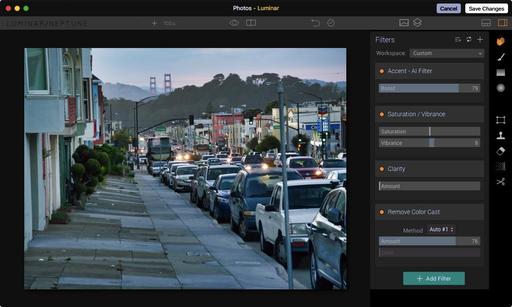
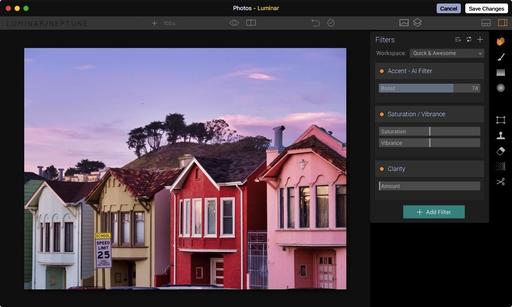
- Once the file opens in Luminar, choose the Quick & Awesome Workspace (as shown in the illustration below).
- Use the Boost slider in the Accent - AI filter to adjust your image.
- Tap Save Changes to return to Edit mode in Photos.
Once you back in Photos, you can use the M key to toggle the before and after. You can continue to refine the image, let's say adding Definition or Sharpness, if desired. But it probably won't need much.
Then, thanks to iCloud, your awesome photo will be updated and live on all of your devices.
This is a wonderful, powerful, and to be honest, fun workflow. If you haven't explored Luminar Neptune yet, I highly recommend it.
Photos for macOS as Your Digital Darkroom
You can learn more about using Luminar as an editing extension in my lynda.com training, Photos for macOS: Advanced Editing Extensions.
And if you'd prefer to cozy up with a book, check out The Apple Photos Book for Photographers that features chapters on basic editing, advanced post processing, and editing extensions.
You can share your thoughts at the TDS Facebook page, where I'll post this story for discussion.


