
The software we have on the backend can help free us from cumbersome equipment at capture. One example is my "weekend kit" that I carry with me when out and about with family and friends.
In one pocket, I have an iPhone X for all the usual reasons. And in the other, I often carry the Fujifilm XF10. Even though it fits in my front jeans pocket, it sports a lovely Fujinon aspherical lens and an APS-C image sensor. Plus it communicates with the iPhone to record location data as I shoot. (I love geotags!)
Most of the grab shots are in Jpeg mode, but if I come across a scene that would benefit from RAW, I can capture a .RAF file with the simple press of a button the the back of the camera. By doing so, I have all of my options available to me later in post production.
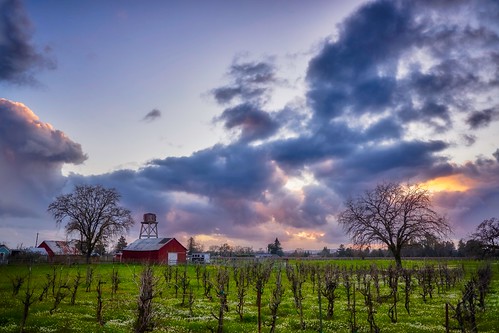 "In Between Storms" - Fujifilm XF10 - Photo by Derrick Story
Once I return home, I have a specific workflow that helps me maximize the content that I've captured in the field. I process the RAW files in Capture One Pro 12. This latest version does a great job with Fujifilm RAW files, pulling out all of the color and detail. Plus, while I'm there, I can fine tune the image a bit with the new Luminosity mask or a graduated screen.
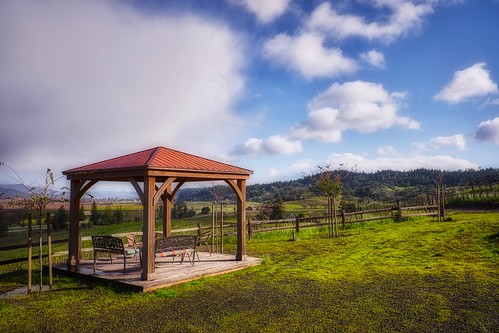 "Gazebo on a Rainy Day" - Fujifilm XF10 - Photo by Derrick Story
There are lots of things that I could do at this point. And to be honest, this is where most photographers will diverge from my workflow. But I'm going to tell you anyway.
I then export a maximum resolution Tiff file, import it into Photos for macOS Mojave, and use the Luminar 3 Editing Extension to finish the shot.
One of the reasons why I move my best shots to Photos after processing in Capture One Pro 12 is because of iCloud. The image is automatically backed up and propagated to all of my devices. I can use it right away for Flickr, Instagram, Facebook, etc. Plus, I have the good feeling of knowing that my favorite work is archived without any further effort on my behalf.
The other reason is because the Luminar 3 editing extension is just so darn good. The finishing touches I apply with that app really make a difference, and the changes are automatically saved to the images in iCloud.
Side Note: Luminar 3 is on sale for 29 percent off through Feb. 18, 2019. That's only $49 for this impressive app.
I only use this Capture One Pro 12 > Photos > Luminar 3 workflow for my favorite shots. The rest of the images are backed up traditionally via hard drive in Capture One. But those favs... they are culled out and are now in my pocket, and available to share at anytime, anywhere.
Luminar Essential Training
You learn all the ins and outs of Luminar via my Essential Training on lynda.com and on LinkedIn Learning. It's fun, and I promise, you will improve your shots.
Learn Capture One Pro
You can get familiar with this imaging software by checking out Capture One Pro 11 Essential Training on LinkedIn Learning. You can also tune in on lynda.com if you prefer your training there. My updated Capture One Pro 12 Essential Training should be out next month. Stay tuned.
You can share your thoughts at the TDS Facebook page, where I'll post this story for discussion.


