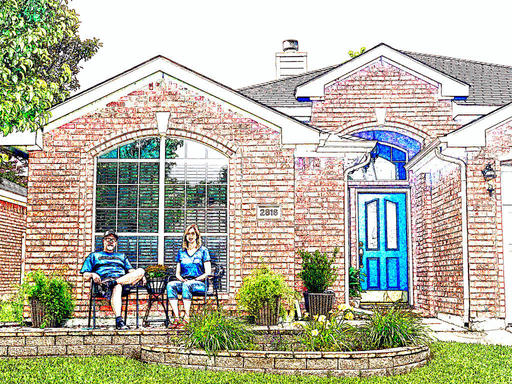
As much as I love photographs, certain subjects lend themselves to a more artistic rendering. Such as this home in Texas where my sister and her husband live. Here's how to create an etching of a picture in 3 steps using Photoshop.
 Stylized rendering using the 3-step Photoshop method. Image by Derrick Story.
- After your image is open in Photoshop, go to Filter > Stylize > Find Edges. Photoshop will instantly convert the image to what looks like a pen and ink drawing.
- Go to Edit > Fade Find Edges and choose Hard Mix from the Mode popup menu. Make sure the Preview box is checked, and adjust the Opacity to taste.
- Zoom in on areas that you want to clean up, and use the Clone Stamp to adjust them to your liking. Use Save As to preserve your rendering.
You can further play with the image using standard adjustment tools such as Levels. Once you're happy with the artwork, I strongly suggest printing it on some lovely matte paper or making a fine art card with it. I recommend visiting the Red River Paper site for ideas and supplies. For this shot, I'm going to make a fine art card on RRP Arctic Polar Matte.
 Original iPhone picture used as the starting point for the rendering.
Bonus Tips
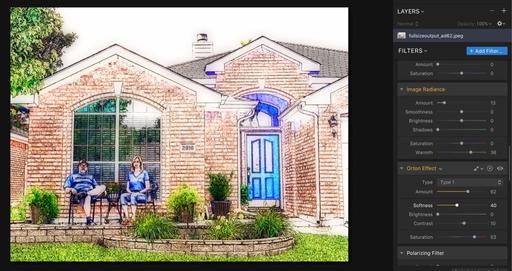
You can add more "body" to your image with a dash of magic by importing the rendered file into Luminar 3 and applying a little Image Radiance and Orton Effect. It takes the edge off the etching and looks even more artistic.
 Rendering run through Luminar 3 with Image Radiance and Orton Effect added.
Snapshots are great for preserving memories. But when the subject lends itself to something a bit more stylized, consider trying this approach as well.
You can share your thoughts at the TDS Facebook page, where I'll post this story for discussion.


