As photographers, much of our image publishing is via the Web, which usually means that we reduce the size of the original image before posting.
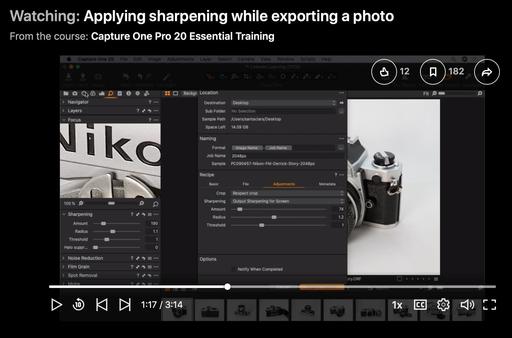
In Capture One Pro, as we simultaneously export and reduce size (sample down), we can also compensate for any loss of detail that happens as we prepare the file for publishing. In the export dialog box we can go to the Adjustments tab and set up Output Sharpening. Here's a look at that process.
Applying sharpening while exporting a photo from Capture One Pro 20 Essential Training by Derrick Story
I like that there are options for both screen and print. For example, if I know I'm going to print this image on matte paper, the output settings would be much different than those for gloss, or for a Web page for that matter.
If you're curious about how easy output sharpening can be in Capture One Pro, watch the movie at the top of this article. It's a solid introduction to this pro feature.
It's from my latest online class, Capture One Pro 20 Essential Training on LinkedIn Learning, or, if you're a lynda.com subscriber, you can watch it there as well.
If you don't have Capture One Pro yet, you can download the 30-day free trial (Mac/Win). No credit card is required, and it's a fully functioning version.
Some applications have some form of output sharpening, but very few provide the control that's available to you in Capture One Pro.
You can share your thoughts at the TDS Facebook page, where I'll post this story for discussion.


