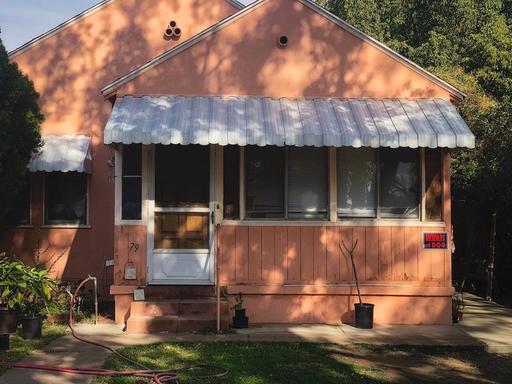
On a recent trip to Southern California, I took daily walks for both exercise and photography. I like capturing scenes that I think are iconic to neighborhoods in the area.
 Home in a Southern California bedroom community. Photo by Derrick Story.
One thing that always jumps out at me while visiting this area is the difference in color palette of the houses and landscapes. When I'm reviewing the images on my laptop, I like to enhance that vibe via color grading. One of my favorite tricks in the process is to tap LUTs.
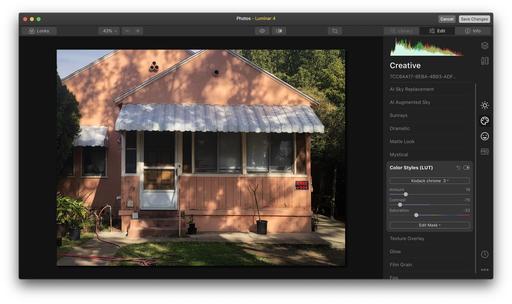
LUTs (Lookup Tables) are a mathematically precise way of taking one set of RGB values and changing them to new set. A lot of things happen under the hood with LUTs, but in action they feel like presets. I often tap them in Luminar, and it's as simple as mousing over a list and previewing the effect on my photograph.
Once I've found a color look that I think creates the mood I want, I can fine tune its appearance using the Amount, Contrast, and Saturation sliders. Often the effect feels subtle, but when I view the Before/After of the picture, the color grading adds that dash of salt that makes the dish taste better.
Keep in mind that LUTs are for color grading, not correction. So they are applied near the end of the editing process after you've adjusted white balance and exposure. Many applications support them, such a Lightroom, but some are easier to use than others. In my case, I prefer Luminar's approach.
Don't forget about LUTs when you're thinking mood. They can be an excellent finishing touch.
You can share your thoughts at the TDS Facebook page, where I'll post this story for discussion.


