Nothing brings a good photograph to life like making an 11" x 14" or 13" x 19" print of it. But as any photographer knows, big output uses a fair amount of ink. And when you buy OEM cartridges, they are expensive.
I've developed a sweet little workflow that has reduced these costs considerably. And I think you might find it useful if you have access to a smaller multifunctional printer with a second larger one designed for photography.
Start with the Smaller Printer
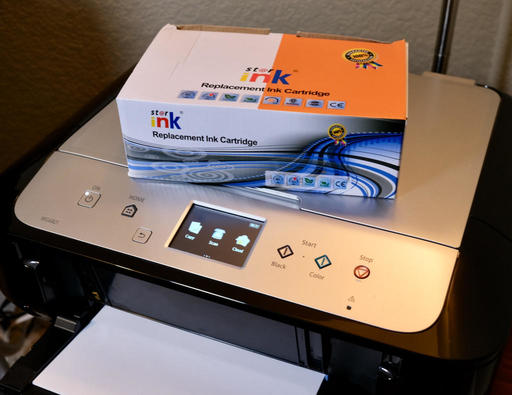
I have a Canon MG6821 multifunctional printer that I bought a while back for around $65. I use it for scanning, making copies, and "quick & dirty jobs". It's great. Instead of purchasing the more expensive Canon cartridges, I've been using third-party ink that costs a fraction of the OEM kit. I've been using this tandem for quite some time. The output looks great and the printer seems perfectly fine with it.
When I want to make a big print for framing (and archival), I first experiment with the image using 8.5" x 11" Red River Paper. I use the same surface for the test prints as I plan to use for the final image. I tend to like the Arctic Polar Luster.
Once I get the image looking the way that I want with the letter-sized output, I move over to the Canon Pro 100. This typically only take a print or two, and costs very little.
Finish with the Big Printer
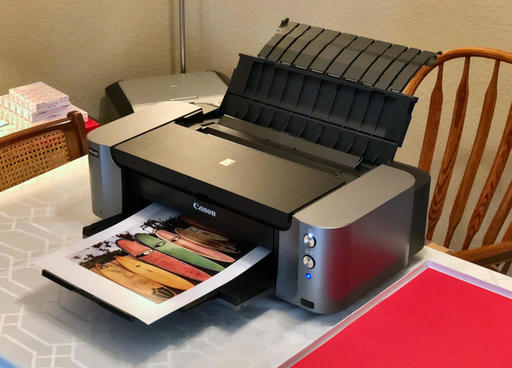
Now that I understand how the image will print, and the adjustments required for it in the print dialog box, I set up the job with the Canon Pro 100 using Canon ink and the same Red River Paper surface. More often than not, I get it right on the first print.
Using this system has extended the life of my expensive Canon print cartridges, while still providing the quality I want for the final output. Give it a try and see what you think!
You can share your thoughts at the TDS Facebook page, where I'll post this story for discussion.


