Practically every photographer has Photoshop somewhere on their computer, even if it is generations old. One of the most useful tools in that application is Image Size, and you can use it to give your 12 MP smartphone pictures a resolution bump. This is particularly handy for making 13" x 19" prints.
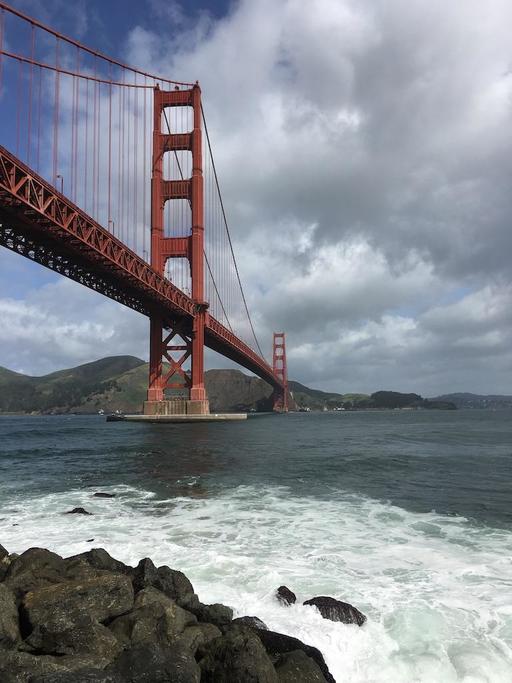
For example, this 2016 shot of the Golden Gate Bridge was captured with an iPhone 6S.
 Original iPhone 6S photo. All pictures by Derrick Story.
The original file measured 3024 x 4032 pixels. If I printed it at 300 dpi, I could make a 10" x 13" print with no cropping at all. That's short of the 13" x 19" output we were hoping for. But using Image Size, I could get there.
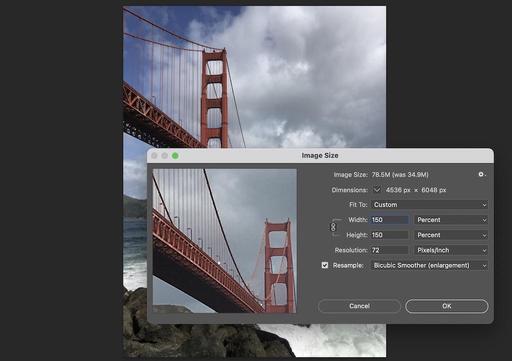
 Using Image Size to sample up the picture.
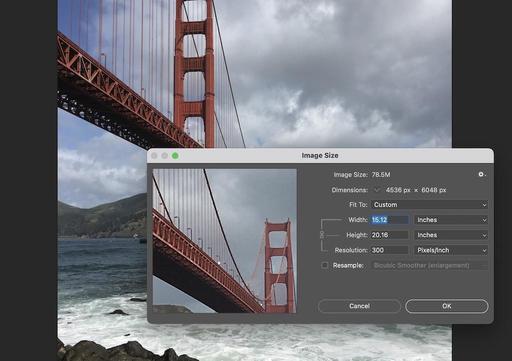
In Photoshop, I went to Image > Image Size, checked the box next to Resample with the Bicubic Smoother option, and increased the Fit parameters to 150 percent. The resolution remained at 72 ppi for this step. After clicking OK, Photoshop said that I could now make a 15" x 20" print at 300 ppi from the very same image. Yay.
 After Image Size, I had the resolution I needed to make a print.
Once I had the resolution that I needed, I could enhance the image and make that 13" x 19" print that I was hankering for.
We can use all sorts of tools to sample up images, even the Swiss army knife app, Preview, has Adjust Size that provides this functionality. And of course, we've been reading about the new software that uses AI to further refine the results.
But Photoshop, if you have it, is a sweet spot because it is readily available, provides lots of options for sampling up and sampling down, and works great.
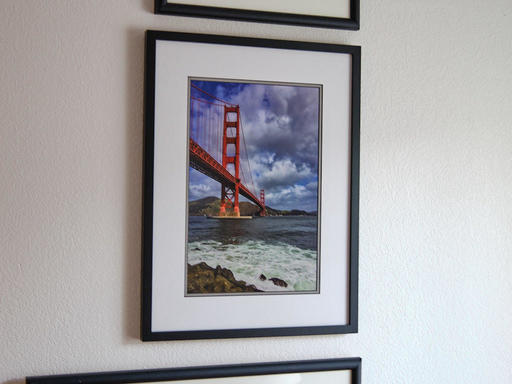
BTW: that Golden Gate Bridge shot is now hanging on my wall at home.
 The final product hanging on the wall.
If you want to know more about the story of this shot, check out my Medium.com article titled, How I Made a Large Wall Print from an iPhone 6S.
You can share your thoughts at the TDS Facebook page, where I'll post this story for discussion.


