Whether you have a window box over the kitchen sink, clay pots on the patio, or a raised bed in the backyard, the flowers you cultivate can live far beyond their vase-life expectancy with the help of your camera and inkjet printer.
Fine art greeting cards are one of the most satisfying print projects, and they are very easy to create. All you have to do is photograph a few of your favorite blossoms, then follow these simple steps.
1 - Prepare the Image
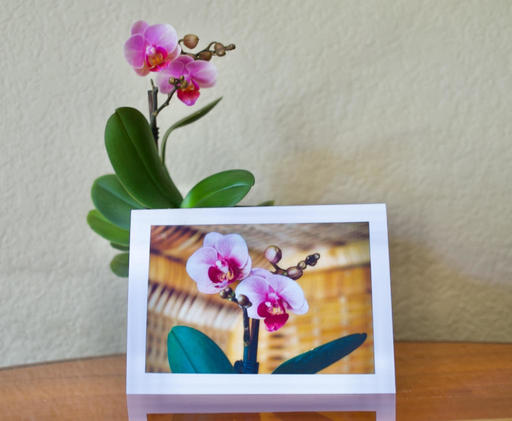
The finish size for our greeting card will be 5" tall and 7" wide. So you'll want to crop your image to 5"x7" so it looks exactly as you want on the front of the card. This is especially important if you're going to print a "full bleed" edge-to-edge picture.
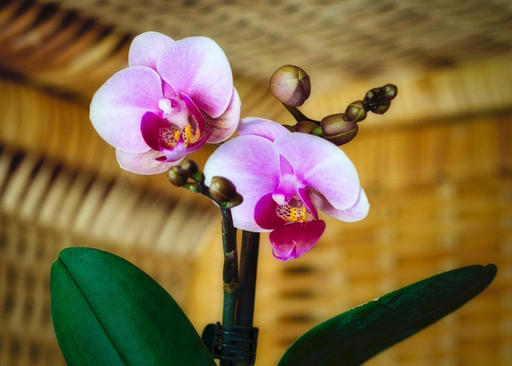 Image cropped to fit properly on card.
Also, if you're printing on a matte surface paper, I would add a little extra sharpening to compensate for dot spread.
2 - Choose Your Paper
I recommend Red River Paper pre-scored 7x10 60lb. paper for this project. It has a lovely weight, folds easily along the score, and is available in a variety of surfaces.
For this project, I used Item #1058, 60lb. Red River Paper Canvas. Images look terrific on this matte surface, and the card feels absolutely lovely in the hands. There are many other stocks that work wonderfully as well, so have a few on hand. And don't forget to add a box of 5.25"x7.25" envelopes to your order.
3 - Print the Card
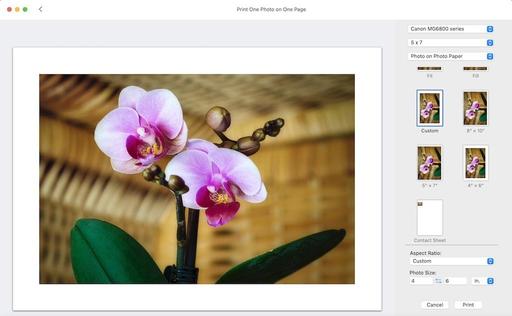
You can use any app that supports inkjet printing. I'm currently using Photos for macOS because it's easy and provides good results.
Prefold your card so that it's 5"x7" in dimension and insert it into the printer intake tray. Fold the card as flat as possible to ensure that it feeds smoothly. I print just one card at a time to prevent paper jams. (I know you're thinking that this won't work, but it does on both of my inkjet printers.)
In the print dialog box, set up your job. If you want to float the image on the front of the card, use the settings in the illustration below. (I think this is a handsome pro touch!)
Now all you have to do is enable Print, and within a few minutes your finished card will emerge from the printer. Finish it off by writing a note on the inside and put it in the envelope. You're ready to go!
Final Thoughts
What I love about this project is that it combines the beauty of gardening with the joy of sharing handmade greeting cards with those you care about.
You don't need a professional photo printer - just about any all-purpose inkjet device will work. And trust me, you will truly impress the recipients with your "garden to fine art" skills.
Make someone happy today!
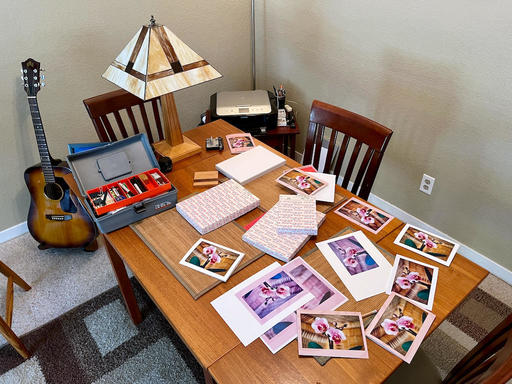 Printing days are fun! All images by Derrick Story.
You can share your thoughts at the TDS Facebook page, where I'll post this story for discussion.


