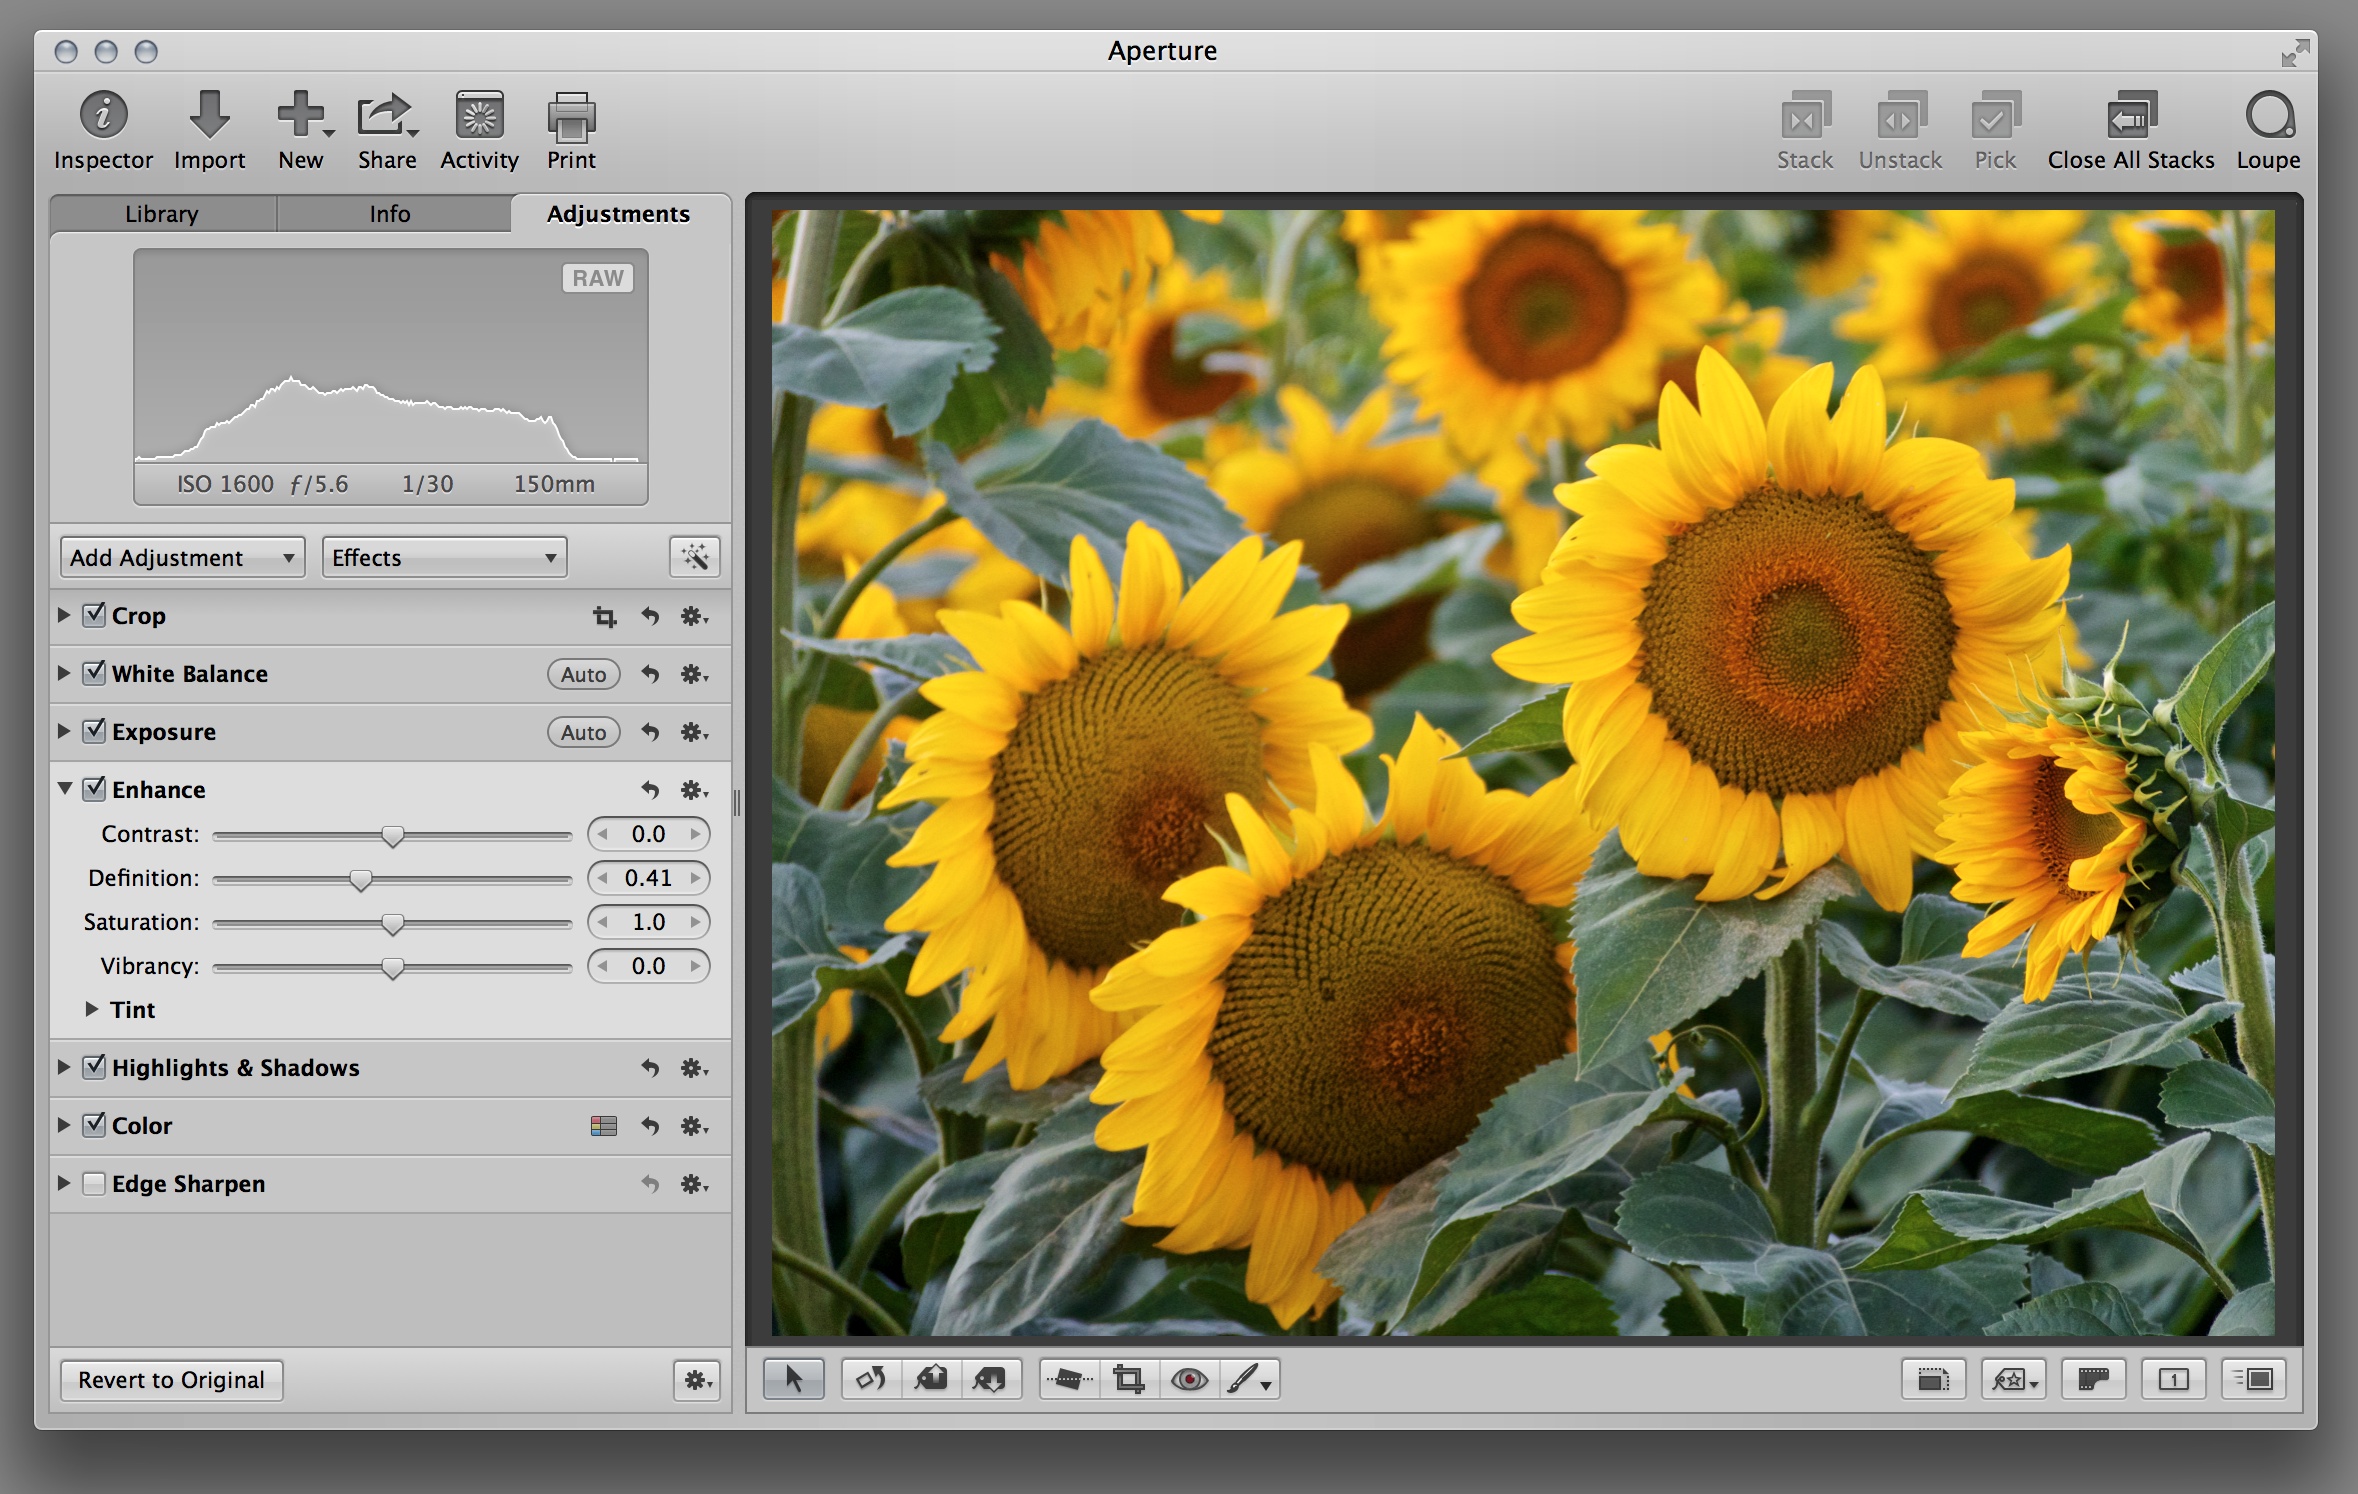
Most photos can be improved with just a few adjustments... especially if you know which levers to pull. In my Macworld article, The 7-step edit in Aperture 3.4, I walk you through an easy image editing workflow that will improve 90 percent of your pictures.
Aperture Tips and Techniques
To learn more about Aperture, check out my Aperture 3.3 Essential Training (2012) on lynda.com. Also, take a look at our Aperture 3 Learning Center. Tons of free content about how to get the most out of Aperture.
The Digital Story on Facebook -- discussion, outstanding images from the TDS community, and inside information. Join our celebration of great photography!


I like this article, though it was on the light said for me. I would like to comment, as someone else did, that there should be more of a community surrounding aperture if for no other reason than promotion. Are there communities, that I am not aware of?
Derrick,
Thanks for the workflow ideas. Even as a long time Aperture user, it was helpful. You have been a nice source for Aperture training over the years. Through your earlier posts, learning to make localized adjustments in Aperture was a major breakthrough for me in getting the most out of Aperture. Using duplicate bricks (two "Highlights & Shadows" bricks for instance) for a given image has added even more power to the localized editing options. Another useful idea from your prior teaching is to alternate between the "Clone" and "Repair" brushes when trying to clean up a portion of an image in order to keep it from looking too unnatural.
I do wish we had more high-level Aperture training available such as the Aperture workshops that you do each year. If you know of other good resources in addition to your workshops, we would love to hear about them.
Thank you.