If you're shooting RAW+Jpeg and upload those images to Photos for OS X, the application typically places the Jpeg forward. You can tell that this is the case via the badge in the lower left corner of the image with a "J" on top. (See second illustration.)
 In editing mode, you can tell Photos to switch to the RAW file.
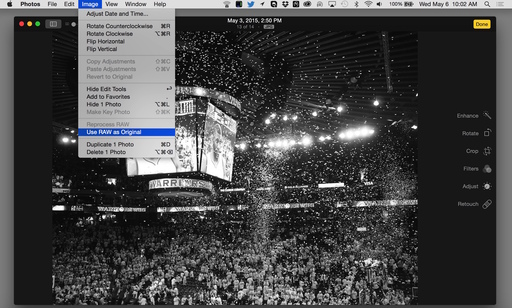
Most photographers will want to edit the RAW file in post production. You can tell Photos that you want to work on the RAW by following these steps.
- Double-click on the thumbnail to enlarge it, then click on the Edit button in the upper right corner.
- Go to Image > Use RAW as Original.
- Edit as normally, then click the Done button.
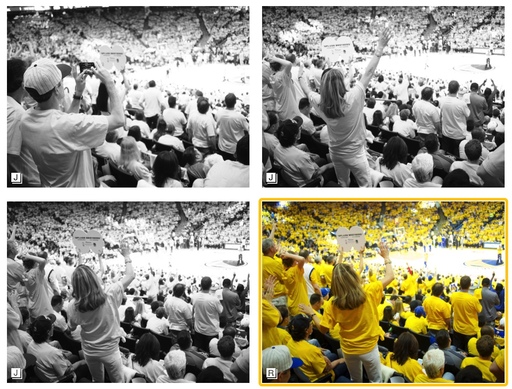
You'll notice that when you go back to thumbnails, the badge will now have an "R" on top instead of a "J", indicating that the RAW is the working image. You can control these badges by going to View > Metadata and turning on and off the ones you want.
Want to Comment on this Post?
You can share your thoughts at the TDS Facebook page, where I'll post this story for discussion.


