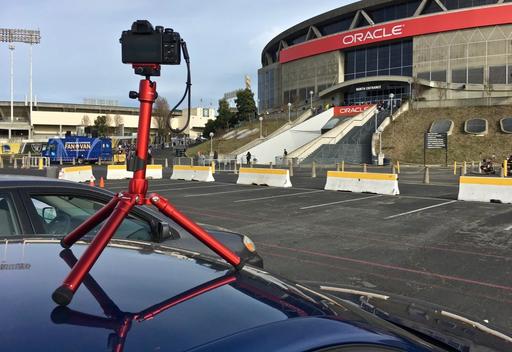
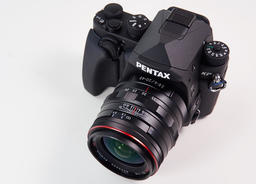
As a working photographer who moved from Canon to Pentax for my DSLR work, expectations were high for the KP and its DA lenses. After month of working with the camera, I can easily say that I'm happy with the transition.
First, the Shortcomings
Let's get the nits out of the way. The battery is too small and runs out of juice earlier than most photographers would expect. I understand that Pentax was designing a DSLR to be as compact as possible. And they succeeded. But by also providing us with removable grips, they lost that space that could be used for a bigger battery. Was it a good tradeoff? That depends on the photographer. I love the removable grips, so I'm not complaining too much.
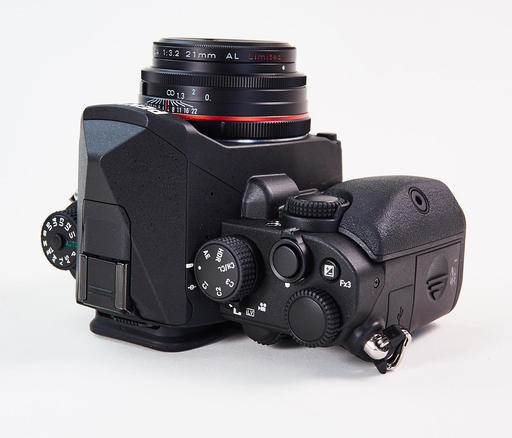
The Mode Dial lock button must be pressed every time to change exposure modes. A more clever design is to push it down to lock, then push again to let it pop up and unlock. There are times when I want to be able to change modes freely without fiddling with the button.
There's only a single SD Card slot. Again, I know that compactness was a top design priority. But I feel like this is a pro camera. And as such, dual SD card slots would be appropriate.
Other reviewers have cited cons such as "heavy weight" and disappointing continuous AF. I don't know about that. I never hear anyone complain about the weight of a Leica. And I wouldn't have selected the KP for sports photography anyway. This is a camera designed for the outdoor photographer on the go who wants high quality in a compact, weather resistant package. As such, I've been fine with the AF.
What I Like
This list is much longer. For starters, I love have the option for DNG or PEF RAW files. It's wonderful not having my RAWs held captive by processing software. With the DNGs, I've been able to use any app for post production.
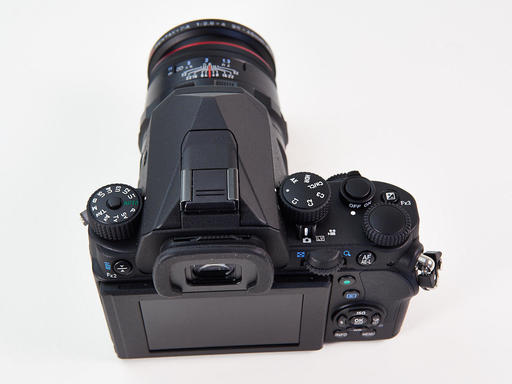
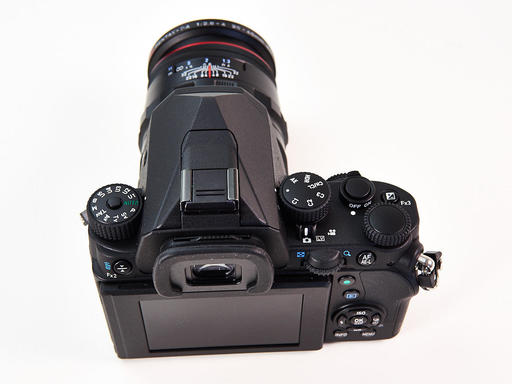
The top deck is beautiful. Having the guts to not include a top LCD panel resulted in a clean, classic design. I haven't missed the top LCD for a second. I don't have one on my mirrorless bodies, and I don't need it on my DSLR either.
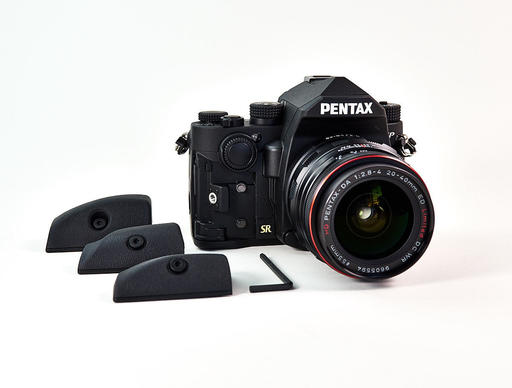
The interchangeable grips are great. I'm opting for the larger one most of the time because it feels so good. But if I want to slim down with the 21mm prime, for example, I can do so with the medium grip as well. Cool idea that's also quite functional.
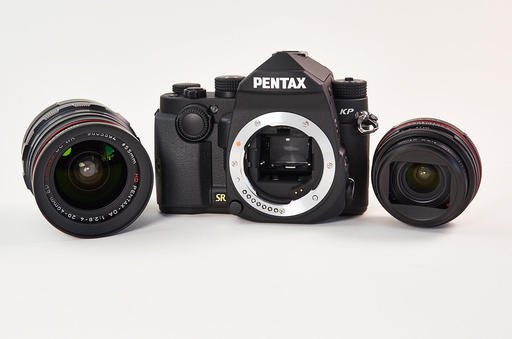
I came to love sensor-based image stabilization with my Olympus cameras. And it's just as wonderful on the Pentax KP. Their 5-axis Shake Reduction system works for both my state of the art DA limited optics, as well as my vintage Pentax-A and Pentax-F lenses. I like not having to pay more for an optical stabilized lens. I can use any type of glass that will mount to the camera, and have it stabilized.
The popup flash is well designed and works great. It stands up taller and is handy for fill flash portraits on the go. I don't use flash often, but like everyone else, when I need it, I need it. And not having to carry a separate unit is a blessing.
These is plenty of customization via the programmable buttons and dials. Pentax spent a lot of time figuring out the user experience for this camera, and it's paid off handsomely. The KP is a true pleasure to shoot with.
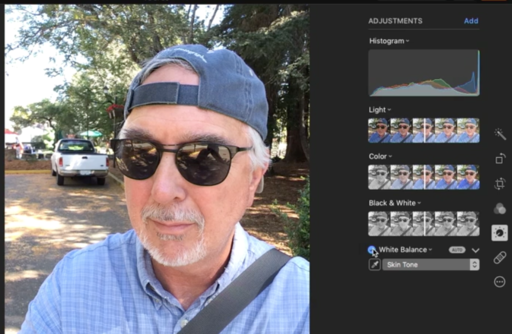
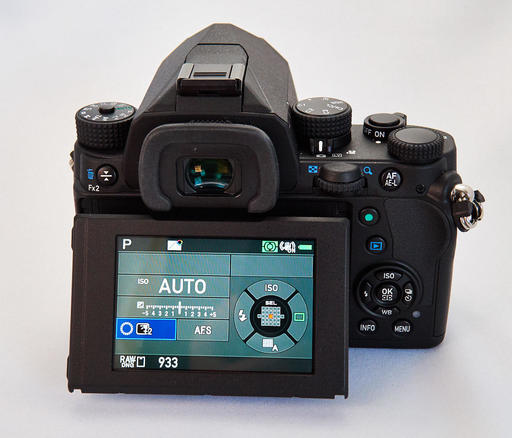
I've used the articulated LCD in Live View mode many times, and it's such a nice feature to have on a DSLR. There are a variety of focusing modes you can access in Live View. I like the selectable point for product work, and face detection for portraits. And with face detection, you have access so special features such as Skin Tone, which reads the subject's skin and provides some lovely softening and color adjustment.
And finally, there's the image quality. It's flat out terrific. The Pentax DA Limited optics are excellent, as is the sensor and image processing pipeline. And the fact that I can capture beautiful shots at ISO 1600, 3200, or even 6400, provides me with more opportunities than ever before.
Prior to purchasing the Pentax KP, my interest in DSLR photography had waned, opting for my mirrorless bodies most of the time. But now, I feel like I have a more complete photography toolset to draw from. And I can truly choose the right camera for the job, and enjoy doing so. I highly recommend the Pentax KP.
More Articles About the Pentax KP
Pentax KP Review - Part One - Top Deck - An overview of the Mode dial, Function dial, and other controls on the top panel of the camera.
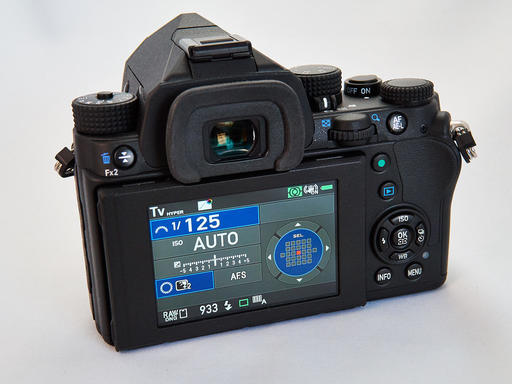
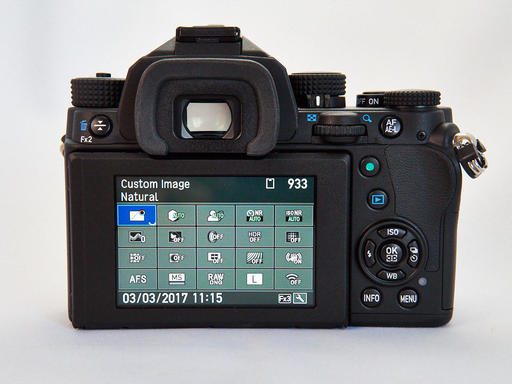
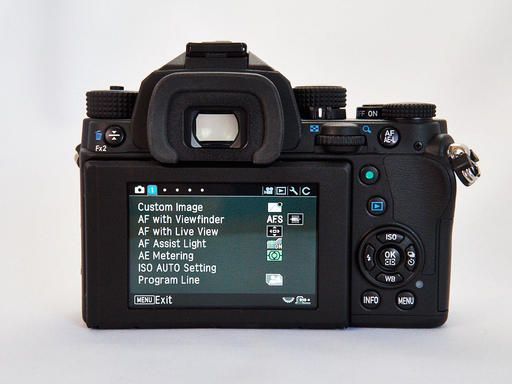
Pentax KP Review - Part Two - The Back Panel - An overview of back panel controls and the menu system for the Pentax KP.
Pentax KP Review - Part Three - Image Quality - A hands-on look at how the camera performs with Pentax Limited Edition optics.
You can share your thoughts at the TDS Facebook page, where I'll post this story for discussion.