This is The Digital Story Podcast #595, August 1, 2017. Today's theme is "The Unfriendly Skies for Photographers." I'm Derrick Story.
Opening Monologue
Travel is as important to many photographers as the cameras they carry. Because let's face it: you can have the coolest mirrorless in the world, but if you don't have anything interesting to shoot, it's not worth much. But unfortunately air travel has become increasingly unfriendly for us. So this week's show is dedicated to making our trips as painless as possible.
The Unfriendly Skies for Photographers
On July 26, 2017, TSA announced new security measures for domestic travelers.
As new procedures are phased in, TSA officers will begin to ask travelers to remove electronics larger than a cell phone from their carry-on bags and place them in a bin with nothing on top or below, similar to how laptops have been screened for years. This simple step helps TSA officers obtain a clearer X-ray image.
It is possible that passengers may experience more bag checks, however, through extensive testing, TSA identified ways to improve screening procedures with quicker and more targeted measures to clear the bags. The new screening procedures in standard lanes are already in place at the following 10 U.S. airports with plans to expand to all airports during the weeks and months ahead:
- Boise Airport (BOI)
- Colorado Springs Airport (COS)
- Detroit Metropolitan Airport (DTW)
- Fort Lauderdale-Hollywood International Airport (FLL)
- Logan International Airport (BOS)
- Los Angeles International Airport (LAX)
- Lubbock Preston Smith International Airport (LBB)
- Luis Muñoz MarÃn International Airport (SJU)
- McCarran International Airport (LAS)
- Phoenix Sky Harbor International Airport (PHX)
In standard screening lanes, TSA officers will be stationed in front of the checkpoint X-ray machines to guide passengers through the screening process and recommend how best to arrange their carry-on items for X-ray screening. Travelers are encouraged to organize their carry-on bags and keep them uncluttered to ease the screening process and keep the lines moving. There are no changes to what travelers can bring through the checkpoint; food and liquid items that comply with the 3-1-1 liquids rule, electronics, and books continue to be allowed in carry-on bags.
For photographers, this new screening approach will be a supreme hassle. So what are some of the things that we can do to mitigate our discomfort?
- Signup for TSA Pre - By enrolling in the TSA Pre program, you can avoid taking electronics out of your carryon when going through security. You enroll online, then schedule a 10-minute appointment for background screening and fingerprinting. The service fee is $85.
- Simplify the boarding process - The earlier you can get on the plane, the more options you have for stowing your gear. Fewer devices, camera bodies, and lenses simplify this process. If you're flying for a job, you have to bring what you have to bring. Otherwise, pare down. Airline programs that provide early access, combined with traveling as light as possible, will get you in your seat faster.
- Avoid red flags - Don't attract attention to yourself by forgetting about liquids, knives, flammables, and other prohibited items. Once you're on the radar, they're going to become very curious about all of that gear.
- Get to the airport early - Nothing makes me more uneasy than traveling with someone who likes to arrive at the last minute. That might be fine for a friend's birthday party, but no good for a traveling photographer with lots of gear. Even with TSA Pre, I've seen the line back up to the door.
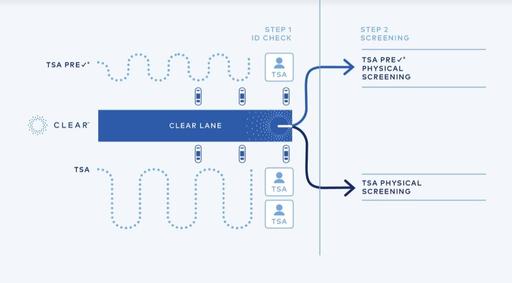
- Consider adding Clear Pass - CLEAR speeds you through the long line for ID check, and guides you to the screening line. Just find a Clear lane, verify that you are you with a tap of the finger or blink of an eye, and you speed right through. Enrolled in PreCheck? We'll provide you with fast access to PreCheck screening for eligible flights. You can start the enrollment process here. Currently Clear is in over 20 airports and growing. It costs $179 a year.
Even if you do all of these things, they is still no protection against delay flights, obnoxious travelers, and rude airline staff. So pack plenty of patience and as much humor as you can muster. May the skies be friendly for you.
11 Free Apps I Couldn't Live Without as a Photographer
Photographer Paul Adshead posted this article on F-Stoppers. There are some terrific suggestions here.
New Subjects Added to The Nimble Classroom
I've trying to figure out a way to bring more personalized training to photographer without them having to travel. It's one thing to get on a plane to photograph wine country or the French Quarter, but not quite as alluring to sit in a classroom for two days.
As a result, I've designed a new approach called, The Nimble Classroom. And now there are four courses for the Summer Session of The Nimble Classroom.
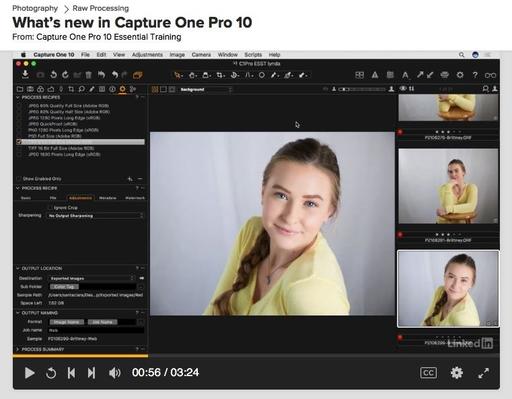
- August 19, Catalog Management, Capture One Pro
- September 9, Expert Editing, Capture One Pro
- September 23, Luminar Pro Techniques
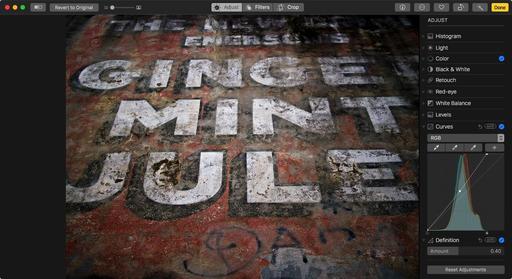
- October 7, Photos 3 for macOS
You can learn more about them and sign up for your favorites by visiting The Nimble Classroom online.
Updates and Such
Big thanks to all of our Patreon members!
B&H and Amazon tiles on www.thedigitalstory. If you click on them first, you're helping to support this podcast. And speaking of supporting this show, and big thanks to our Patreon Inner Circle members.
And finally, be sure to visit our friends at Red River Paper for all of your inkjet supply needs.
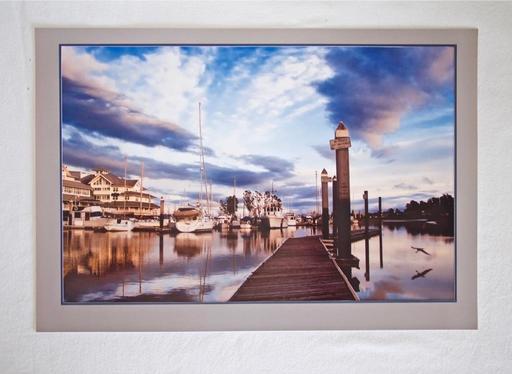
Texas-based Red River Paper recently announced a new fine art paper, Palo Duro Etching. The new paper is a 100 percent cotton rag paper and is free of optical brightener additives. The paper is designed to offer warm white tones, deep blacks and a subtle texture to accurately recreate traditional darkroom fine art prints.
See you next week!
More Ways to Participate
Want to share photos and talk with other members in our virtual camera club? Check out our Flickr Public Group. And from those images, I choose the TDS Member Photo of the Day.
Podcast Sponsors
ImageFramer 4 - ImageFramer is used by artists, professional and amateur photographers, scrapbookers, framers, and people who simply want their family photos to look better.
Red River Paper - Keep up with the world of inkjet printing, and win free paper, by liking Red River Paper on Facebook.
The Nimbleosity Report
Do you want to keep up with the best content from The Digital Story and The Nimble Photographer? Sign up for The Nimbleosity Report, and receive highlights twice-a-month in a single page newsletter. Be a part of our community!
Want to Comment on this Post?
You can share your thoughts at the TDS Facebook page, where I'll post this story for discussion.