This is The Digital Story Podcast #745, June 30, 2020. Today's theme is "Olympus Passes the Torch to Japan Industrial Partners." I'm Derrick Story.
Opening Monologue
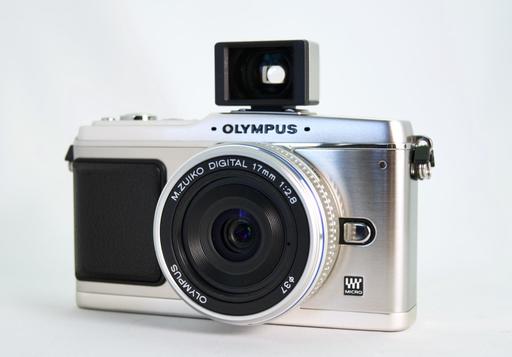
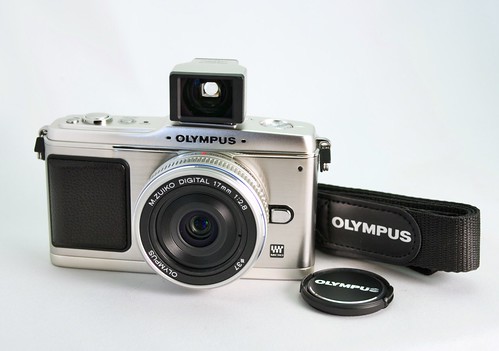
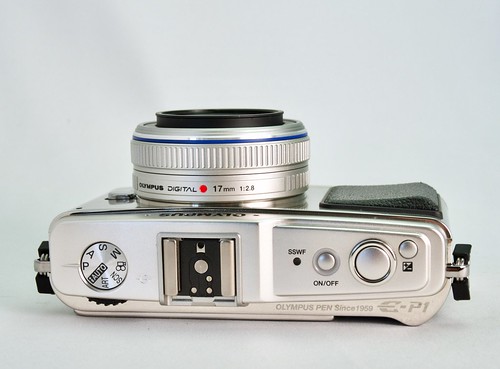
By now, I'm sure every Micro Four Thirds camera owner has heard the news. The Imaging Division of Olympus is being carved out and sold to Japan Industrial Partners. As to be expected, much concern and speculation has followed the announcement. And today, I will add my thoughts to the discussion.
Olympus Passes the Torch to Japan Industrial Partners
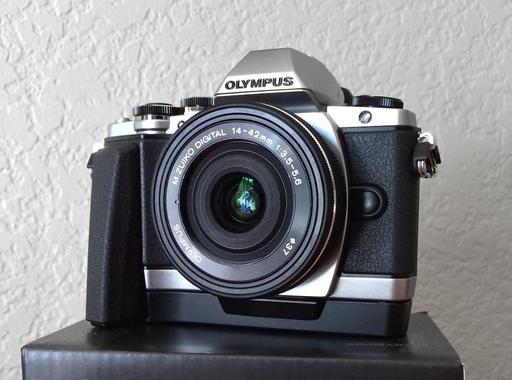
I'll share my views on the sale of Olympus Imaging to Japan Industrial Partners. Let's start with the official announcement that I received.`
As you are aware, the Imaging industry has experienced marked declines for several consecutive years. The market is contracting as the smartphone industry grows, and competition has been steadily increasing in the mirrorless interchangeable lens camera segment.
Due to these long term trends as well as recent market contractions due to COVID-19, the Olympus Imaging Business Unit has signed a memorandum of understanding (MOU) with Japan Industrial Partners, Inc. (JIP). According to the MOU, both companies are entering into further discussions about the potential transfer of Olympus' long-standing Imaging business to JIP by the end of 2020.
During these discussions, Olympus Imaging will operate business as usual and will continue to deliver innovations to our customers, launching new products as planned. Olympus and JIP are committed to providing our stakeholders full transparency about our intentions as plans solidify.
For more details, please also refer to our corporate disclosure "Signing of Memorandum of Understanding for Divesture of Imaging Solutions Business" dated June 24, 2020. (https://www.olympus-global.com/news/ir/2020/)
Derrick then reviews the Memo of Understanding.
iOS 14 Will Finally Let You Add Captions to Photos
You can read the entire post here on PetaPixel.
If you shoot a lot of photos on an iPhone, you may be happy to know that captions are finally coming to your phone in iOS 14.
MacRumors published screenshots of the upcoming caption, which iPhone users have long requested.
There's a new "Add a Caption" field found under individual photos after you swipe up.
Captions are reportedly synced across all your devices if you've enabled iCloud Photo Library, and you'll be able to view them in macOS Big Sur under the Captions field (which was previously named Description).
The captions will be extremely helpful for locating old photos out of a massive trove due to the fact that they're searchable.
Other photo-related features coming in iOS 14 include new filter and sorting options, better navigation, Live Photos playback stabilization, enhanced Memories, and a redesigned image picker in apps.
The New Donation Kit for Carefree Shipping of Found Film Cameras
We have more time around the house than ever. And you finally dove into that bedroom closet that's been begging for some organization.
If you found a film camera that you're no longer using, our new Donation Kit makes it easy to pack and ship. Just visit the Contact Form on thenimblephotographer.com, click the box next to Donating a Film Camera, and let me know what you have. In your note, be sure to include your shipping address.
If it's a camera we can use for the shop, I'll send you a Donation Kit that includes a USPS Priority Mail shipping box and prepaid label. All you have to do is tape it up, insert the camera, and add the label. USPS will pick up your shipment from the front door of your house during their regular mail delivery. It's that simple!
Your donation help get analog gear in the hands of aspiring fine art photographers, and the proceeds help support this podcast.
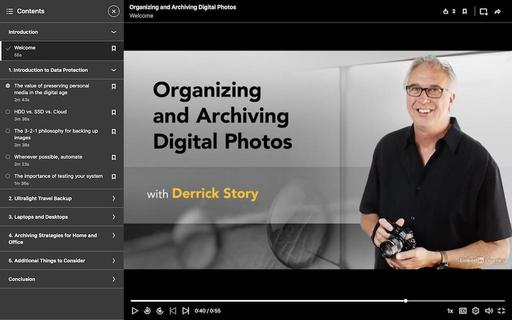
Just Released! Organizing and Archiving Digital Photos
It's a concern that lingers in the mind of just about every digital photographer: "How do I preserve my digital images and make them accessible while doing so?"
If you've had those thoughts, then help is available now. My latest LinkedIn Learning/lynda.com title, Organizing and Archiving Digital Photos is a complete course that shows you a variety of options and techniques to take control of protecting your image collection.
As your photo library grows, it becomes more important to back up your work. In this course, I teach the concepts and techniques behind efficient photo management for the long haul. First, I compare a few selected photo storage philosophies and techniques. I then show you how to create an ultralight backup system for travel, also back up photos stored on a laptop (or desktop), and finally, review archiving strategies for storing photos for decades.
Here are just a few of the talking points that I cover in the training.
- Creating an ultralight backup system for travel.
- Sending images from cameras to mobile devices.
- Internal vs. external hard drives (both have their roles).
- Organizing photos in managed vs. referenced catalogs vs. Finder-based.
- Re-archiving images from older hard drives (do this before they fail!).
- Integrating cloud services into your overall strategy.
- Including a few tips you might not have considered, such as making archival prints of your best images.
You can start fine-tuning your workflow today by watching Organizing and Archiving Digital Photos on LinkedIn Learning and on lynda.com. It's a great way to begin the process of protecting your digital media for years to come.
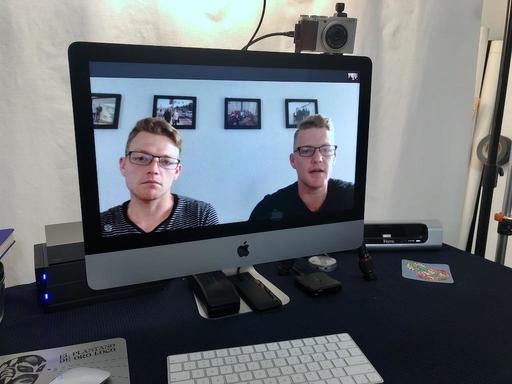
The Essential Steps to Impressive Video Conferencing
If you want to learn more about looking and sounding great for your next online interaction, then I think you'll very much enjoy my latest online workshop, The Essential Steps to Impressive Video Conferencing.
This 1-hour deep dive focuses on the 3 major areas of successful online interaction: Audio, Video, and Environment. During the course, I walk you through a variety of techniques that range from simple using gear that you already have, to improving your chops through a few inexpensive purchases.
The course is currently available for free to our Inner Circle Members on Patreon. Members, just go to our Patreon site, and all the information will be there. If you're not already an Inner Circle Member, you can join us for $5 a month.
The course is also available on our Nimble Photographer Workshop Page for $14.95.
I have tons of great tips and techniques waiting for you there. If you want to get serious about how you come across during online meetings, classes, interviews, and family interactions, then you definitely will want to watch this course.
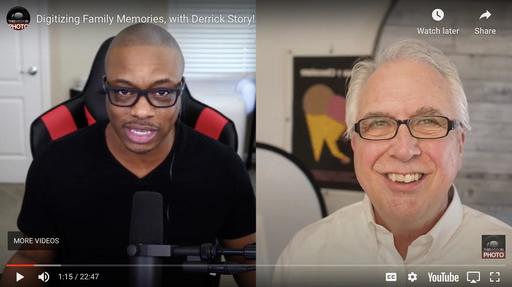
Digitizing Family Memories Course Now Available Online
Each of the four classes will outline a specific set of steps for you to accomplish. By the end of the course, you will have an organized digital archive of your most valuable family images.
You can sign up for the course by visiting the Workshops page on The Nimble Photographer. The course fee is a reasonable $39 (on sale right now). It includes the 4 class videos, class notes, and access to the class forums that are a part of each movie.
Updates and Such
Inner Circle Members: A big thanks to those who support our podcast and our efforts!
Due to the coronavirus pandemic, we've had to postpone our July photography workshop at Lassen Volcanic Park. We so still have on the schedule, however, our Eastern Sierra event in October.
How to Watch Photos for macOS Catalina and iPadOS - Learn everything you need to know about Photos for the Mac and iPad by checking out my latest course on LinkedIn Learning and on lynda.com. This course is perfect for Mac and iPad based photographers who shoot with iPhone, Mirrorless, and DSLR cameras. It covers both photography and movies. And if I say so myself, it's a lot of fun.
B&H and Amazon tiles on www.thedigitalstory. If you click on them first, you're helping to support this podcast. (The Digital Story is supported by its audience. When you purchase through links on our site, we may earn an affiliate commission.) And speaking of supporting this show, and big thanks to our Patreon Inner Circle members:
Affiliate Links - The links to some products in this podcast contain an affiliate code that credits The Digital Story for any purchases made from B&H Photo and Amazon via that click-through. Depending on the purchase, we may receive some financial compensation.
And finally, be sure to visit our friends at Red River Paper for all of your inkjet supply needs.
See you next week!
More Ways to Participate
Want to share photos and talk with other members in our virtual camera club? Check out our Flickr Public Group. And from those images, I choose the TDS Member Photo of the Day.
Podcast Sponsors
Red River Paper - Keep up with the world of inkjet printing, and win free paper, by liking Red River Paper on Facebook.
The Nimbleosity Report
Do you want to keep up with the best content from The Digital Story and The Nimble Photographer? Sign up for The Nimbleosity Report, and receive highlights twice-a-month in a single page newsletter. Be a part of our community!
Want to Comment on this Post?
You can share your thoughts at the TDS Facebook page, where I'll post this story for discussion.