This week on The Digital Story Photography Podcast: Mac OS X El Capitan for Photographers, TDS 2016 Photography Workshop Lineup, Revisiting the DxO ONE with the iPhone 6S - all of this and more on today's show with Derrick Story.
Weekly Update - DP Review reports: Adobe issues Lightroom 6.2 apology and update: Adobe has issued an apology over the 'significant crashing bug' introduced in Lightroom 6.2. The latest version of the software was released last Monday, and brought with it a redesigned import experience. That new experience, unfortunately, also introduced instability into Lightroom and removed some import functions; users reported issues with the software crashing and running poorly.
Adobe's Tom Hogarty issued the apology on Friday, revealing that Adobe was aware of the issues but due to 'the scope of the bug' being unclear, the company decided to ship the software regardless while continuing to 'search for a reproducible case.' Adobe issued a new update on Friday, version 6.2.1, that corrects the problem. It appears what Adobe called, "very low usage features" indeed were not.
In other news, "Light announces the L16, a 52-megapixel 'DSLR-killer' that fits in your pocket" Imaging-Resource reports: "The L16 packs in sixteen 13-megapixel camera modules at three different focal lengths - 35mm (5), 70mm (5) and 150mm (6) - for a total of 52-megapixels. Each of these modules captures an individual image, which is then stitched together via software to yield a photo that Light claims is equal to the quality of a DSLR with a large lens attached."
Light has officially opened up pre-orders for the L16, which will set you back $200 for an immediate deposit and a remaining $1,100 (and applicable taxes) when it ships in 'late summer 2016'. Snagging one after November 6th will bump the price up by $400.
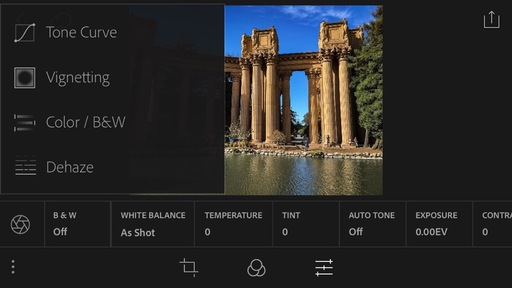
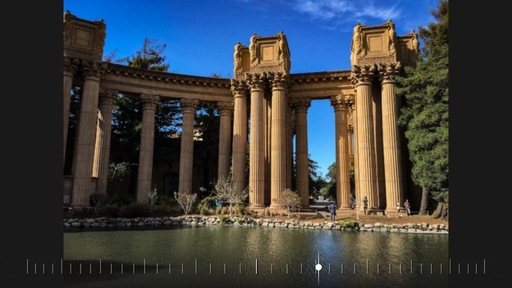
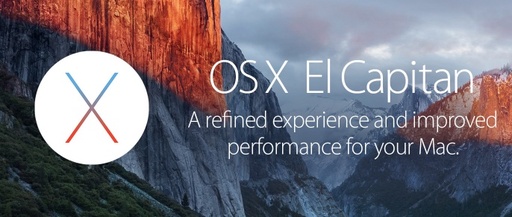
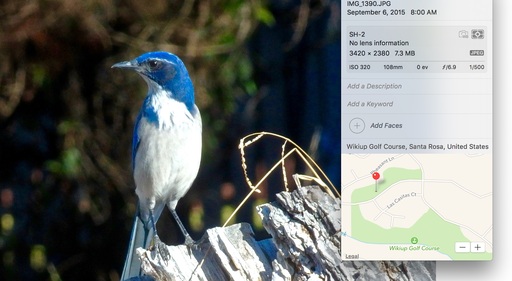
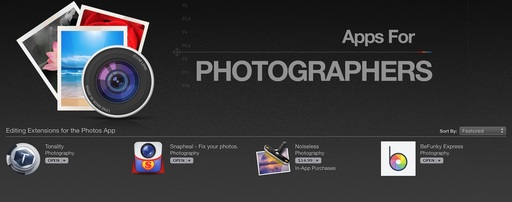
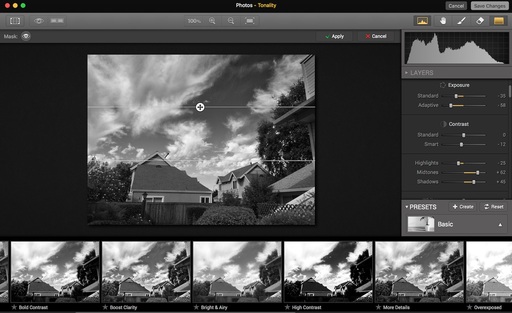
Story #1 - "Mac OS X El Capitan for Photographers"
In general, the update to Mac OS X 10.11 has been a smooth one. Aperture still works well, Photos for OS X receives some nifty new tools, and overall speed seems better. I cover the good and the not so good in today's top feature story.
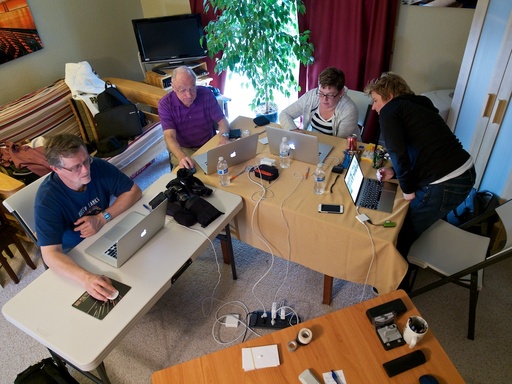
Story #2 - The 2016 TDS Photo Workshop Season
I've added two new workshops this year: Pt. Reyes National Seashore in August and Reinvent the Wedding in February. Plus, in 2016 we're going to the Eastern Sierra for Fall Color and exploring Bodie. In April, we'll return to San Francisco for the very popular Street Shooting workshop. I cover all of these in today's second feature. You can reserve your spot now on the TDS Workshops page.
Story #3 - Looking at Presets and Customizing in Zenfolio
To help you get started, Zenfolio provides designer presets. They are site design and layout settings that have already been adjusted and optimized to make your various Zenfolio pages have a well coordinated presentation. A preset can be applied to your entire site or individual pages. They are comprehensive, affecting your site settings, theme, layouts, and page options.
As you spend more time with your site, you may want to customize particular areas. There are many ways to do this, today I want to mention that you can import and export the custom themes created through the Zenfolio Theme Designer. So you can share your custom themes with other Zenfolio users and also use themes created by other Zenfolio users. You can also purchase themes from third party sites like Zenjoyable.
The bottom line is this: with Zenfolio, you can combine the design expertise of others with your own personal tastes to create a look that suits your photography perfectly. Find out more at zenfolio.com.
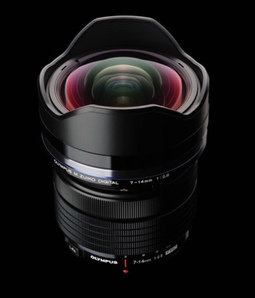
Story #4 - Revisiting the DxO ONE with the iPhone 6S
When I first started shooting with the DxO ONE, I was using my iPhone 5S. Now that I've upgraded to the 6S, I want to update my notes on this interesting high resolution camera.
I'm currently using the Apple leather case with the 6S, and happily, I can connect the DXO ONE to the phone with the case still on. This is a major usability improvement.
Also, the ONE seems to lock-in better with the 6S than with the older model. To me, it felt very secure in use.
And finally, the larger screen and beefed up processing power of the 6S further enhanced operation. There's a real advantage to having direct connection instead of using WiFi for camera communication. Overall, I like the DxO ONE even better with the new iPhone.
Story #5 - From the Screening Room
The DIY Photographer with Joseph Linaschke. In the world of photography, even the simplest accessories can cost a few days' salary. The answer? Don't buy it. Build it! That's the idea behind The Do-It-Yourself Photographer. Every other week, photographer and educator Joseph Linaschke shows how you can fashion ordinary items--from plastic cups to clamps to parchment paper--into accessories that will improve lighting, stabilize your camera, and much more.
You can watch Joseph in action by visiting lynda.com. And you can sign up for your 7-day free trial by visiting the TDS Screening Room.
Virtual Camera Club News
A Word from SizzlPix
The 5k Ultra High Definition SizzlPix is the upgrade now in general release on all orders, so you can display your best photography in sizes from 18-inches to 6-feet with resolution and realism one expects only from the small screens on handheld phones and pads. SizzlPix clients say, contrary to expectation, resolution seems to increase as their photos grow larger!
SizzlPix invites photographers to order a print from the assembly-line plants, and a 5k Ultra High Definition SizzlPix from the same image. Compare them side by side. They've never ONCE had a client declare they liked the mass-produced print better. If yours is the first, you may return your SizzlPix for a full refund!
Note from Red River Paper - "Choosing the Right Paper for Portraits and Weddings Images" - The de facto standard for wedding and portrait prints over the past four decades has been luster paper. Photo labs refer to this lightly textured media as the "photo e-surface." The terms satin, luster, and sometimes pearl can be used interchangeably. It strikes a good balance between the glossy and matte surfaces, offering the benefits of excellent color reproduction, a non-distracting surface, and fingerprint protection.
Thanks to everyone who recently reviewed the TDS Podcast in iTunes!
BTW: If you're ordering through B&H or Amazon, please click on the respective ad tile under the Products header in the box half way down the 2nd column on thedigitalstory.com. That helps support the site.
Download the Show
In addition to subscribing in iTunes, you can also download the podcast file here (32 minutes). You can support this podcast by purchasing the TDS iPhone App for only $2.99 from the Apple App Store.
More Ways to Participate
Want to share photos and talk with other members in our virtual camera club? Check out our Flickr Public Group. And from those images, I choose the TDS Member Photo of the Day.
Podcast Sponsors
lynda.com - Learn lighting, portraiture, Photoshop skills, and more from expert-taught videos at lynda.com/thedigitalstory.
Red River Paper -- Keep up with the world of inkjet printing, and win free paper, by liking Red River Paper on Facebook.
SizzlPix! - New 5k Ultra High Definition SizzlPix output for your photography. You've never seen your imagery look so good. SizzlPix.com.
Zenfolio If you want your site to look as good as your photos, visit www.zenfolio.com today.
Want to Comment on this Post?
You can share your thoughts at the TDS Facebook page, where I'll post this story for discussion.
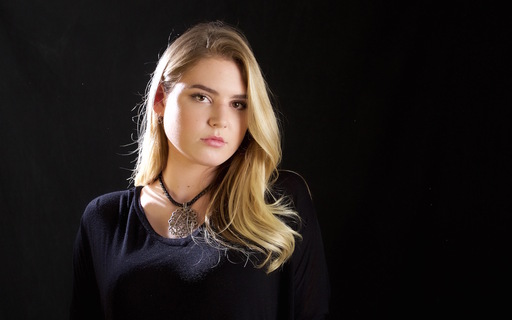 Rogue Grid Modifier was placed to the photographer's left to create the dramatic lighting. Photo by Derrick Story.