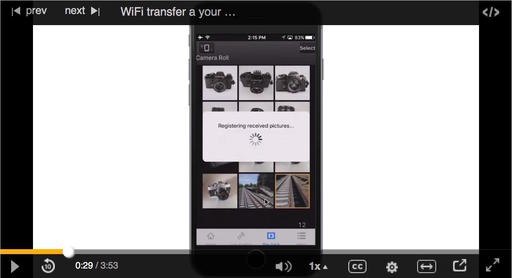
Flickr Mobile goes well beyond just taking pictures with your smartphone. The workflow extends to using your WiFi-connected camera too. The images that you capture with that device can be automatically backed up to your Flickr Camera Roll.
There are a couple things I like about this workflow. First, I'm not limited to using a smartphone for my photography. In the case of this demo, I have a Panasonic LUMIX GM5 connected to my iPhone running the Panasonic app. So I can use all of my Olympus and Panasonic lenses to get exactly the shot I want.
When I transfer the images wirelessly from the GM5 to the iPhone, Flickr sees them and automatically backs them up to my Flickr Camera Roll. This leads to the second thing that I like, which is automatic redundancy. At this point, I have the images on the camera's memory card, the iPhone itself, and online with Flickr. I didn't have to think about any of this. It just happens. Here's a video demonstrating the process from my Flickr Mobile: Photo Sharing Anywhere online training.
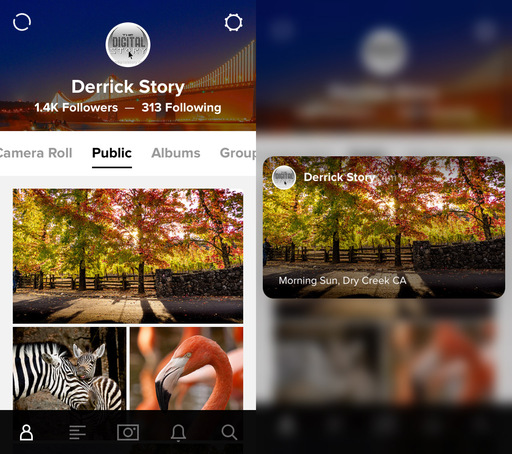
These images are also available for sharing online. When they're first uploaded to the Flickr Camera Roll, they're marked as private. So only I can see them. But for the shots that I want to share via my Photostream, I simply change the image from private to public, and it's instantly available to the world.
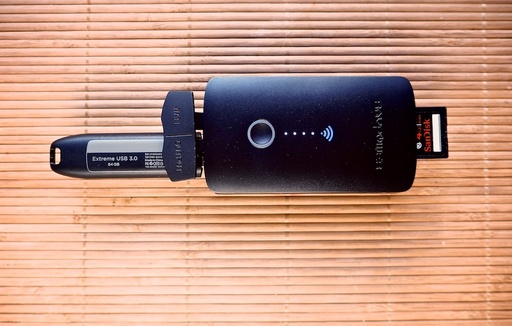
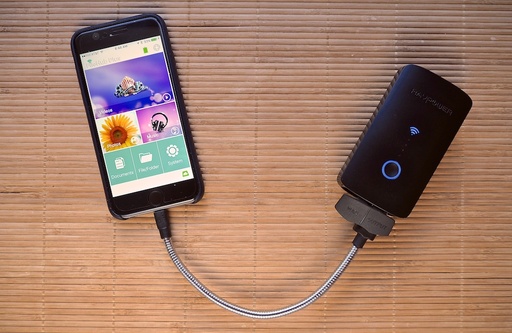
This is a great workflow for travel. It works with any WiFi camera and Android or iOS device, as long as there is WiFi available.
More Flickr Tips and Techniques
If you want to master Flickr on your mobile device, check out Flickr Mobile: Photo Sharing Anywhere. Desktop users might be interested in Sharing Photos with Flickr. Of course the platforms work well together too, and I discuss how you can integrate all of your devices to create a seamless photography workflow.
Want to Comment on this Post?
You can share your thoughts at the TDS Facebook page, where I'll post this story for discussion.