Tonight at CES, Olympus announced the new E-PL2 system camera with updated MSC ED m14-42mm f3.5/5.6 zoom lens and an affordable price tag of $599. This latest addition to the micro four/thirds line includes a number of welcome refinements.
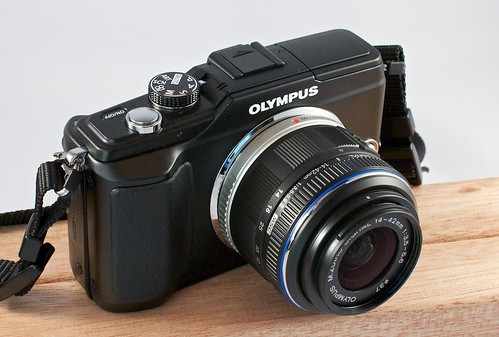
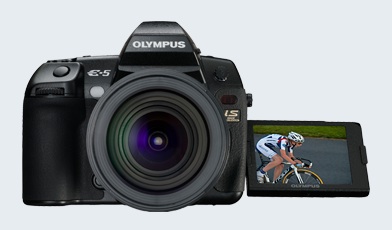
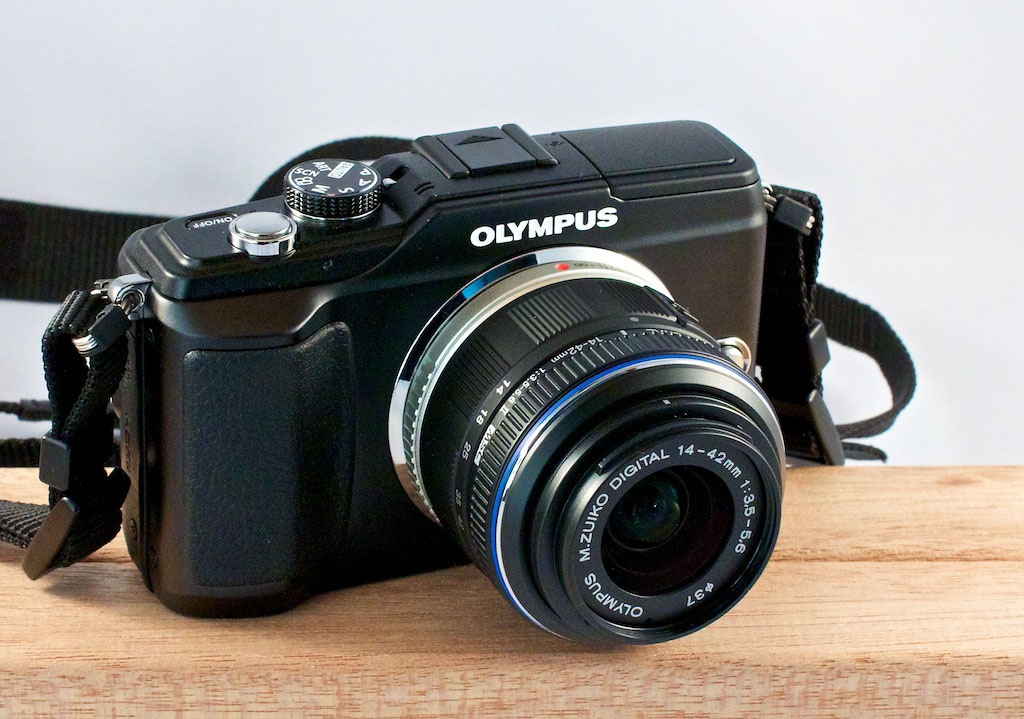
 The Olympus E-PL2 system camera with new MSC ED m14-42mm f3.5/5.6 zoom lens. Click on image for larger version. Here's a complete gallery of E-PL2 images.
The first thing you'll notice is the redesigned MSC ED m14-42mm f3.5/5.6 zoom. This is not your standard kit lens. It uses a improved inner focus mechanism to make it fast and nearly silent when recording high-definition movies. The focusing speed is also quite snappy for still image photography. After two weeks of testing it in the field, I very much like this new version of the standard zoom that covers 28-84mm range.
My second favorite improvement is the 3", 460,000 dot fixed-monted LCD with a 176 degree viewing plane. Photos look great on it during review, and the live image holds up well when panning and recomposing.
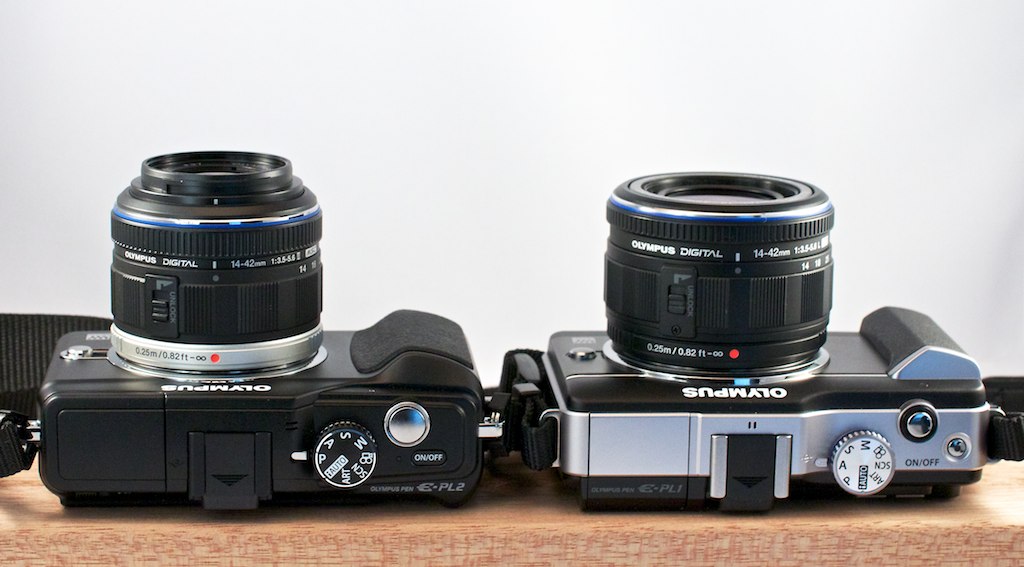
Overall, the E-PL2 feels lighter, sleeker, and more refined. The on/off button on top, and the movie record button on the back are now recessed to prevent accidental pushing. The front grip is more contoured and quite comfortable, even with larger mits. It's very easy to hold this camera in one hand.
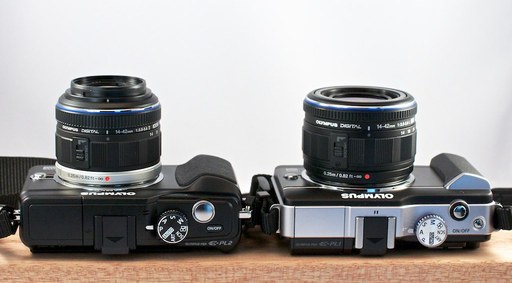 The Olympus E-PL2 and E-PL1 (right) side by side. Click on image for larger version. Here's a complete gallery of E-PL2 images.
Other nice touches include Art Filter variations and enhancements so you can creatively play with images in the camera. The ISO now goes up to 6400, but lots of luminance and chroma noise come with that setting. I still limit my shooting with the E-PL2 to ISO 1600, which I think is quite decent. Playback on an HDTV via the E-PL2's HDMI port is a lot of fun. Once the two devices are connected via an optional HDMI cable , you can control the E-PL2's menus with the TV remote.
Image quality at ISO range of 200 to 800 is quite good, both indoors and out. ISO 1600 is well within the acceptable range when you need it.
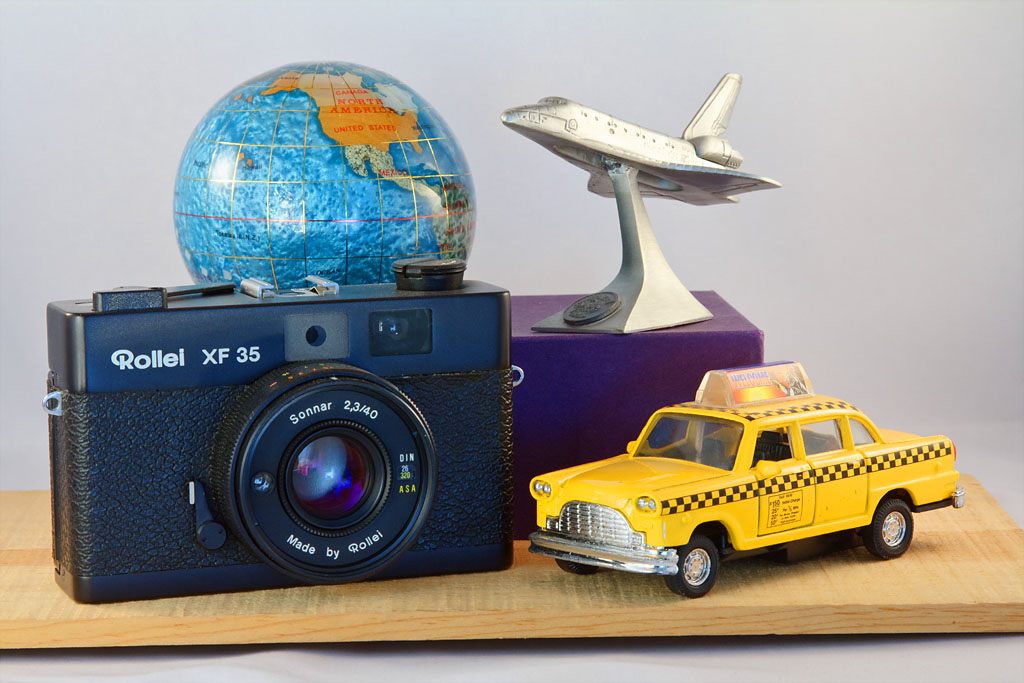
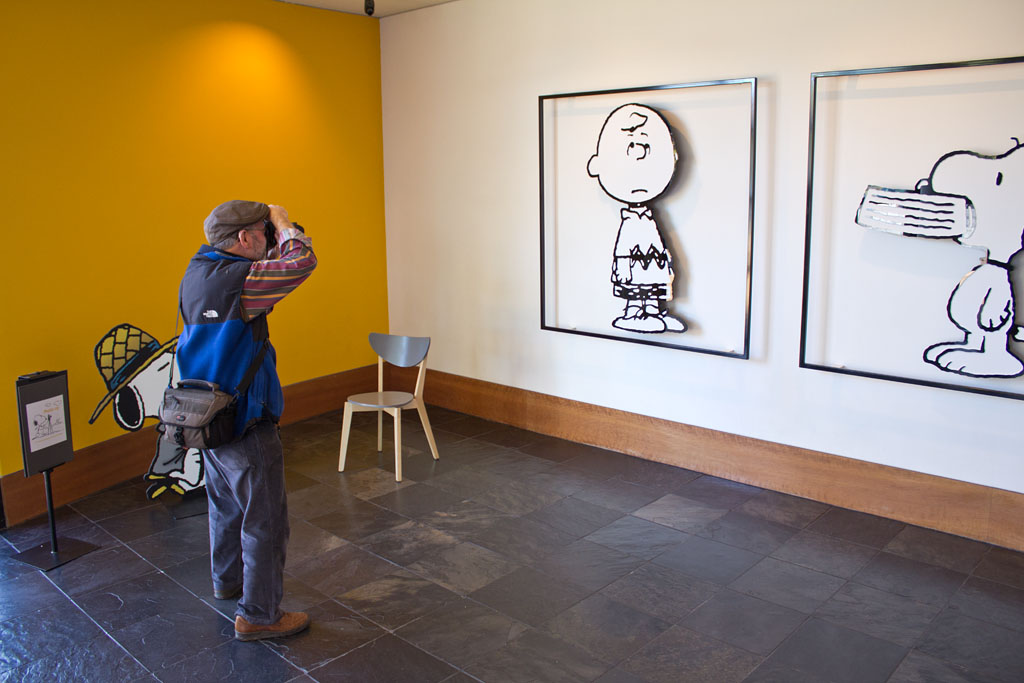
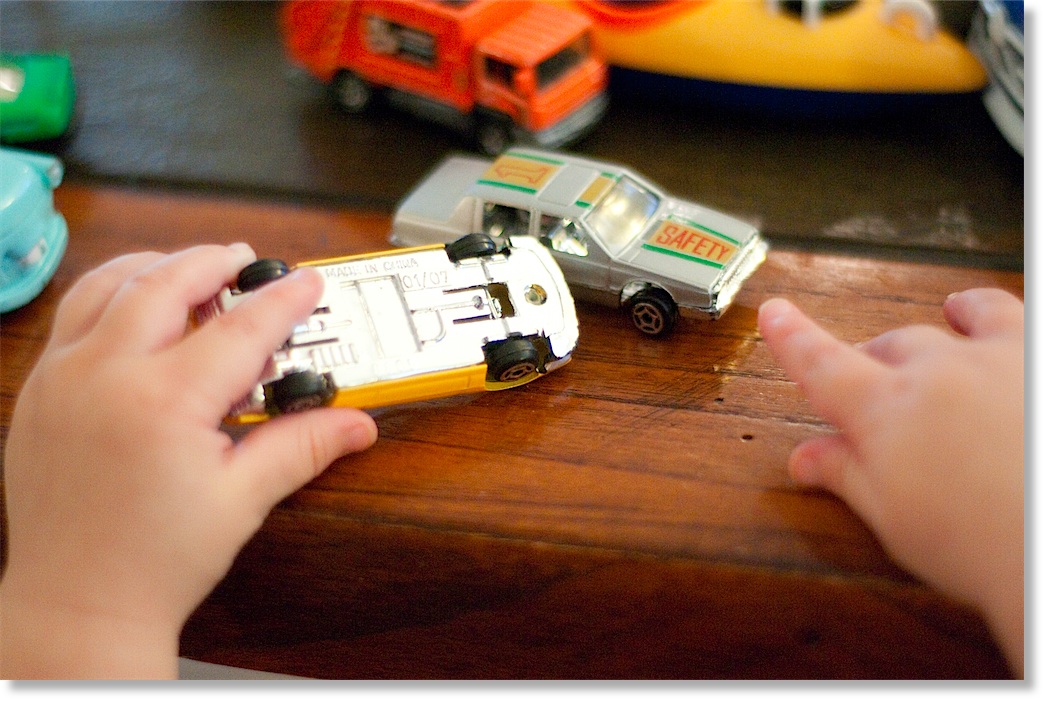
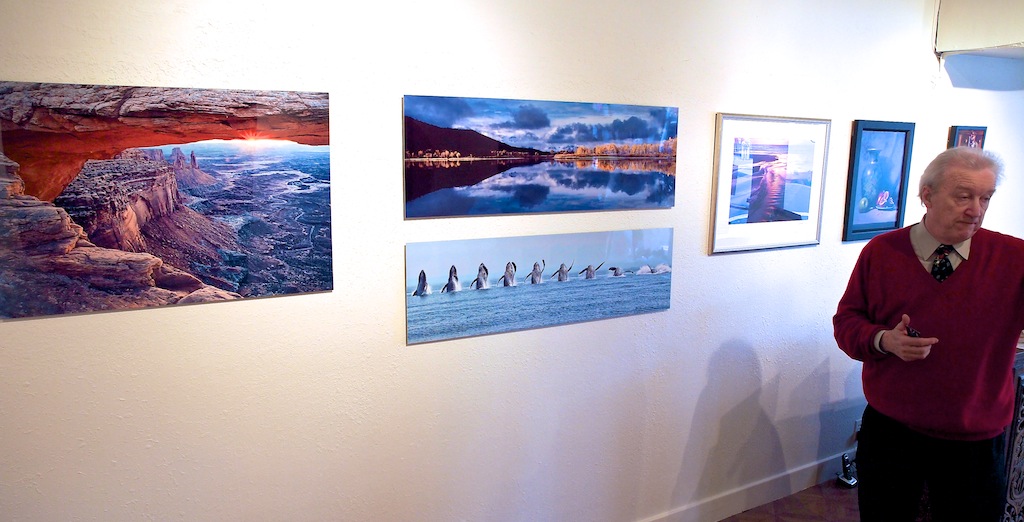
 The Olympus E-PL2 is so light that you can take it just about anywhere. And the images it records are clear and colorful. Click on image for larger version. Here's a complete gallery of photos of the E-PL2.
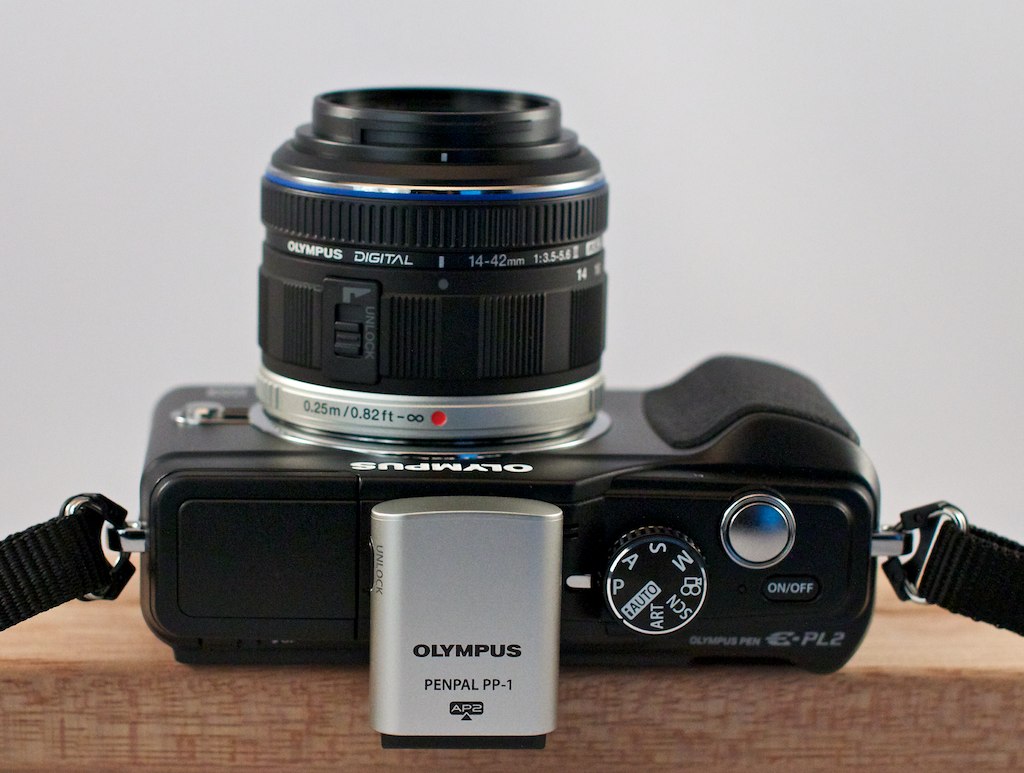
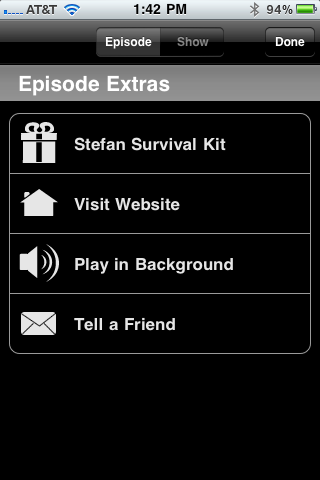
There are a handful of new accessories that are compatible with the E-PL2. One that I tested was the PENpal. When connected to the new Accessory Port 2 on the E-PL2, the PENpal can transfer pictures to a Bluetooth device such as a smart phone or to another PEN camera. It doesn't work with iOS devices including the iPad and the iPhone. But I was able to have the PENpal send images to my MacBook Air via Bluetooth. It's fun, and at times could be a very useful convenience.
 The Olympus PENpal is a Bluetooth accessory that allows you to send images from the camera. Click on image for larger version. Here's a complete gallery of photos of the E-PL2.
I do have a few nits with the latest PEN. The control wheel on the back spins with the lightest touch, and I often found that my exposure compensation was set to -1 or +1 unintentionally. I also think there's still room for improvement with the menu system. It's still not as easy to navigate as Canon and some other competitors. And I would like the external mic jack to be built into the body instead of requiring an accessory port adapter. But that's about it for complaints. Overall, I'm very happy shooting with this camera, and I can easily recommend it to photographers at all levels.
The Olympus E-PL2 should be available in February for $599 US. If you've been waiting to get a PEN, or if you'd like a second body to go with your existing system, I think you'll enjoy shooting with this handsome micro four/thirds camera.
 Follow me on Twitter
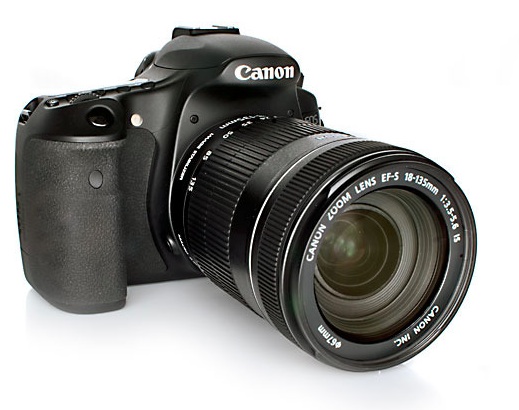
 Rain clouds on Interstate 5 captured with a Canon 60D and the kit 18-55mm zoom. ISO 100. Click on image for larger version. Photo by Derrick Story.