onOne Software has borrowed one of Photoshop's most hallowed features, Layers, and created a plug-in for two of our favorite nondestructive photo management applications: Lightroom and Aperture.
Perfect Layers is currently available as a free public preview for Lightroom users. The 1.0 version of the software is due to be released later this year, with added compatibility for Aperture and Adobe Bridge. I've tested this current 0.9 release, and have a brief overview for you.
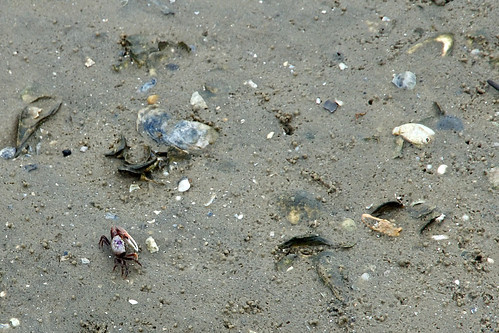
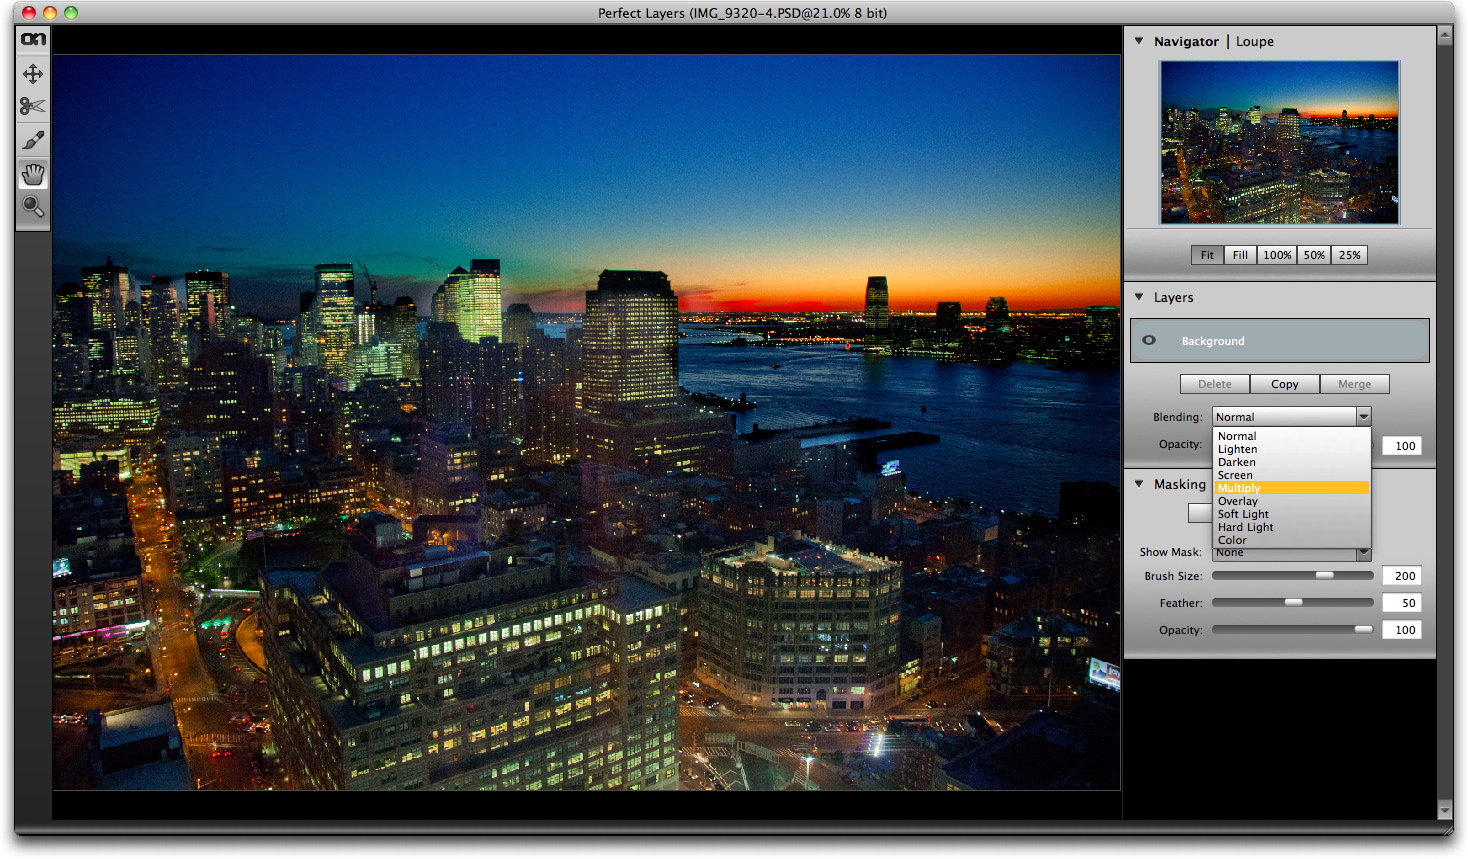
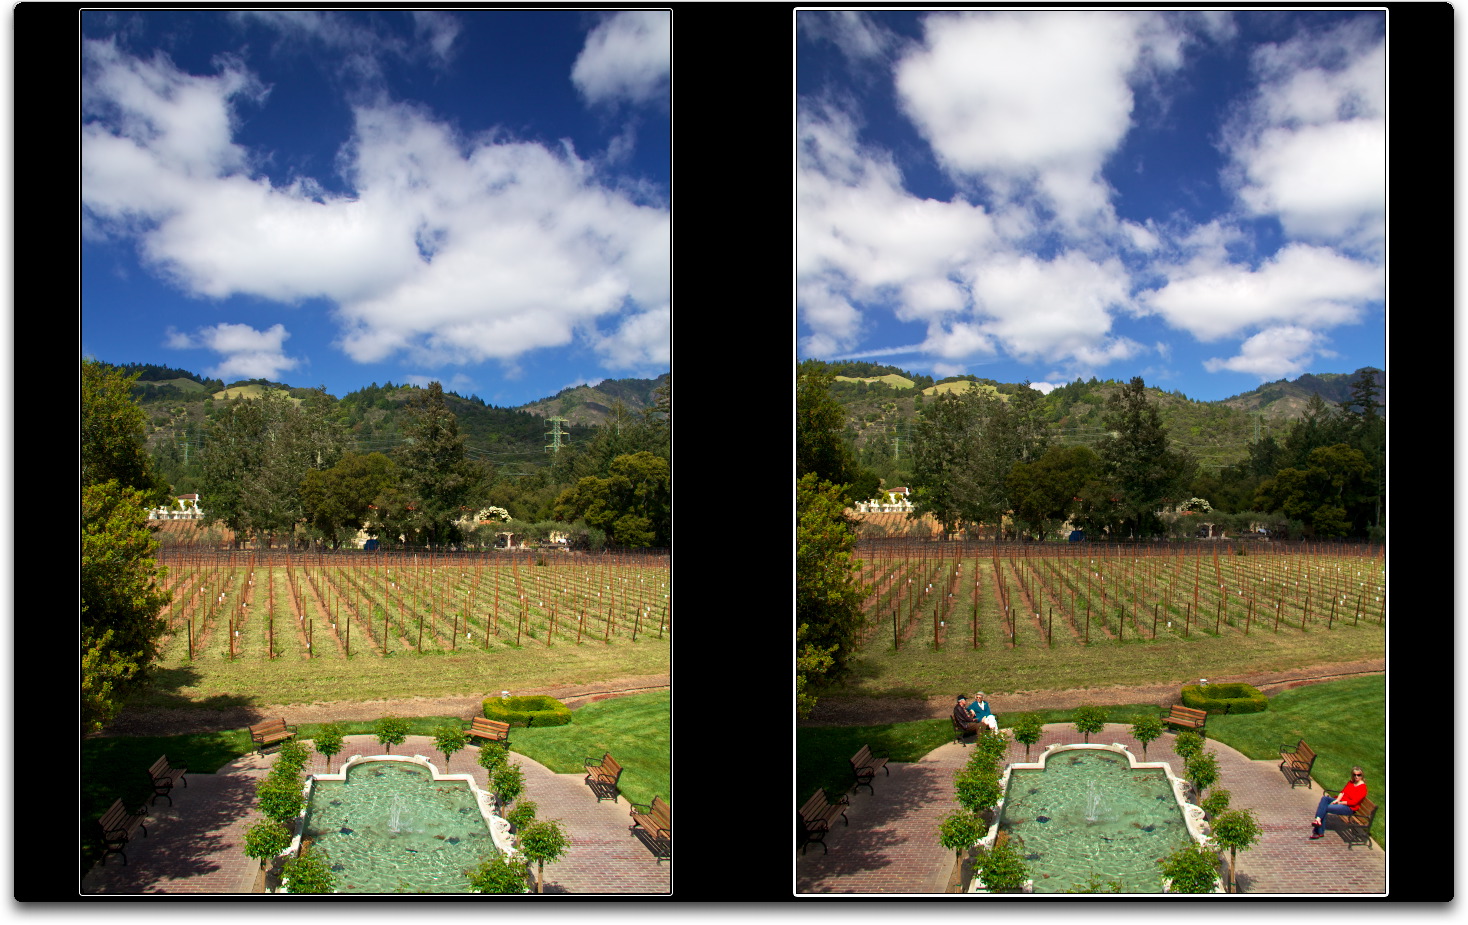
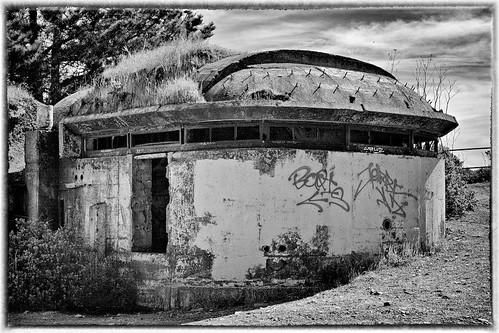
 This image started in Perfect Layers, then went to Photoshop. When I opened it back up in Perfect Layers, it had been been flattened.
Perfect Layers behaves as a typical plug-in. You can access it in Lightroom via File > Plug-in Extras. First I had to enable it via the Plug-in Manager. To do that, I navigated to the Perfect Layers folder that was installed in Applications folder after I downloaded it from the onOne site.
You can start with any file in your Lightroom library: Raw, Jpeg, etc. Perfect Layers creates a separate Photoshop file and opens it in its interface. You don't get something for nothing at this point. I started with a 29 MB Raw file, and ended up with a 160 MB PSD file (for a 2 layer document). Like most plug-ins, I recommend that you only tap it when you really need its functionality. Otherwise, stay within the nondestructive workflow.
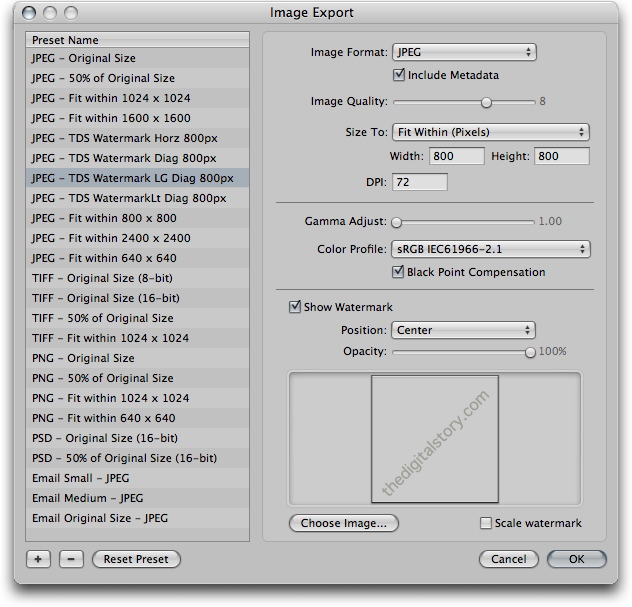
You have the essentials of Layers in Photoshop, but certainly not all of the functionalty you'd find in CS5. You have nine blending modes: normal, lighten, darken, screen, multiply, overlay, soft light, hard light, and color. You also have basic masking tools. There are opacity sliders for both blending and masking.
At this point in its development, Perfect Layers doesn't play well with Photoshop CS5. You can open a Perfect Layers document in Photoshop, and have those layers available to you. That's nice. But, in my testing, if you make any changes to the document in Photoshop, you lose your layers upon returning to Perfect Layers. Also, you can't import a Photoshop layered document in to Perfect Layers and use the layers. It comes in flattened.
I'm hoping that this problem is resolved by the time onOne finishes the software. This is in public review now, and my feedback is that I would like layer compatibility between Perfect Layers and Photoshop for final release.
As for using the software, I very much enjoyed the experience. To me, it feels like a more modern version of the Layers interface. I'm sure some Photoshop experts might not like it because they are already comfortable with the legacy tools. But for photographers trying to get their feet wet with layers, I think this is a nice introduction. And it's a handy tool within the Lightroom environment.
Will Perfect Layers be worth the estimated $150 price tag? That depends on the improvements that are added during the public review period. It also depends on your personal workflow. If you use layers often, I think the tools in Photoshop are more robust. But if you're primarily a Lightroom or Aperture user who ocassionally wants to use layers for a particular image, then this plug-in might make sense. It will be easier to judge its value in the coming months.
 Follow me on Twitter
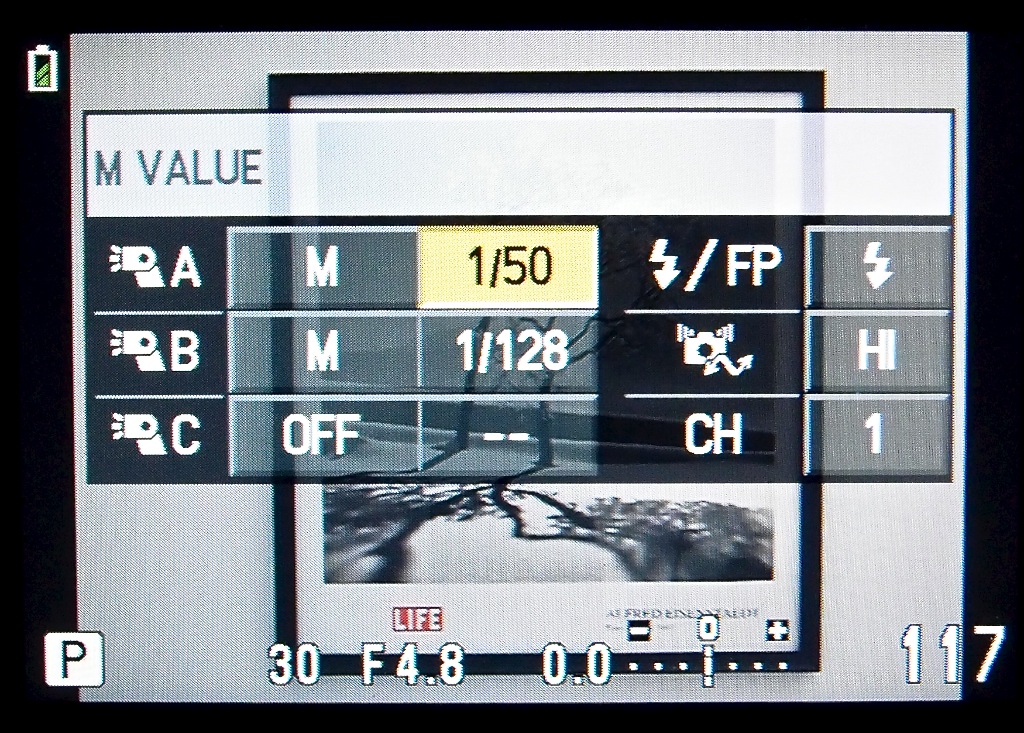
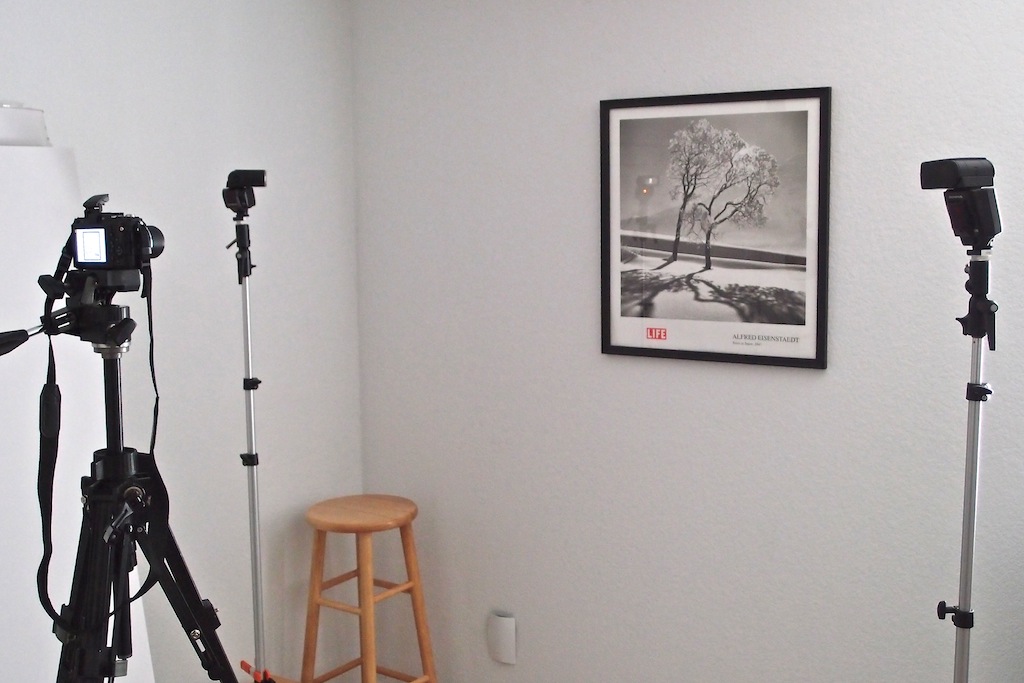
 Click on image for larger size. Photo by Derrick Story.