This is The Digital Story Podcast #687, May 14, 2019. Today's theme is "The Physiology of Active Photography." I'm Derrick Story.
Opening Monologue
Most of us agree that photography as a hobby feeds our creative soul. But it can also be good for the body. A regular diet of planned photo shoots can have a positive impact on our physical well being as well. In today's podcast I'll share with you five of the health benefits that I've enjoyed since embracing the photo exercise plan. I hope you enjoy the show.
The Physiology of Active Photography
A common pushback that I hear from fellow enthusiasts is that they don't have enough time to pursue their hobby. If you find yourself citing lack of time to engage in activities that are good for you and will provide you with more physical energy and clearer thinking, then you might want to hit the pause button for a minute and re-evaluate your choices.
On average, I work 10 hours a day Monday through Thursday, and 4 hours on Saturday. The only way that I can maintain that schedule and remain productive is by incorporating excise into my week.
Opportunities include early morning before work, lunch breaks, afternoon breaks, and weekends. If you don't take regular breaks, then that's an issue unto itself. To be honest; it's not healthy to skip breaks, especially at lunch time.
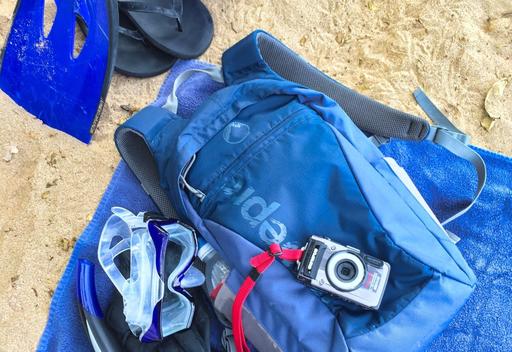
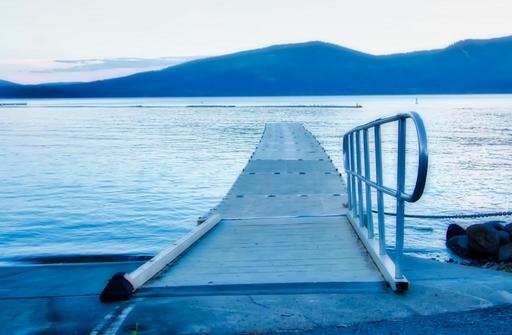
Mixing photography into these activities supercharges the health benefits. The chance of capturing a new image that you can share on social is motivating. Actually taking a great picture is exhilarating. And having raw material to work with on your computer feeds creativity.
My recommendation is that you venture out for a walk or a bike ride with your camera at least 3 times a week. According to my math, you have 21 opportunities a week to do this: 7 early mornings, 7 lunch breaks, and 7 afternoon breaks/after work.
And if you embrace this, here are some of the health benefits to look forward to.
- Sleeping Heart Rate Dip - Research shows that a measurable dip in heart rate during sleep is excellent for your cardiovascular health. Plus, you'll tend to feel more rested in the morning. In my case, burning an extra 225 calories from activity drives my heart rate down 7 beats per minute. On nights when I exercise, my sleeping heart rate is about 52 bpm. When I don't, it tends to by close to 60 or over.
- Better Regularity - By adding water to my photo walks and bike rides has improved my bathroom breaks. I don't need to articulate how much better this makes one feel. You know what I'm talking about.
- Stronger Legs - When I was a photographer/writer in the healthcare business, a common mantra was that a healthy 60 starts at 40. Our core strength and sturdy legs mean a higher quality of life as we age. If you want to be mobile later, you have to be active now.
- Emotional Resilience - I have days like everyone else when the world is intent on knocking me down a peg. Staying at my desk and stewing about it does not produce a better result. Taking a break and exercising does. It is the ultimate reset button.
- We are More than our Job - Exercising plus photography demonstrates to ourselves and our world that we are more than our job. We are creative, clear thinking, healthy individuals. And that is far more appealing than exhausted, downtrodden, and depressed.
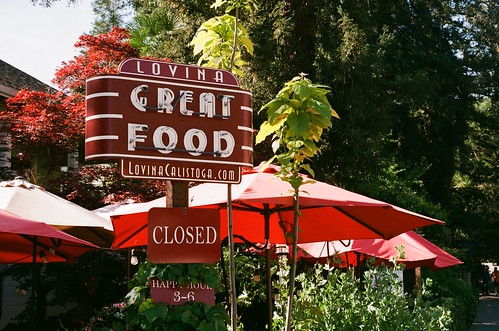
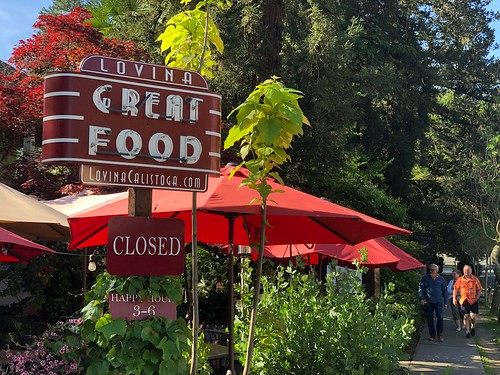
About how many pictures do I take on my photo exercises? Generally 2-3 per 30 minute session. Not a ton, but they sure add up over time. And many of those shots are personal favorites.
How to create a start page for your website that attracts attention
You can read the entire article here.
There are different rules when it comes to designing a good start page. Rule of Thirds and Golden Ratio, to name a couple. Rule of Thirds is the easiest to understand and the simplest to apply. Simply take a screenshot of your start page above the fold, use this easy to use tool to apply a 3 x 3 grid on the screenshot. Instantly you will see if you need to rework your start page or not. A final suggestion, if you are going to rework your start page, pay attention to the change of your bounce rate in Google Analytics, this will help you understand if your new design is working or not.
Present your best self online with a Portfoliobox site. To create your own Portfoliobox site, click on the tile or use this link to get started. If you upgrade to a Pro site, you'll save 20 percent off the $83 annual price.
MFT Sensor and 11"x14" Paper - Nearly Perfect Fit
I heard from Drew at Red River Paper, and he forwarded a comment that he thought I would be interested in: Full size images from Micro Four Thirds sensors are almost a perfect fit on 11" x 14" paper. I did a little testing, and sure enough if he wasn't correct about that.
I then ask Drew about their inventory of 11" x 14" paper, and he said that they have a wide variety of surfaces. You may want to check it out.
TDS Workshops Update
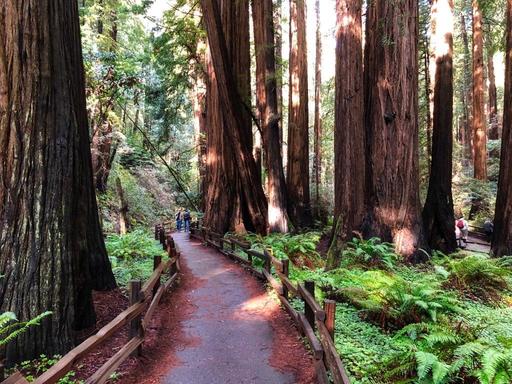
Humboldt Redwoods Workshop Update
Our grand finale of the season will be on Sept. 18-20 in one of the most beautiful areas on the planet. Our headquarters will be in Fortuna, CA - an easy drive from the Eureka Airport only 25 minutes away.
We're located on the Eel River, and situated perfectly to explore the Redwoods just south of us. This will be an excellent event to cool off, slow down, and get some great images. Plus, you'll be able to spend some quality time with your fellow virtual camera club members.
We still have a couple openings on the reserve list. You can secure your seat by visiting www.thenimblephotographer.com, and place a fully refundable deposit for the event.
Updates and Such
Inner Circle Members: A big thanks to those who support our podcast and our efforts!
B&H and Amazon tiles on www.thedigitalstory. If you click on them first, you're helping to support this podcast. And speaking of supporting this show, and big thanks to our Patreon Inner Circle members:
And finally, be sure to visit our friends at Red River Paper for all of your inkjet supply needs.
See you next week!
More Ways to Participate
Want to share photos and talk with other members in our virtual camera club? Check out our Flickr Public Group. And from those images, I choose the TDS Member Photo of the Day.
Podcast Sponsors
Red River Paper - Keep up with the world of inkjet printing, and win free paper, by liking Red River Paper on Facebook.
Portfoliobox - Your PortfolioBox site is the best way to show off your best images.
The Nimbleosity Report
Do you want to keep up with the best content from The Digital Story and The Nimble Photographer? Sign up for The Nimbleosity Report, and receive highlights twice-a-month in a single page newsletter. Be a part of our community!
Want to Comment on this Post?
You can share your thoughts at the TDS Facebook page, where I'll post this story for discussion.