This is The Digital Story Podcast #657, Oct. 16, 2018. Today's theme is, "Gearing Up for PhotoPlus Expo." I'm Derrick Story.
Opening Monologue
Much in the way that Photokina was an important European event for the photography community, I think PhotoPlus Expo will carry more weight than usual in the U.S. How will the manufacturers follow up all of those September announcements? On today's podcast, I discuss what I anticipate in New York, and how I'm preparing for it. I hope you enjoy the show.
Gearing Up for PhotoPlus Expo
The show floor opens on Oct. 25 in Javits Convention Center, NYC. Most of the heavy hitters are there, ready for their U.S. encore performance. I will be there as well, reporting first, then working in the Skylum booth on Friday and Saturday.

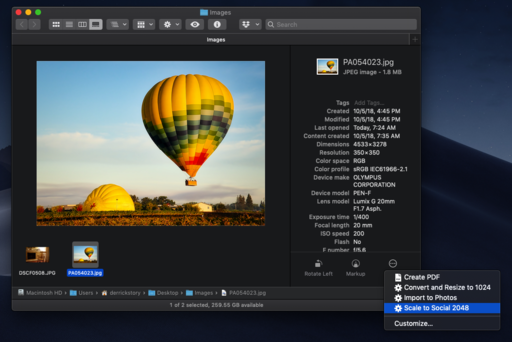
As I prepared for my show reporting, I started with the Expo Hall booth layout. I think a lot can be deciphered from the floor plan.
For example, Canon, Nikon, and Sony have the largest booths, with Fujifilm right on their heels. The investment by Canon and Nikon make perfect sense, since they both have new full frame mirrorless cameras to show off. Sony, being the leader in this category, needs to be on the offensive as well to protect their position.
But Fujifilm's very large booth shows their confidence in the X-T3 26 MP APS-C mirrorless offering - as well they should. They have a more extensive library of native mirrorless lenses than either Canon or Nikon, and a proven track record for the X-T series of cameras.
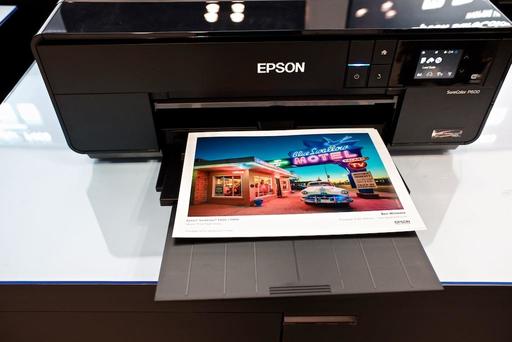
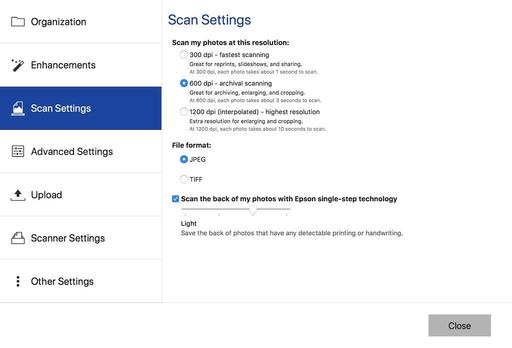
At the next level, we have Olympus, Epson, Tamron, and Sigma. Tamron and Sigma have been very active lately, including Sigma joining the Leica/Panasonic partnership for full frame mirrorless. Epson needs a lot of space to display its output and printers. But for me, Olympus is the interesting member of the second tier. They don't have any new announcements, so they may be positioning Micro Four Thirds as the smart alternative for travel photographers.
In the third tier, we have Ricoh/Pentax, Skylum, Think Tank Photo, Zeiss Camera Lenses, and Panasonic North America. I didn't see Lowepro or Tamrac on the list, so Think Tank so have the bag sector sewed up. Ricoh may show off a prototype of the GR III, but doesn't have much else in the works at the moment. Skylum is preparing to release their long-awaited digital asset manager, so their footprint makes perfect sense.
What seems odd to me here is the tiny Panasonic booth. They made one of the biggest headline announcements at Photokina. It seems odd to not follow that up with the big guns in New York.
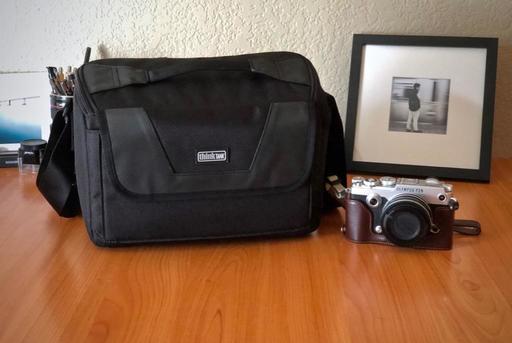
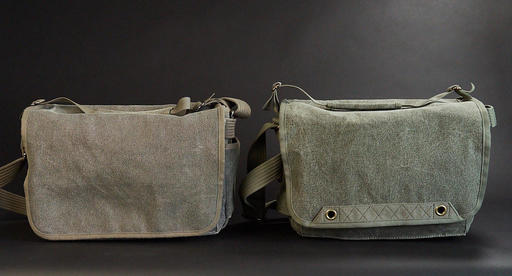
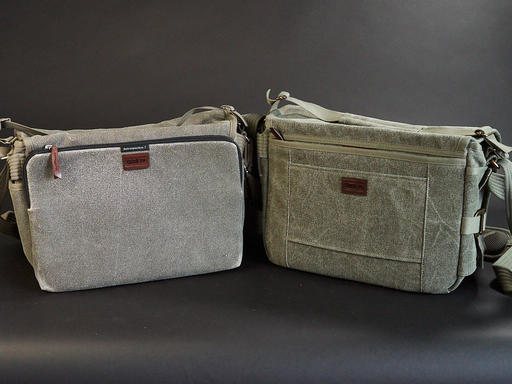
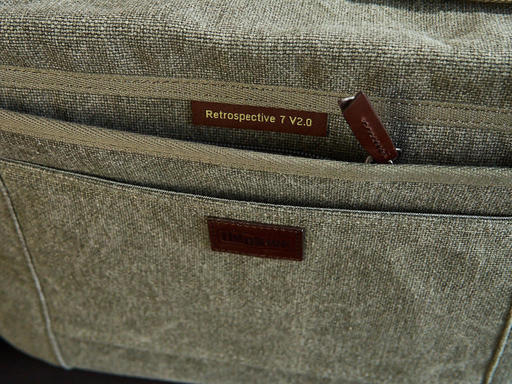
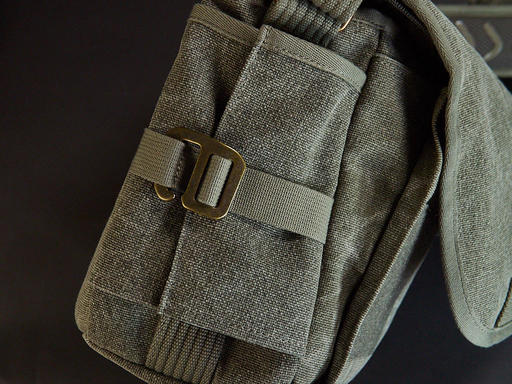
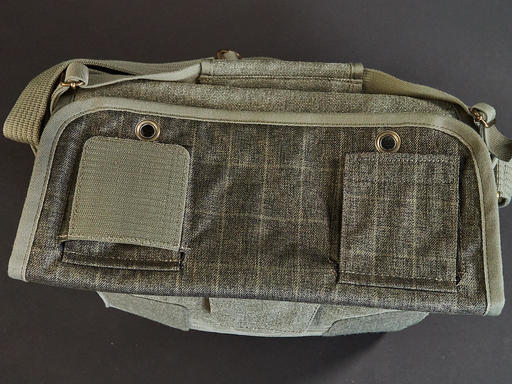
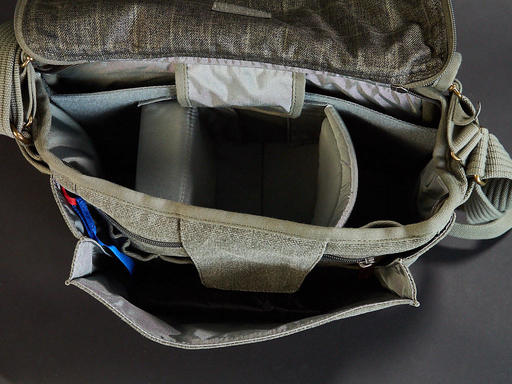
As for my preparation, I'm going with the Olympus PEN-F with one zoom and 3 primes. I'm also keeping the Fujifilm XF10 in my pocket at all times, whether I'm at work or not. I'll have my audio recorder with me, just in case I'm able to snag an interview or two. Everything is already packed in my Think Tank Retrospective 7 II shoulder bag.
I'll be sure to get plenty of pictures and as many tidbits as possible during my visit to New York. If you plan on attending, be sure to come by and say hello on Friday or Saturday while I'm working in the Skylum booth.
HoneyBook Makes Your Business as Good as Your Art
I was sitting in a client meeting today, and one of the dominate topics was how we could get ahead of these projects, and stay more organized along the way.
As we were talking about this, I was thinking about HoneyBook.com and how this service is designed to do exactly that. From scheduling with its integrated calendar (that also syncs with Google Calendar), to staying on track with its task list and project management tools. And when it's time to invoice, all the bookkeeping is integrated as well.
If you're grappling with these same sort of challenges in your freelance or startup business, I encourage you to explore HoneyBook.com. It won't cost you a thing to learn what it can do for you. But it can save you hundreds, if not thousands of dollars up the road.
"Honeybook is a purpose-built business management platform for creative small businesses. They help photographers, designers, event professionals, and other solopreneurs save hundreds, if not thousands of hours a year by adding time-saving automation into their business. Honeybook makes it easy to streamline the client process, so you never miss a thing!"
And that's why, for a limited time, TDS listeners can get 50 percent off the first year of HoneyBook.com with promo code THEDIGITALSTORY. Honeybook membership includes unlimited access to ALL features, at one low monthly price. So go to HONEYBOOK.COM today, and use promo code THEDIGITALSTORY to get started. Again, that's HoneyBook.com, promo code THEDIGITALSTORY.
A fully-featured Photoshop is finally coming to the iPad
As published on DP Review
Earlier this year, Adobe Chief Product Officer, Scott Belsky, acknowledged Adobe was working on a full version of Adobe Photoshop for iPad. Today, we were given a glimpse into the fruits of its labor, with Adobe previewing Photoshop CC on iPad on stage at Adobe MAX 2018 in Los Angeles.
To achieve this, Adobe had to create an updated version of its PSD file format it calls Cloud PSDs. In Adobe's own words, "when we ship Photoshop on the iPad, [Cloud PSDs] will also run and automatically show up on your desktop...Suddenly, you'll have this cloud-powered roundtrip experience akin to a Google Docs experience, where literally the source of truth of your Photoshop creation is in the cloud." Gone are the days of having to figure out how to export files in a compatible format and send them to various devices.
Adobe Photoshop CC on iPad won't arrive until 2019. In the meantime, you can sign up for a chance to be included on the beta version on Adobe's website.
iPhone XS Max Comes Out on Top in New Battery Test
Via iPhone Hacks
This test includes the iPhone XS Max, the Samsung Galaxy Note 9, Google's Pixel 3 XL (which just got rave reviews), and Sony's Xperia XZ3. It's worth noting here that Apple's iPhone XS Max actually has the smallest battery out of the bunch (iPhone XS Max: 3174mAh; Galaxy Note 9: 4000mAh; Pixel 3 XL: 3430mAh; Xperia XZ3: 3300mAh), and that screen resolutions between phones should be the same for a proper test. That's the case here with Mrwhosetheboss, which made sure to set the Galaxy Note 9's display to the resolution of 2960×1440, rather than the 1080p HD resolution it can be set at.
With the resolutions set and the phone's fully charged, Mrwhosetheboss went to work on the test. The iPhone XS Max came in at just over six hours, while the Galaxy Note 9 fell about 12 minutes shorter. In third place? Google's Pixel 3 XL, which lasted about five hours. And the Xperia XZ3 finished out the bottom, finishing up under four hours before dying.
Updates and Such
Inner Circle Members: Starting this month - Photo Critique. Check out the post on Patreon. Send your images to me with the subject line, "Photo Critique." More details on our Patreon page.
B&H and Amazon tiles on www.thedigitalstory. If you click on them first, you're helping to support this podcast. And speaking of supporting this show, and big thanks to our Patreon Inner Circle members:
And finally, be sure to visit our friends at Red River Paper for all of your inkjet supply needs.
See you next week!
More Ways to Participate
Want to share photos and talk with other members in our virtual camera club? Check out our Flickr Public Group. And from those images, I choose the TDS Member Photo of the Day.
Podcast Sponsors
Red River Paper - Keep up with the world of inkjet printing, and win free paper, by liking Red River Paper on Facebook.
HoneyBook - What small biz owner wants to spend their time on paperwork, endless emails, and dealing with payment collection? That's why there's HoneyBook. Learn more at HoneyBook.com. And save 50 percent your first year by using coupon code: THEDIGITALSTORY
The Nimbleosity Report
Do you want to keep up with the best content from The Digital Story and The Nimble Photographer? Sign up for The Nimbleosity Report, and receive highlights twice-a-month in a single page newsletter. Be a part of our community!
Want to Comment on this Post?
You can share your thoughts at the TDS Facebook page, where I'll post this story for discussion.
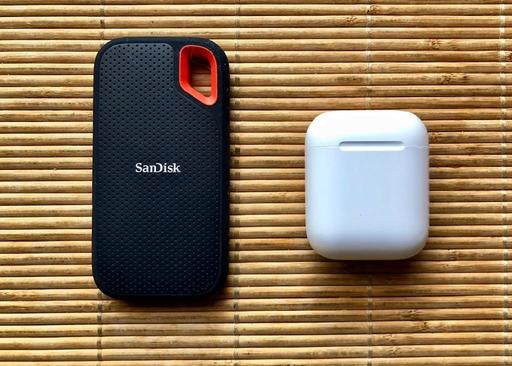 The SanDisk 500 GB SSD next to my Apple AirPods.
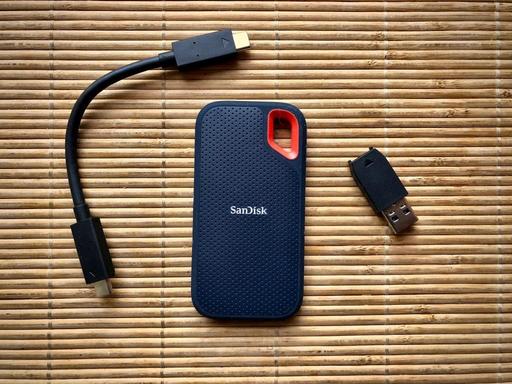 Kit includes USB-C cable and a USB-A adapter if you need it.