I confess. I already liked Instagram. A lot.
But my fondness for this social networking photo app has grown considerably with the latest 6.0.1 release. Without sacrificing ease of use, we now have an entire tool box of image editing adjustments, improved speed, and the ability to adjust filter strength.
When you first select an image, the app behaves as before. You can crop and move around in the square frame to position the photo to your liking. Things change, however, once you hit Next.
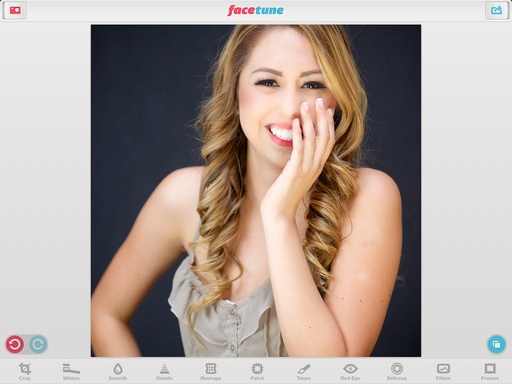
Adjusting filter strength in Instagram 6 on an iPhone 5S.
You have three editing categories represented by icons beneath the photo (on the iPhone 5 and 5S). The magic wand icon for Filters, the sun icon for Lux, and the wrench icon for Tools.
Initially Filters behave as before. Scroll to find the look you want by tapping on the filter name. But now, tap again on its icon and a 0-100 slider is revealed, allowing you to adjust its strength. This is where you can add a frame too. If you like what you see, tap the checkmark and the adjustment is applied. Tap the X and you go back without any changes.
Lux remains the same. Which is fine with me because it's an amazing slider as is.
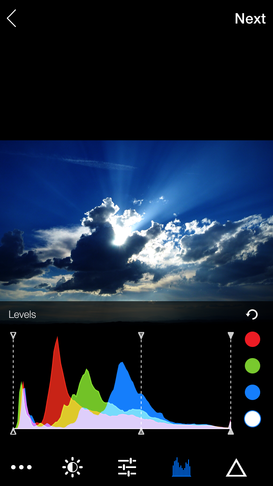
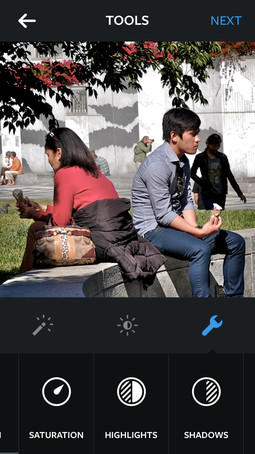
Three of the new adjustment options in Instagram 6 on an iPhone 5S.
If you tap on the wrench icon, you're presented with 10 editing tools: straighten, brightness, contrast, warmth, saturation, highlights, shadows, vignette, tilt shift, and sharpen. Each adjustment has a slider allowing you to apply the amount of strength you desire.
Add a dash of speed without breaking anything, and we have a winning update. And you don't need the latest OS to use it. The new Instagram will run on devices that support iOS 6, and it's optimized for the iPhone 5. I tested it on both the iPhone 5S and iPhone 4S. Worked fine on both, however, the editing icons were at the top of the screen on the iPhone 4S. Instagram 6 is also available in Google Play for Android devices.
Based on my preliminary testing, there's no downside to this release. If you enjoy Instagram, or feel like it's time to jump in, I think you'll like this version of the app. You can follow me at DerrickStory.
Want to Comment on this Post?
You can share your thoughts at the TDS Facebook page, where I'll post this story for discussion.