No self-respecting shooter wants to be caught carrying a selfie stick. But the new Manfrotto Compact Xtreme 2-in-1 Monopod and Pole ($45) just might be the respectable solution that we've been waiting for.
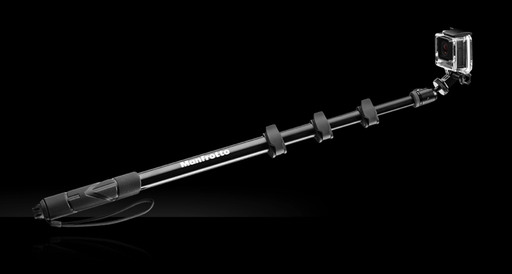
The Compact Xtreme is a combination of a Manfrotto monopod and what the company calls a "pole." This dual personality adapts to a variety of situations, and works in both modes for mirrorless, compact, and action cameras.
Essentially, what they've done is create a lightweight, compact monopod that retracts to a minimum of 17.34", but can be extended to a maximum of 53.19". It weighs in at 0.62 pounds.
The real trick is that they put a universal 1/4" thread at both ends (with protective covers). So you can attach a camera to either end and extend the pole. Since it's lightweight, you can hold it with one arm when it's in "pole mode," or steady it with the ground when it's a monopod.
The kit includes a small aluminum ball head and GoPro adapter. And when collapsed, the Xtreme should fit in many camera bags or easily attach to the outside. The Manfrotto Compact Xtreme looks like a nifty solution for photographers on the go who disdain the traditional selfie stick.

The Manfrotto Compact Xtreme has a high Nimbleosity Rating. What does that mean? You can learn about Nimbleosity and more by visiting TheNimblePhotographer.com.