Anyone who follows me knows that I'm a dyed-in-the-wool iOS user. But as I was looking around for an inexpensive smartphone to serve as a backup, I couldn't help but to notice that the Nokia Lumia 520 with Windows 8.1. It's an amazing deal at $29 with the "pay as you go" AT&T GoPhone Plan. So I decided to give it a try.
Now if you're thinking that this is going to be a "bash Windows" article, you're wrong. After just a day of use, I like what Microsoft has done with Windows Phone 8.1. And to be honest, I prefer it over my Android device.
Overall Impression
The latest OS from Microsoft is attractive and easy to learn. The Home screen displays tiles that represent your favorite apps. You can "pin" new apps to the screen and remove those you don't use often. There are three sizes to choose from, allowing you to design your Home screen to your liking.
Tap and hold on a tile and it pops forward allowing you to resize or remove it. At the bottom of your Home screen is an arrow icon that you can tap to see all of your apps in list form. You can add any of these to the Home screen by tapping and holding on it, then selecting "pin to start."
As for global navigation, at the bottom of the display is an arrow icon pointing left; that's the go back key. The Windows icon in the center is the home key. And the magnifying glass icon on the right takes you directly to Bing on Windows 8, and to Cortana if your have Windows 8.1 installed. The Nokia 520 can easily be updated to 8.1 over the air, and it's worth doing. Cortana is excellent, by the way.
Overall, I like the typography, design, and intuitive operation of Windows 8.1. It looks great.
Picture Taking and Editing

Given that I have a very inexpensive smartphone, I tempered my expectations for the 5MP camera on the Nokia 520. And to be honest, it's about what I expected. It takes serviceable images with a minimum of fuss. The side button located near the bottom of the right edge of the phone activates the camera, whether the phone is on or off. Press it again and it takes a picture once the image is in focus.
Dibs the cat captured with the Nokia Lumina 520 smartphone..
This works great for quick snapshots. Otherwise, I'm using the Lumina Camera app that provides more options, such as settings for white balance, ISO, and exposure compensation. You can download the app for free from the Windows Store. The store is easy to use and has a surprising amount of software available.
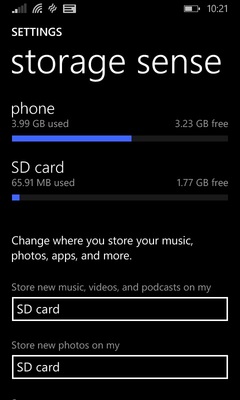
Either way, the resulting file was 1456 × 2592 pixels and around 1.5 MBs in size. Since the Nokia 520 only has 8GBs on onboard memory, I added a 2GB micro SD card to store my pictures. If needed, I can swap that out anytime for a larger card. It's a good option to have.
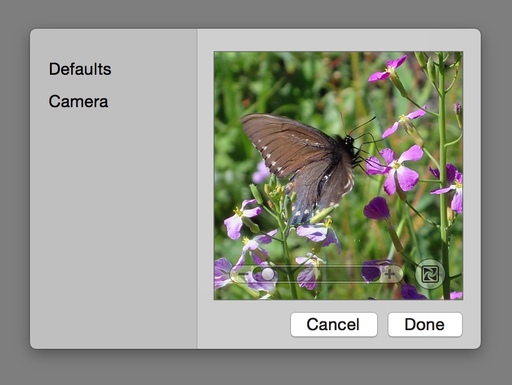
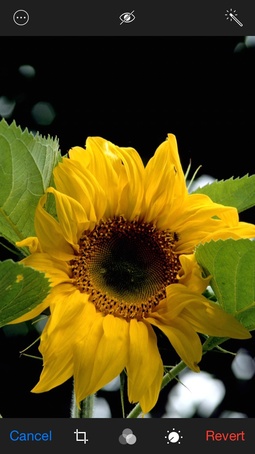
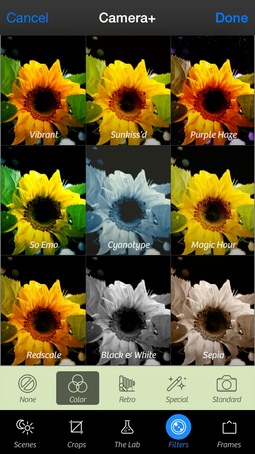
As you would imagine, there are a host of image editing apps in the Windows Store. At the moment I'm using Adobe Photoshop Express. It works well and it's free. There are lots of adjustment sliders, auto fix, a before/after button, cropping, and even a handful of filters called "looks." If you have an Adobe ID, you can connect to your cloud storage too.
For those who want to take screenshots with a Windows 8.1 device, press the Volume Up and Power buttons at the same time, and the screen image will be saved to your Camera Roll.
Photographer Stuff
I was pleasantly surprised to find a number of my favorite photographer apps in the Windows Store.
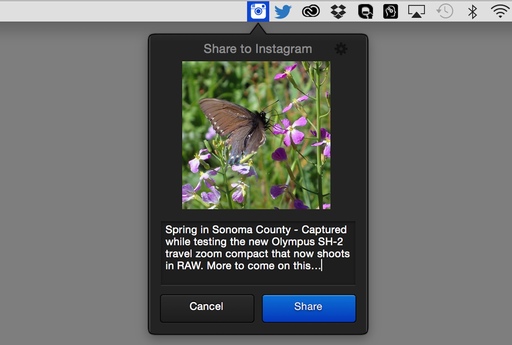
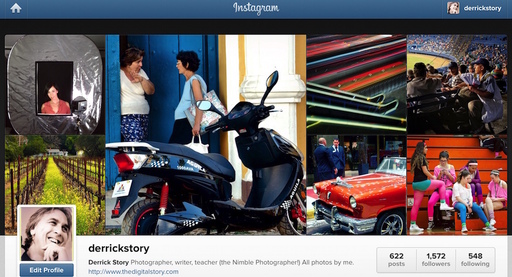
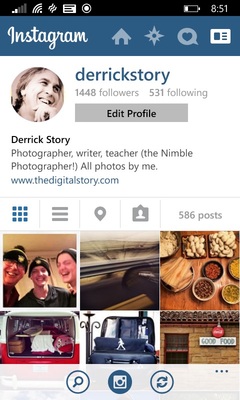
Instagram is there now as a beta. After a day of use, this early release seems just fine. I had no problems browsing images or adding new ones.
Dropbox hasn't release a native app yet (to my knowledge), but there's a handy third party program called CloudSix that connected easily to my Dropbox account. All the folders show up on the Nokia, and more importantly, I can send images from the device to my account.
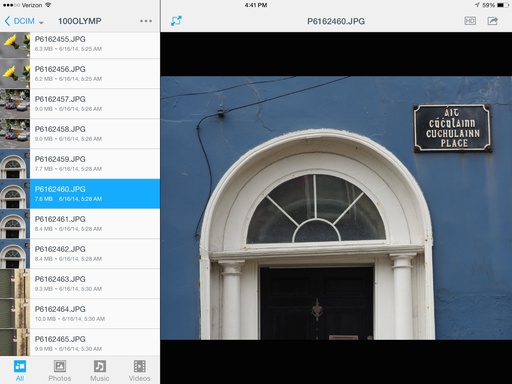
Olympus released OI Wireless for Windows 8. It's not as full-featured as the iOS version. But it does allow you to download images from the camera to the phone. I tested it, and the images were transferred smoothly. Now all we need is the nifty camera control function.
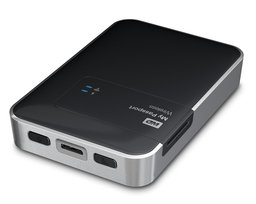
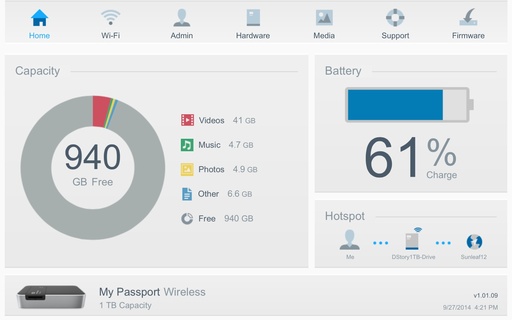
Western Digital released WD 2go for Windows 8, that in theory allows me to connect to my wireless WD hard drive. The app can see the drive online, but gives me an error during the connection process. Maybe a fix is in the works?
Bottom Line
The Nokia Lumia 520 is a great little device for the price. AT&T GoPhone options start at $25 a month. I haven't activated my SIM card, in part, because I haven't needed too. I'm using the Nokia on WiFi with no hiccups. In the field, I've turned on Personal Hotspot from the iPhone 5S, then shared that connection. If I ever need cellular with the Nokia 520, the SIM card is inserted, and I can activate it directly from the phone. I have the SIM information card in my wallet just in case.
As for Windows 8.1, it's delightful. I like it much better on the phone than I do on a computer. The operating system is attractive, intuitive, and snappy. The Home screen is great. I enjoy the interactive tiles a lot.
Will I ditch my iPhone for a Windows device? Nope. iOS 8 is still my top choice. But I would buy a Windows phone before an Android device... easily. I think it's the second best mobile OS available.
Want to Comment on this Post?
You can share your thoughts at the TDS Facebook page, where I'll post this story for discussion.
More Help on Managing Your Mobile Photos
In my lynda.com title, Managing Your Mobile Photos, I cover a variety of backup solutions for both iOS and Android users. These tutorials will help you build the perfect backup solution for you, so that you never lose a single memory.