This excerpt is from the newly published book, The Apple Photos Book for Photographers, which is current for the latest Photos 2.0 and is now available in print and as an eBook. Each chapter leads off with an essay, then delves into artistic and technical content to help you improve your photography using Photos for macOS and its editing extensions. Here's the essay from Chapter 1.

The Guy Before You
Thunderous applause is the last thing that you want to hear for the person who just spoke before you. This could happen in the classroom, at work, or even at a social gathering. Oh sure, on the outside you're happy for them. But inside, nobody likes to follow someone who has just knocked it out of the park.
This plays out in may ways. How about the guy that replaced Michael Jordan after he retired from the Chicago Bulls? I bet that was fun. Movies try to do this with sequels. The first release was a smash, so let's do it again. Sometimes it works out.
And then there's the world of software. Here we are with Photos for macOS, Apple's second act, following Aperture. Those who had stuck with it all of those years had come to love it. I didn't sense the same affection for iPhoto. But there wasn't much disdain either. iPhoto was like the friendly neighbor next door who suddenly disappeared one day. You felt a little sad at first. Then you went back to watering the lawn.
Apple is no stranger to turning over the cart. They've done it with hardware (you don't need a built-in SD card reader) and with software (you'll be working with Final Cut X now). And most of the time, they've pulled it off. And I think Photos for macOS is going to fall into that category.
To be honest, it hasn't really received a fair shake. Aperture refugees lament missing features. And they may never learn to love again. A lot of iPhoto folks weren't sure what they were doing in the first place, and are now more confused than ever. (I don't mean you, of course.)
Then there are the folks coming to Mac computing by way of the iPhone. They have their hands full learning a new operating system and trying to figure out how iCloud works.
I wrote this book for all of these people. For you. Because I think that you and Photos for macOS should get a fair shake. If the two of you spend some quality time together, I think you'll find a lot in common. I'm not saying that you're going to get married and have kids or anything. But the friendship could be rewarding.
Someone once told me that a good relationship is one where both parties feel like they got the best deal. Photos for macOS is free. (Well, except that you have to buy a Mac to use it. That's an old Steve Jobs joke, by the way.) It can protect your valuable memories, even if your phone, tablet, or Mac is lost or destroyed. It automatically backs up your images to iCloud. That is, if you let it.
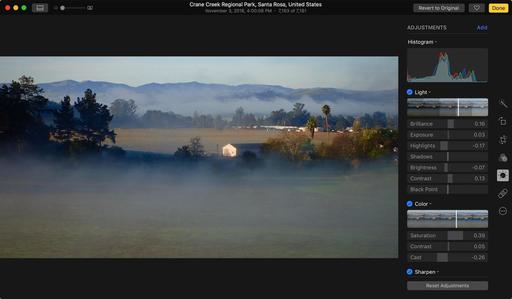
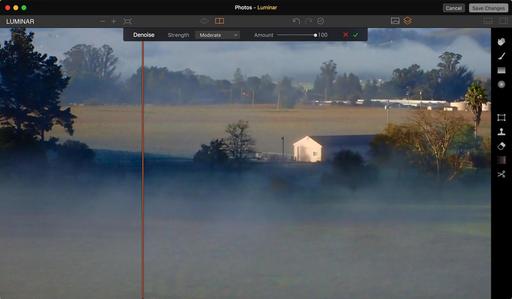
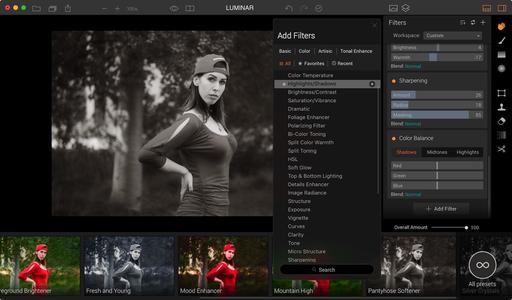
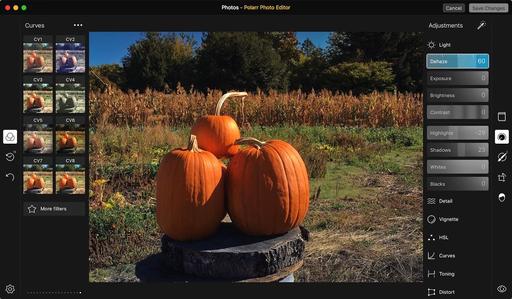
Photos can make your pictures look better. Its editing tools are outstanding. And the third party editing extensions that are rolling in to the Mac App Store are taking creativity to another level.
And just as importantly, Photos is friendly. It really is. All of that seems like a good deal to me. What does Apple get out of it? Well, if your learn to love Photos, you'll probably keep buying Macs, iPhones, and iPads. That's not bad for them either.
Think about that boy who has to walk on stage after the kid before him gets a standing ovation. He probably has something wonderful to say. But you have to give him a chance. Now's the time to do that.
-Derrick Story
More About The Apple Photos Book
Apple's Photos for macOS app was designed from the ground up to help you organize, edit, and share your pictures and videos. While the interface appears simple, finding the hidden nuances of Photos is not so straightforward. There's more to this app than initially meets the eye.
For photographers who are more than just casual snapshooters, or who are making the transition from Aperture or iPhoto, The Apple Photos Book for Photographers shines a light on the true sophistication of this app and the ecosystem it taps into. From the point of view of a working photographer, Derrick provides everything you need to know to get the most out of the imaging tools built into macOS and iCloud.
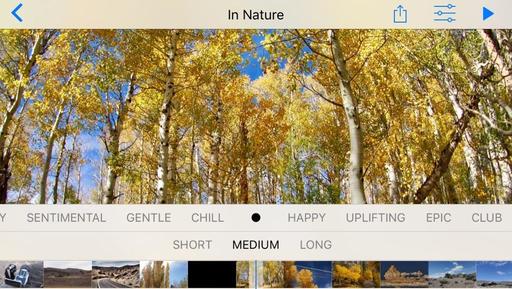
This book is up to date with the current version of Photos that shipped with macOS Sierra. It includes discussions on Memories and object recognition, plus all of the tools that make this a compelling application for Mac-toting photographers.
You can order your own copy directly from the publisher, Rocky Nook. Use coupon code DSAPPLE35 for a 35 percent discount. We recommend the Print & eBook Bundle that gives you the Kindle, iBook, and PDF versions, plus the lovely print edition.
You can also order your copy on Amazon.com
You can share your thoughts at the TDS Facebook page, where I'll post this story for discussion.
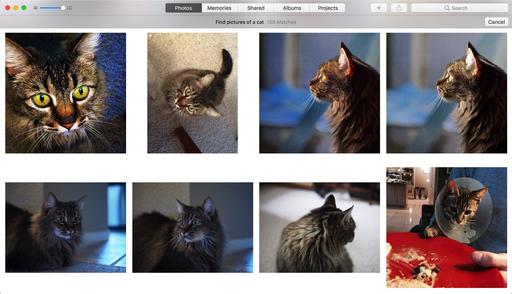 Lots of results from my asking Siri to find pictures of a cat.
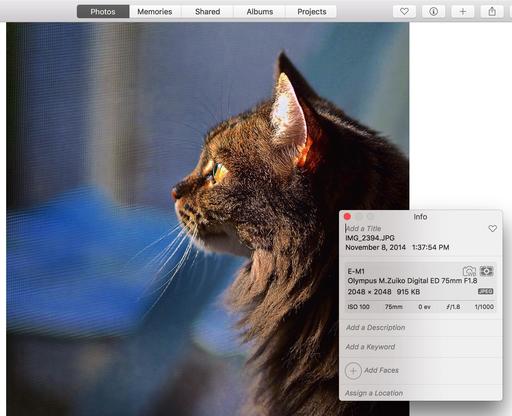 And by the way, none of them were keyworded or had descriptions.
 It takes just a few seconds to make sure Siri is set up correctly on your Mac.