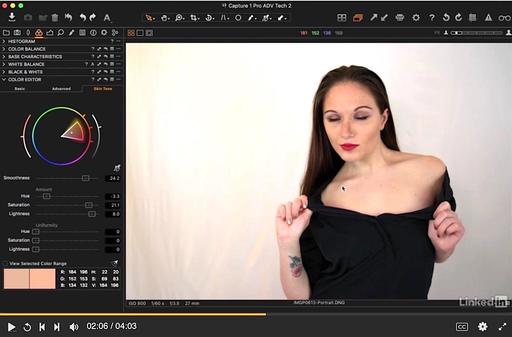
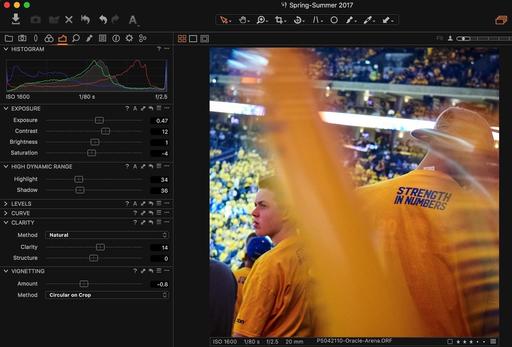
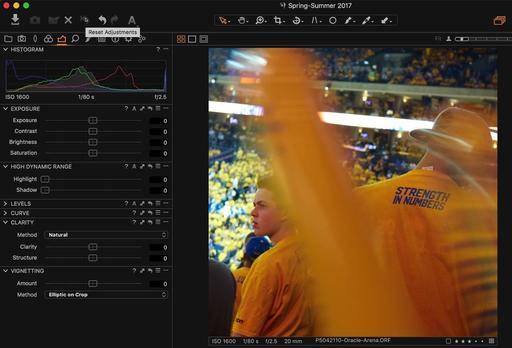
There are a variety of adjustments that you can apply to your images when you import them into Capture One Pro. These could be as simple as adding a contrast boost for studio images captured under flat light, or as fun as converting color images to black and white.
In addition to the visual adjustments you can make while the photos are importing into your catalog, you can add metadata as well, such as your copyright, contact info, and descriptions. I walk you through the steps in this video.
Keep in mind that any adjustments that you apply on import can be further tweaked, or removed, while editing in Capture One Pro. C1 is totally non-destructive. What is nice about this technique is that you can save yourself post processing time on images that have been captured under similar lighting conditions.
Master Capture One Pro
Want more? Consider our upcoming C1 Expert Editing Nimble Class on September 9. Class is limited to 6, and you can participate from the comfort of your home.
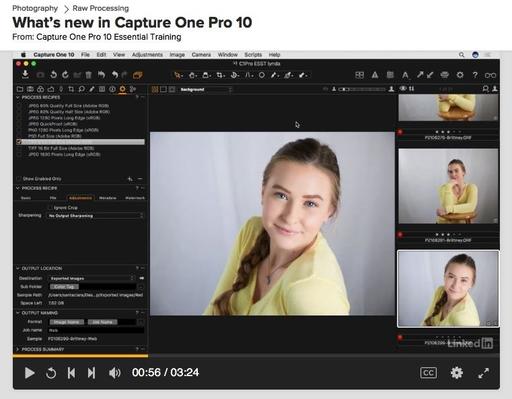
And don't forget about my Capture One Pro 10 Essential Training that will quickly get you up to speed with this pro level imaging application.
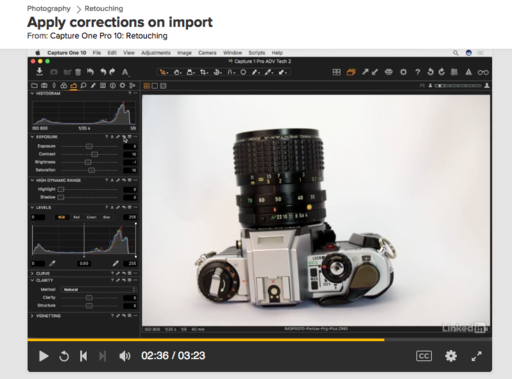
Then drill down into mastering the editing tools with Capture One Pro 10: Retouching and get supremely organized with Advanced Capture One Pro: Catalog Management.
You can share your thoughts at the TDS Facebook page, where I'll post this story for discussion.