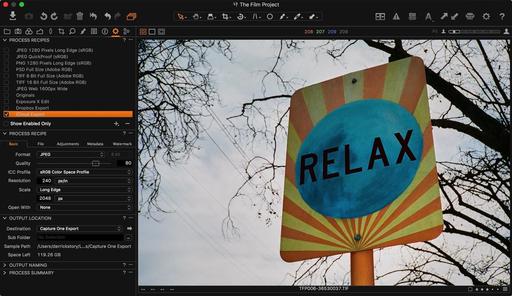
Existing light street photography is a blast, but it sometimes leads to off-putting colors. Fortunately, the images can easily be corrected in two steps using Capture One Pro.
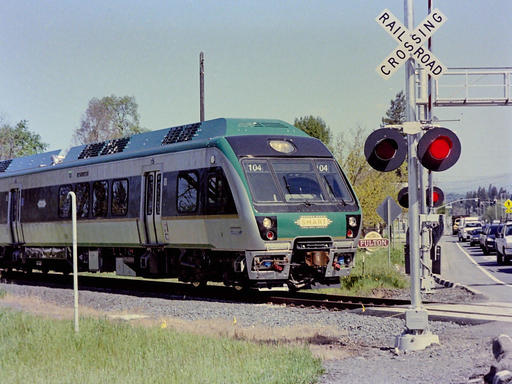
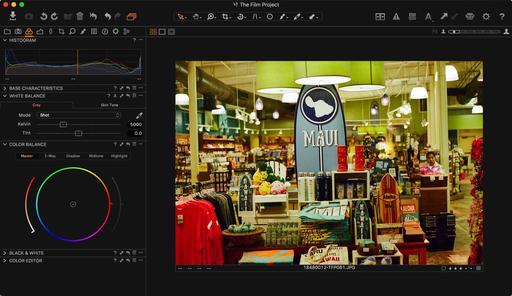 Original image captured in a shop in downtown Lahaina, Maui.
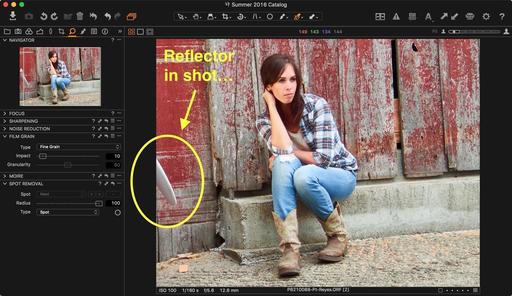
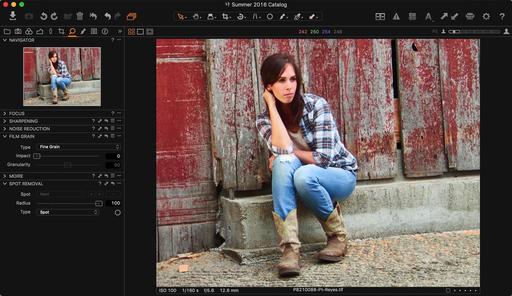
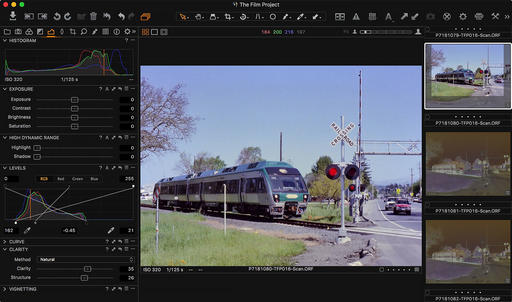
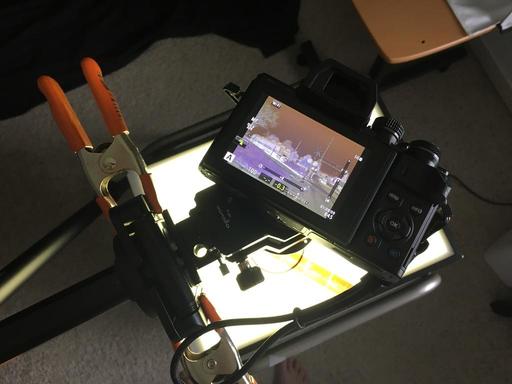
Here's the original image captured on Kodak 400 negative film. Whether the picture is analog or digital, the same sort of things can happen with artificial lighting. The first step is to go to the Color Tab in Capture One Pro and make a White Balance adjustment.
I use the eye dropper and click on a neutral tone in the image. This gets me half way there. The correction is an improvement, but not exactly what I want. I could continue to fine tune with the Kelvin and Tint sliders in the White Balance tool if I wanted. But I have another option too.
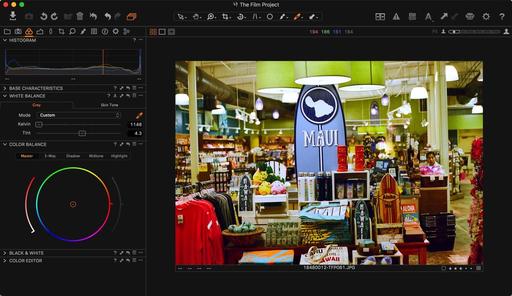 Using the White Balance adjustment certainly helps.
What I prefer to do, however, is to use the Color Balance tool that's right beneath White Balance. Since my main problem is the green hue caused by the fluorescent lighting, I offset it with moving the center circle indicator towards the red.
I'm I'm not exactly sure what I need to do, I can move the circle indicator all around until I find something that I like. Since this is a global adjustment affecting highlights, shadows, and mid-tones, I start my work within the Master tab. But I often continue to play with the different options in the Color Balance panel. I like the 3-Way Control that provides adjustments for shadows, highlights, and mid-tones individually.
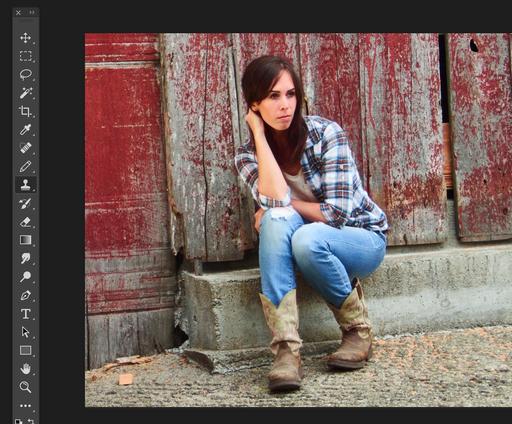
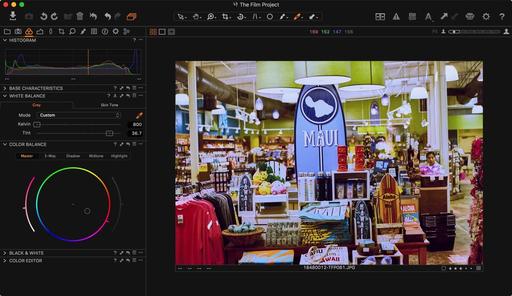 Being able to fine tune with the Color Balance tool provides even more control.
Just like everything else in Capture One Pro, you can save these adjustments as presets, or Copy and Apply the settings to other images that have similar lighting problems. The entire process is very fast. And getting rid of unwanted color casts really improves existing light images in urban settings.
More Capture One Pro Tips and Techniques
Improve your skills by watching Capture One Pro Essential Training now available on lynda.com. More than 5 hours of tips, tricks, and techniques. Plus many free movies using advanced techniques.
I've also created a dedicated Capture One Pro Training page on The Digital Story. You can follow all of the tips and techniques that I publish in one convenient spot.
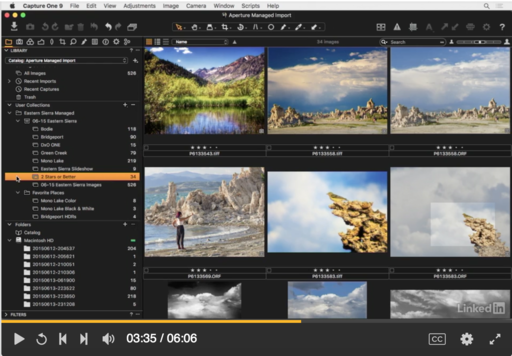
Thinking About Making the Transition from Aperture or Lightroom? - Download my free eBook titled, Rocky Nook's Guide to Moving to Capture One Pro. I show you the steps to create a test library, then build the foundation for a smooth transition to Capture One Pro.
Want to Comment on this Post?
You can share your thoughts at the TDS Facebook page, where I'll post this story for discussion.