I was never a layers guy. I wanted to be, but the software of the past just didn't resonate with me. Then, not too long ago, Capture One Pro introduced layers into their photo management and editing app. Everything changed for me (well, at least with layers anyway).
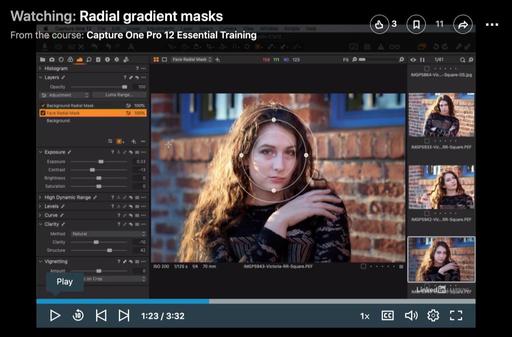
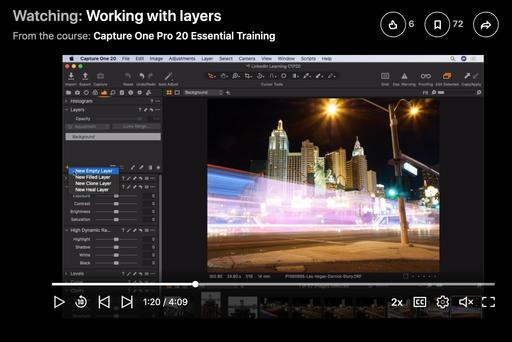
Working with layers from Capture One Pro 20 Essential Training by Derrick Story
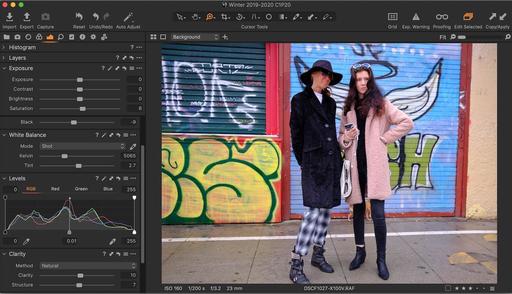
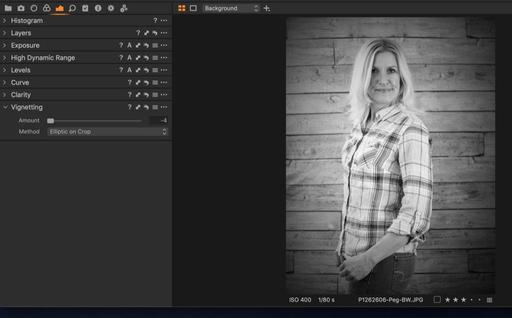
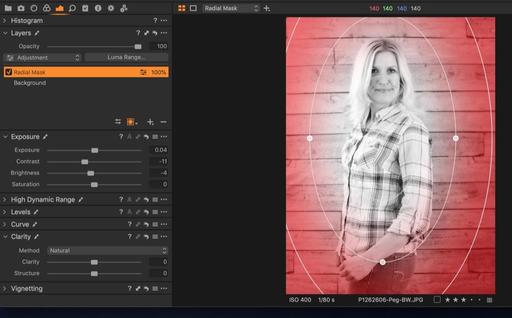
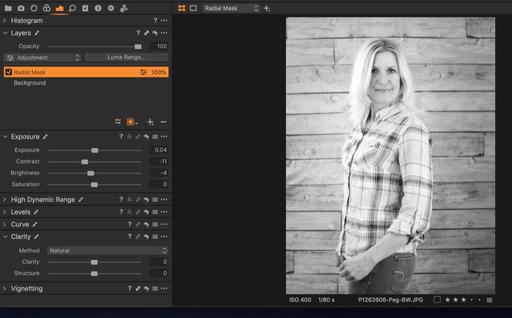
The key for me was their making layers just another function of the toolset. If I want to work on a particular area, such as a sky or foreground, but I'm not sure how successful I will be, I create a layer. I start playing. If it works, it works. If it doesn't, no harm. I can always come back and fiddle with it later.
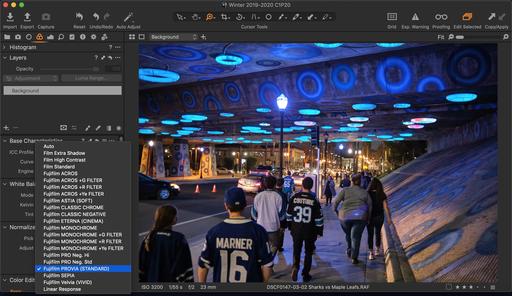
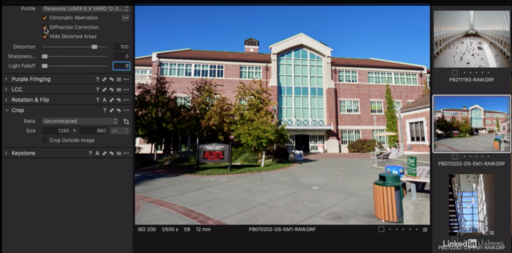
The layers are available in all of the Tools panels. I can start in Exposure for example. But if I go over to the Color panel, my layer is there as well. It's so easy, so logical.
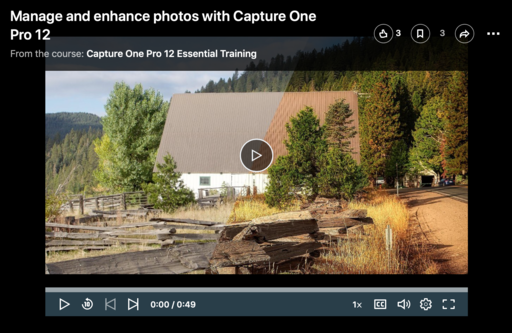
If you're curious about how fun and easy layers can be, watch the movie at the top of this article. It's just a brief introduction to this feature, but it will give you a good idea to what I'm talking about.
Working with layers from Capture One Pro 20 Essential Training by Derrick Story
It's from my latest online class, Capture One Pro 20 Essential Training on LinkedIn Learning, or, if you're a lynda.com subscriber, you can watch it there as well.
If you don't have Capture One Pro yet, you can download the 30-day free trial (Mac/Win). No credit card is required, and it's a fully functioning version.
I can now happily say that I don't always use layers, but when I do, I prefer Capture One Pro. Take a look at that video and see why.
You can share your thoughts at the TDS Facebook page, where I'll post this story for discussion.