This week on The Digital Story photography podcast: Special Edition Nimble Holiday Gift Guide for Photographers. I'll discuss 10 affordable items that are sure to please the photo hound in your life. All of this and more on today's show with Derrick Story.
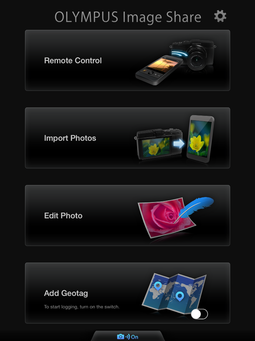
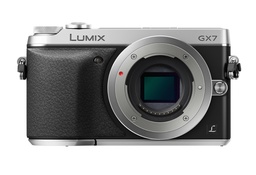
The Eye-Fi Mobi 16GB SDHC Wireless Memory Card ($67) - Even though we wish every one of our cameras had built-in WiFi, the fact is many don't. The Mobi is the best accessory solution I've used so far.
Purchase: Eye-Fi Mobi 16GB SDHC Wireless Memory Card
Background article: Eye-Fi Mobi Review.
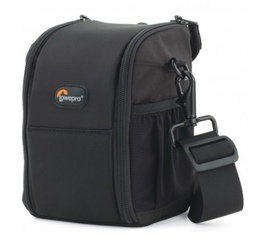
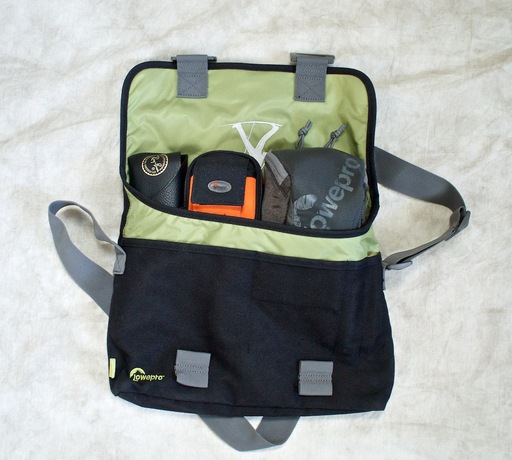
Lowepro S&F Lens Exchange Case 100 AW $35
The nifty lens case is designed for rapid exchange so you can take out your lens with one hand, replace it on your camera, and store the removed lens. The interior of the case has a dual compartment design that holds two lenses while the case is open but will not close with both lenses inside. Comes with belt attachment and a very nice strap.
Purchase: Lowepro S&F Lens Exchange Case 100 AW.
Background article: Need a Spare Hand? Lowepro Lens Exchange Case 100 AW.
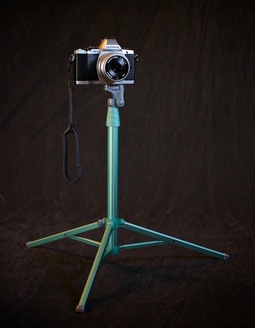
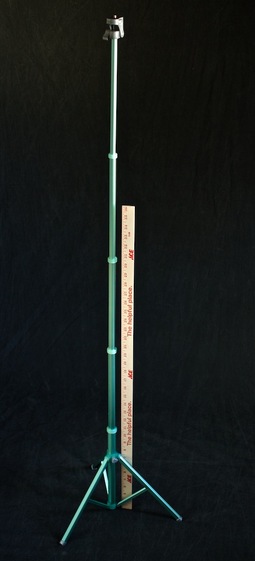
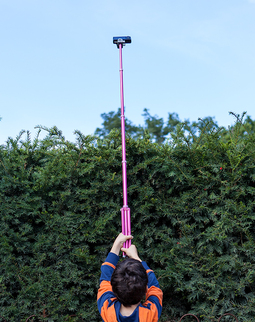
The Lollipod Multipurpose Ultralight Accessory Stand $55
I was skeptical until I actually started carrying one around. I've used the Lollipod as a light stand, microphone holder, and camera support. It looks cute, packs light, and would delight just about any light-footed photographer.
Purchase: Lollipod from its creators in the UK.
Background article: Is the Lollipod Really Useful?
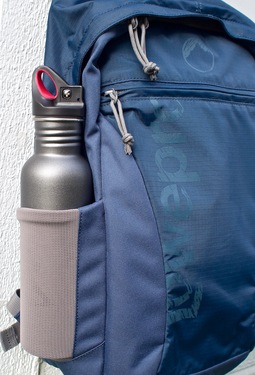
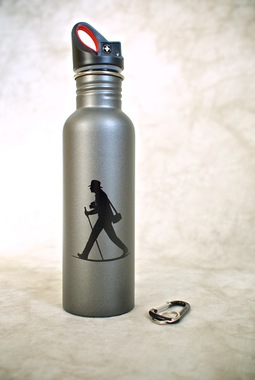
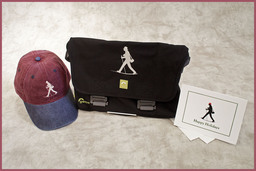
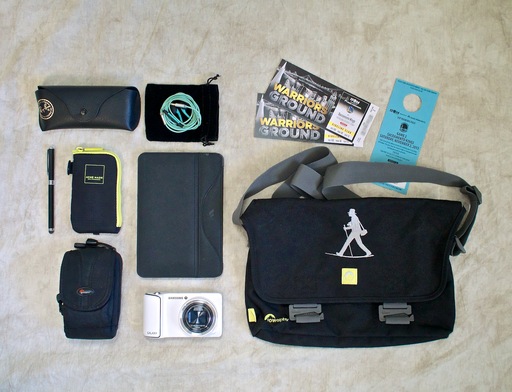
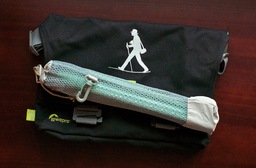
The Nimble Photographer Gift Set $39
This will make your life easy. This Nimble Gift Set includes the black Walking Man Shoulder Bag with embroidered Nimble Photographer, a stainless steel Wenger 26-ounce water bottle (that fits in the bag), two artisan gift cards, and a holiday gift bag. All you have to do is sign the card and hand over the gift. Appreciated by travelers and photographers alike.
Purchase: The Nimble Photographer Gift Set
Background article: The Bag Within a Bag Concept
Joby Gorillapod Micro 800 Tripod $20
This little gem features a stainless steel micro positioning ball that allows for 36° of movement in any direction for precise control in photo or video composition for cameras weighing up to 1.76 lbs. I keep one with me at all times, and just love it.
Purchase: Joby Gorillapod Micro 800 Tripod
Background article: The Clever Joby Micro 800 GorillaPod
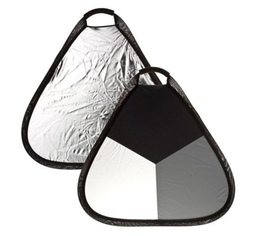
Flashpoint 24" One Handed Reflector and Calibration Target $19.95
I love working with disc reflectors, but I don't always have an assistant to hold them for me. I found the Flashpoint 24" Triangular Collapsible Disc that has a rigid design and can be held by one hand. It's silver on one side, providing lots of fill light. And on the other side it has black, white, and gray segments that can be used for establishing exposure and for color balance in post.
Purchase: Flashpoint 24" One Handed Reflector
Background article on Flashpoint reflector.
Olympus 15mm f/8 Body Lens Cap for M4/3 $59
If you like pancake lenses, you're going to love this. The just-announced Olympus BCL-15mm f8.0 Body Cap Lens is literally the size of a body cap, yet transforms to become a fixed focus snapshot lens that's a blast to shoot with. The lens is just 9mm thick, and when the cover is in place (to protect the glass), it looks like a body cap for your micro four thirds camera.
Purchase: Olympus BCL-15mm f8.0 Body Lens Cap for Olympus/Panasonic Micro 4/3 Cameras
Background article on Olympus 15mm f/8 Body Lens Cap
ExpoImaging Rogue FlashBender Small Positionable Reflector $35
Anyone who uses an external flash will appreciate this nifty diffusing accessory (that really works). I like that it fits just about anywhere in my camera bag. And it really improves portraits captured with flash.
Purchase: ExpoImaging Rogue FlashBender Small Positionable Reflector
Background article: Rogue FlashBender Large Positionable Light Modifier for Portraits
Canon 40mm Pancake Lens $149
After a year of shooting with the Canon 40mm EF f/2.8 STM lens,I have to say this is one enjoyable little prime. At half the size of the 50mm f/1.8, it focuses quieter, is built sturdier, and is ever bit as sharp. Plus it hardly takes up any room!
Purchase: Canon 40mm EF f/2.8 STM Lens
Background article on Canon 40mm pancake lens.
Photographer Parking Only Sign $8
This will bring a smile to any photographer's face: Their own "Parking Only" sign complete with Violators Will Be Shot warning.
Purchase: Photographer Parking Only Sign
Listen to the Podcast
In addition to subscribing in iTunes, you can also download the podcast file here (28 minutes). You can support this podcast by purchasing the TDS iPhone App for only $2.99 from the Apple App Store.
Monthly Photo Assignment
Photo Assignment for November is Critters.
More Ways to Participate
Want to share photos and talk with other members in our virtual camera club? Check out our Flickr Public Group. And from those images, I choose the TDS Member Photo of the Day.
Podcast Sponsors
Red River Paper -- Keep up with the world of inkjet printing, and win free paper, by liking Red River Paper on Facebook.
SizzlPix! - For The Digital Story Virtual Camera Club members ... if you'd like additional copies of for gifts, or SizzlPix! of any other of your images to make spectacular, amazing holiday gifts, order any two SizzlPix! to be shipped together, and we'll give you 25% off on the second one! Order any size up to a mind-boggling 48 by 72" Imagine -- six feet! and no sacrifice in resolution, luminance, and impact. Just put "TDS " in the comments space on the sizzlpix.com order page. Of course, you may apply the discount to any number of pairs. And free shipping to any US mainland address.
Want to Comment on this Post?
You can share your thoughts at the TDS Facebook page, where I'll post this story for discussion.
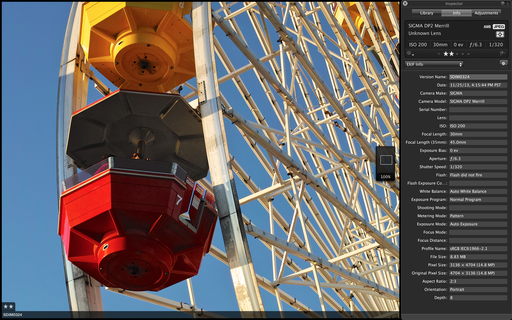
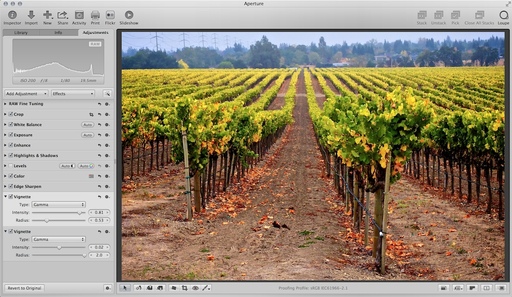
 Edited in Aperture - Both highlight and shadow information was recovered using tools in Aperture. Image captured at the University of Redlands by Derrick Story.
 Original photo from Canon PowerShot N - Original version prior to editing.