This guide will help you build an Olympus compact system camera kit, or add to an existing one. To assist you in making the best decisions for your photography needs, I'll discuss my experiences with these items, link to articles about their use, and recommend groupings that accommodate different budgets and shooting styles.
What is Micro Four Thirds (M4/3)?
To help you get your bearings, let's start with a few terms. "Micro Four Thirds" is a standard created by Olympus and Panasonic, with other partners joining in, including Sigma. The advantage of this standard is that you can interchange lenses and bodies within the system. So, for example, you can mount a Panasonic M4/3 lens on an Olympus M4/3 body, and everything works great.
What about the term Compact System Camera (CSC)?
Compact System Camera is a category term for high functioning, small cameras that have interchangeable lenses. This category includes the Micro Four Thirds offerings by Olympus and Panasonic, but also includes other brands such as the Sony NEX system.
The best way to think about this is: Compact System Camera is a generic term that describes an entire class of cameras, while Micro Four Thirds refers to a particular type of CSC.
Some advantages to the Olympus M4/3 Standard include:
- Image Stabilization is built into the body of the camera. So any lens you mount on an Olympus PEN or OM-D series camera will be image stabilized. This includes lenses by Panasonic, Sigma, and others. Image stabilized cameras improve picture quality by helping to eliminate "camera shake."
- A broad variety of camera bodies, accessories, and lenses. You can configure just about any type of kit that you would need for your photography.
- Compact and light. Since these cameras don't have the mirrors and pentaprisms that traditional DSLRs use, both the bodies and the lenses are smaller and weigh less.
- Can take advantage of technology from M4/3 partners. Panasonic for example, has developed some fantastic lenses that work perfectly on Olympus camera bodies.
Body Selection
There are two basic body systems within the Olympus M4/3 line: PEN and OM-D. The PEN series was the first compact system camera launched by Olympus. They are designed for entry level through intermediate level photographers.
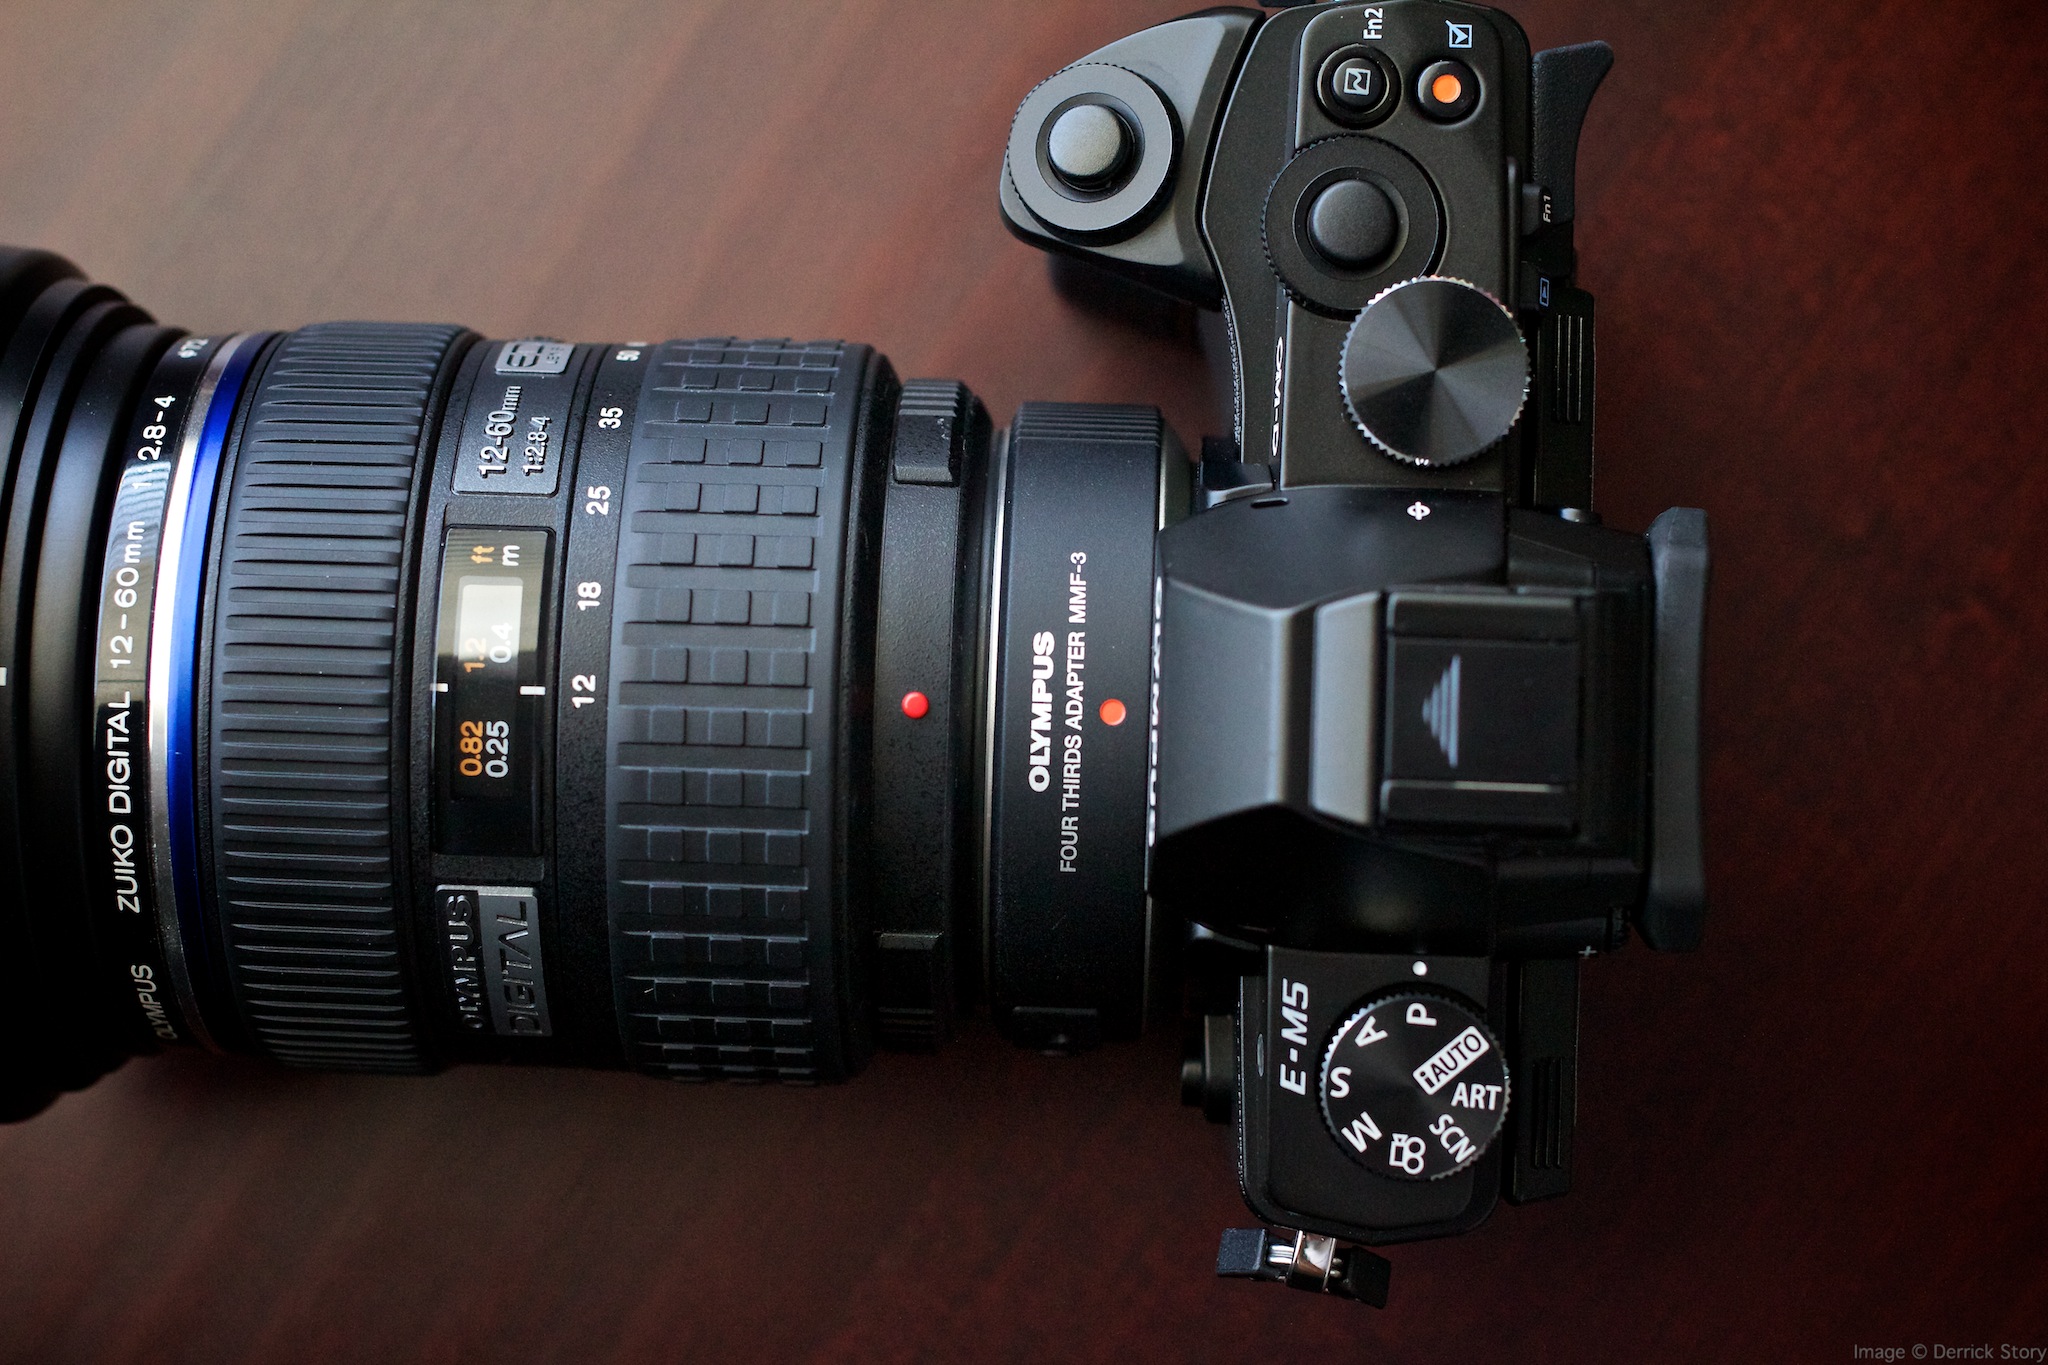
In the Spring of 2012, Olympus added a new series to the M4/3 standard: the OM-D. The first body in the series is the E-M5. The E-M5 is also very compact, like the PENs, but aimed at intermediate to serious level photographers. Both PENs and OM-Ds use the same lens system and most of the same accessories.
Recommended PEN Bodies
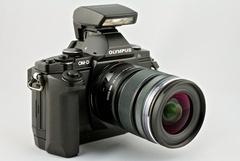
 The Olympus 17mm f/2.8 pancake lens on a PEN Mini.
Currently there are two PEN bodies that I prefer. The E-PL3 and the E-PM1 (PEN Mini). Both are current generation cameras that provide an excellent balance between price and features.
The E-PM1 is the smallest PEN and a good fit for those moving up from a point and shoot digital camera. It's also a terrific second camera for OM-D photographers.
The E-PL3 is a bit more sophisticated and offers an adjustable LCD panel. Both cameras are available in a variety of colors. Resolution with the PENs is 12 megapixels, which is enough to make a 13x19 inch print.
Currently my favorite of the PEN series the the PEN Mini (E-PM1). I recommend the E-PM1 body (any color) with the 14-42mm zoom lens. Here is a selection of the recommended PEN kits.
Recommended Olympus PEN bodies with current best pricing.
Related Articles about the Olympus PEN
Olympus PEN mini
Olympus E-PM1 - Quality Nimbleosity
Morning Walk with the Olympus PEN Mini
On the Road with the Olympus PEN Mini
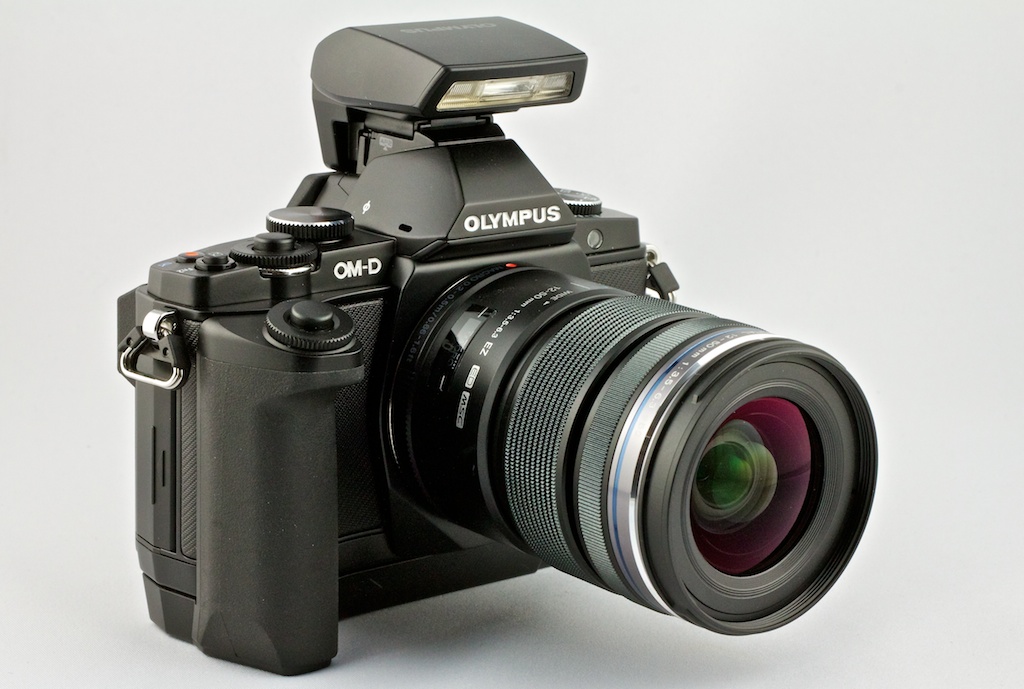
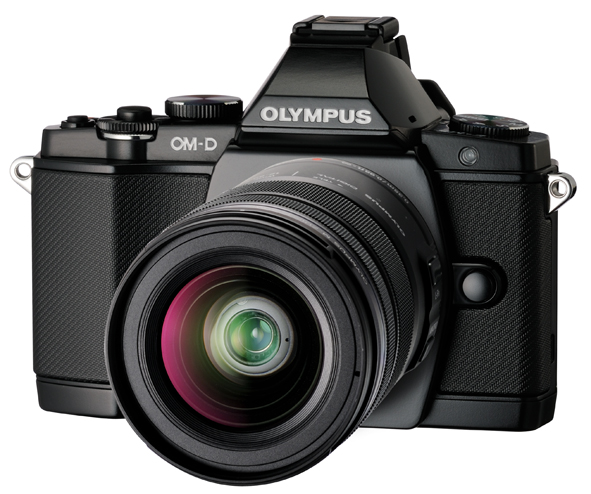
The OM-D E-M5
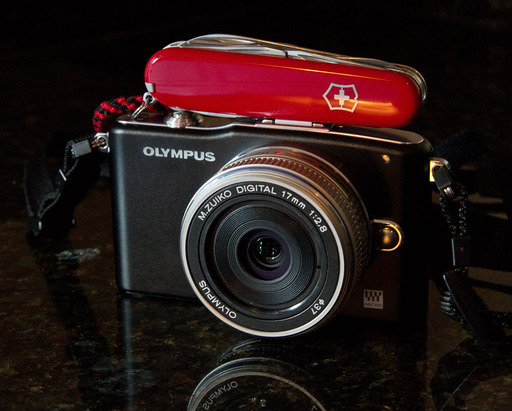
 Olympus OM-D E-M5 with 12-50mm zoom lens that has macro capability.
The E-M5 is also very compact. It looks like a mini-DSLR. But inside it packs state-of-the-art sophistication. Highlights include fast auto focus, 9 frames per second burst rate, 5 axis image stabilization, adjustable touch screen LCD, built-in electronic viewfinder, weather sealing, and 16 megapixels of resolution. The sensor is manufactured by Sony and implemented by Olympus.
This camera is highly recommended for intermediate to advanced photographers who want a sophisticated tool in a compact body.
The EM-5 is my current favorite micro four thirds body. I think the image quality and feature set is outstanding. It is an excellent value for the money. My favorite combination is the black E-M5 body with 14-42mm zoom lens.
Recommended Olympus OM-D kits with current best pricing.
As you can see from the options above, the E-M5 kits offer four basic choices: black or silver body with either the 14-42mm or the 12-50mm zoom lens. Both lenses have excellent image quality.
The 14-42mm zoom provides a real world 28-84mm zoom range (you double the focal lengths for M4/3). It is very compact and focuses quickly. The 14-42mm is the better choice for those who want the most compact camera/lens combination.
The 12-50mm zoom offers a wider range: 24-100mm in real world terms. It also includes a handy "macro" mode for close up photography. And it has a "power zoom" option for those who like to zoom smoothly while recording movies. Keep in mind, however, that the 12-50mm is a bigger lens that adds an additional $200 to the kit price. But if you enjoy close-up photography and want a wider zooming range, it is worth the price. This lens is also weather sealed, matching the weather sealing on the E-M5 body.
Related Articles about the Olympus OM-D
Olympus OM-D Brings Pro Body to Micro Four Thirds
A Closer Look at Macro Mode on the Olympus 12-50mm Power Zoom
Giants vs Dodgers Shot with an Olympus OM-D
Pros and Cons of the Olympus OM-D
Podcast Featuring Discussion about the OM-D
Additional Lenses for Micro 4/3 Cameras
I've had excellent experiences with Olympus, Panasonic, and Sigma lenses for micro four thirds cameras. My current favorites in terms of value/performance to augment your kit lens are the Olympus 45mm f/1.8, Panasonic 14mm f/2.5, and the Olympus 40-150mm zoom.
But there are many excellent options. Browse all of the selections (by clicking on the right and left arrows) to find the perfect accessory lens, or lenses, for your photography.
Recommended Micro Four Thirds lenses with current best pricing.
Related Articles about Micro Four Third Lenses
Olympus 17mm pancake lens
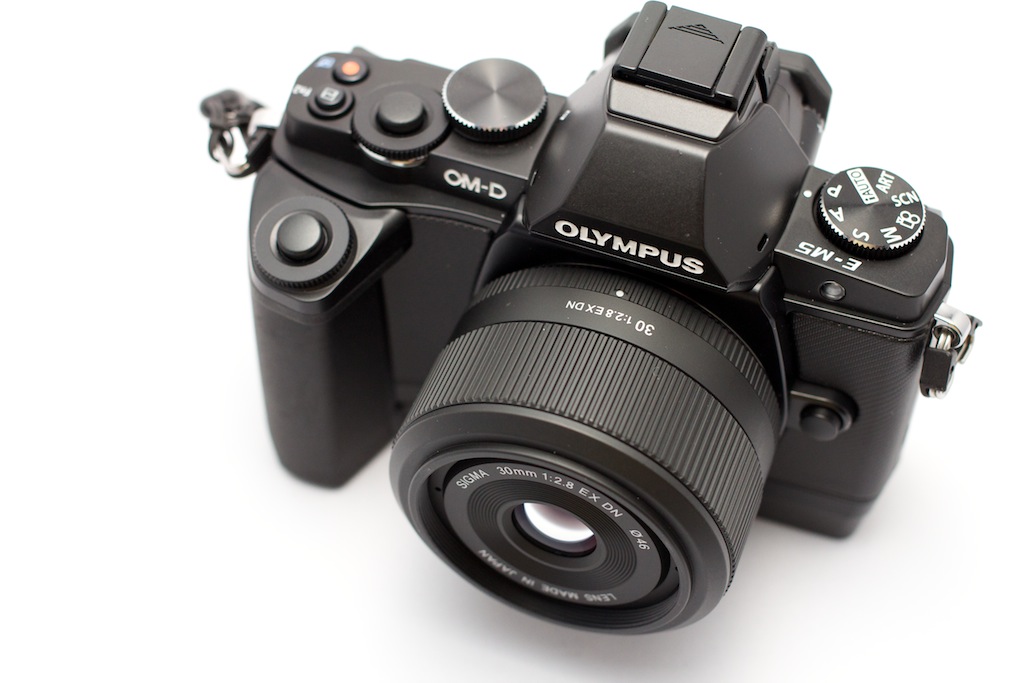
Sigma 30mm f/2.8 lens
Olympus 45mm f/1.8 lens
PEN Accessories
Olympus has created an extensive line of accessories to augment your PEN system. I recommend an extra BLS-5 Lithium-Ion Rechargeable Battery for sure. I also think the electronic viewfinder VF-3 is a fantastic addition that I would be hard pressed to live without.
Recommended Olympus PEN accessories with the current best pricing.
If you don't want to invest a lot of money in interchangeable lenses, you might take a look at the Olympus lens converters. They offer fisheye, macro, and wide angle attachments that are compatible with the kit 14-42mm zoom. Personally, I prefer to have separate lenses for these functions. But for tight budgets, the converters may be just the ticket.
OM-D Accessories
 The Olympus Power Battery Holder mounted on the E-M5. The bottom part detaches if you want to use a lighter grip without the extra battery compartment.
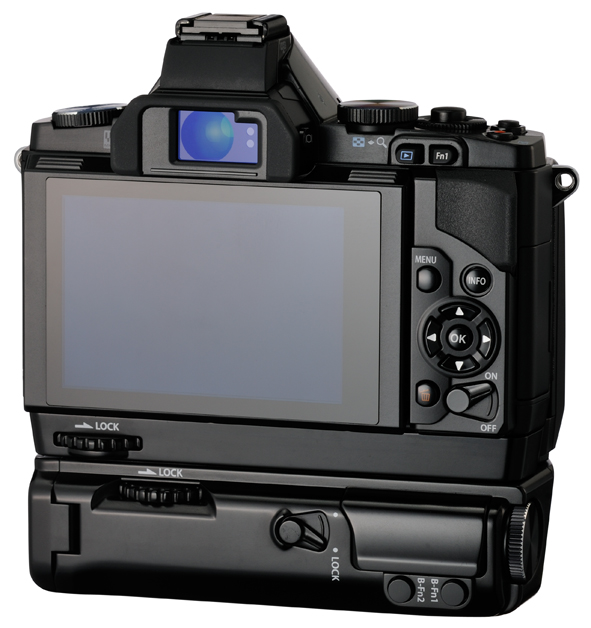
For those with larger hands, I recommend the Olympus Power Battery Holder. It provides a secure grip that makes holding the camera more comfortable. It has two parts. The first part is the horizontal grip that I leave on the camera all the time. The second part attaches the to horizontal grip and provides space for a second battery, plus controls for using the camera in the vertical position. This Olympus Power Battery Holder is highly recommended, and it works great even if you don't use a second battery.
Recommended Olympus OM-D accessories with current best pricing.
Recommended Camera Bags
If you want an all purpose backpack that holds your laptop, tablet, and Compact System Camera, my favorite is the affordable Lowepro CompuDay Photo 250. It's my every day backpack that currently holds a MacBook Pro 15" Retina Display laptop, Olympus OM-D with grip, three lenses, and an iPad.
The Lowepro Event Messenger 100 is a stylish messenger-style shoulder bag that accommodates your camera with mounted lens, plus there's plenty of room for accessories. I like the Dual-Mode Flap design that can switch from maximum security mode to quiet working mode.
I also think that the Lowepro Passport Sling is a hip and versatile shoulder bag. It's been a hit with both men and women. It easily holds your Olympus gear, plus personal items. It does not accommodate an iPad or laptop, however.
I've also included a variety of smaller bags that I've tested with the Olympus cameras. I'm sure you'll find just the right bag for you.
Recommended Lowepro bags for Olympus cameras with current best pricing.
Ultimate Kits
Here are my recommendations for ultimate kits at the entry, intermediate, and advanced photographers.
Entry Level: Olympus PEN E-PM1 (any color) with 14-42mm zoom and 40-150mm zooms, and extra BLS-5 Lithium-Ion rechargeable battery.
Intermediate Level: Olympus PEN E-PL3 (any color) with 14-42mm zoom, 40-150mm zoom, 17mm f/2.8 lens, 45mm f/1.8 lens, VF-3 electronic viewfinder, and extra BLS-5 Lithium-Ion rechargeable battery.
Advanced Level: Olympus OM-D E-M5 (any color) with 14-42mm zoom and 40-150mm zoom, Panasonic 14mm f/2.5, Olympus 45mm f/1.8 lens, Power Battery Holder, FL 36R flash, and extra BLN- Lithium-Ion rechargeable battery.
Editor's note - purchasing your Olympus gear through the links in this guide help support this site!
 Now Available! The Digital Photography Companion. The official guide for The Digital Story Virtual Camera Club.