This is The Digital Story Podcast #585, May 23, 2017. Today's theme is "The Crossover Shot" I'm Derrick Story.
Opening Monologue
How many times have you held back a shot because you thought it was too cliche? Or maybe it featured what we call a mature subject, such as a sunset or the Golden Gate Bridge. But, maybe, just maybe, it's more artistic than you realize. And it's even possible that both photographers and the general public would admire it. That's what I call the crossover shot. And it's the first topic for today's show.
The Crossover Shot

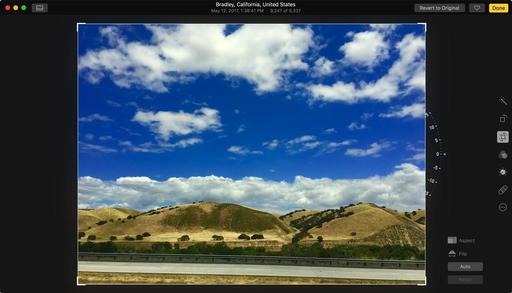
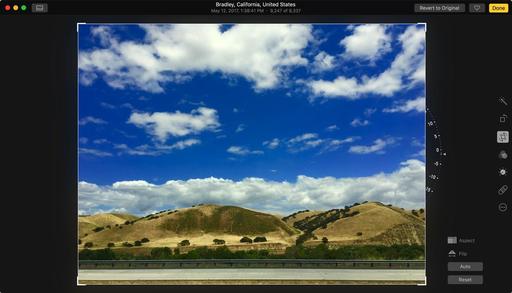
I want to start by telling you a story that happened just a few days ago. Seven of us were reviewing 3 days worth of pictures that we had captured on the Northern Sonoma Coast. This is postcard territory for sure, and one of the biggest internal struggles group members were having was choosing eight original images for the final class presentation.
Among the various subjects, everyone had a sunset shot. Yet, not one of those dazzling twilight images made it into the final presentation. And afterwards, as we talked about our choices, each photographer felt that it was either too cliche or that someone else would present theirs. So no-one did.
This gave me the opportunity to talk about the crossover shot. Images that appeal to both the hardened photographer as well as the Mom with loving eyes. And from that discussion, I have five key points to share with you today.
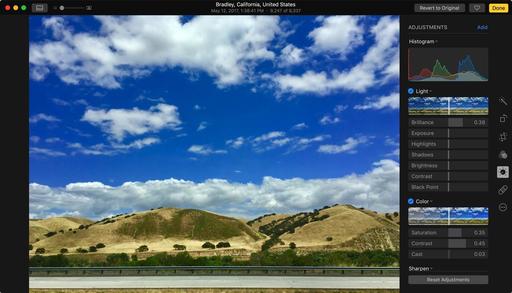
- Just Because It's Common, that Doesn't Mean it's Bad - Most of us are leery of photographing postcard subjects. But that doesn't mean that you can't add your own artistry to them.
- Just Because It's Difficult, that Doesn't Mean it's Good - Yes, we're proud of those images that we had to work really hard to capture. But...
- We're Often Not the Best Judge of Our Own Work - Having non-photographers review and comment on our photos helps bring balance to our final selects.
- Consider a Mix for Your Final Choices - If someone lobbies hard for an image that you feel isn't artistic enough, consider including it with one that you also feel strongly about.
- Respect for Those Who Achieve Crossover - And learn from them. Just because someone is popular, that doesn't mean they've sold out.
A Remote Trigger As Well
In order to accurately measure the flash output on your subject, you want to measuring from that position. So how do our trigger the flashes?
The Sekonic Speedmaster L-858D-U handheld light meter also is compatible with optional radio triggering modules for PocketWizard, Elinchrom EL-Skyport system, and the Phottix Strato/II protocol.
These modules provide multiple zones, flash power control (except for Phoenix), and model light control (except for Phoenix). And since this is a radio system, you can stand just about anywhere, inside or out, to trigger the flashes and take a reading. The Speedmaster also provides the old school PC terminal connector for those who use wired systems as well. And if you don't want to mess with any of that, there's a tripod socket in the bottom of the unit, so you can mount it on a stand.
If you want to learn more about the Sekonic Speedmaster L-858D-U handheld light meter, visit the link in these show notes.
More Stupid Photographer Moves
Here are some of my favorites from the TDS Facebook comments on last week's podcast.
Mark: Yup, I've done the 'Went out with a spare discharged battery', and I can add one 'Formatted the wrong card' (fortunately without erasing any good images that mattered!).
Carl: Realizing half way through a shoot that the only memory card I have is nearly full because I failed to format it. Now that I think about it this is two stupid mistakes.
Richard: I often leave the house with just a camera and lens...and no memory card. Then I'm just carrying jewelry.
Rob: My doh moments: camera still in bracketing mode from the day before, and I wonder what is wonky with the exposures.
Jim: I routinely found myself with a bag of discharged batteries. Now when I charge a battery I wrap an elastic band around it. Now the discharged ones are easily identifiable because they are the ones in my bag with no elastic on them. It also has a side benefit in that it prevents anything in the camera bag from shorting the terminals.
Jerry (from our recent workshop): Yes, I put my batteries in their chargers on the power strip before I went to bed. Problem was, the switch on the power strip was off. So I was looking at a day of exciting workshop shooting with a batch of dead batteries.
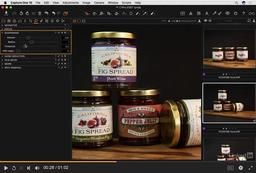
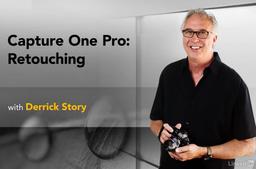
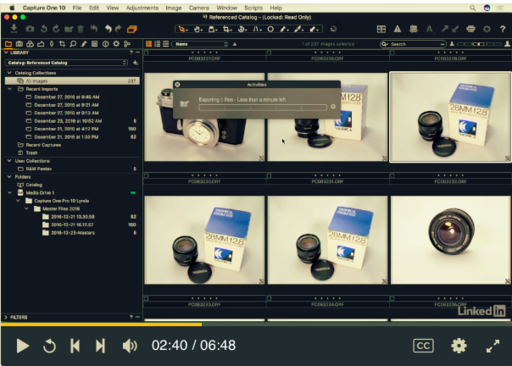
New Capture One Pro 10 Training Videos
lynda.com and LinkedIn Learning have just released Capture One Pro 10 Essential Training. And I talk about this title, and those related to it, during this segment of today's show.
Updates and Such
Big thanks to all of our Patreon members! I was able to pay for the podcast server and the backup system from last month's pledges. Your contributions are making a positive impact.
Registration invitations have gone out to Reserve List members for the Autumn in Wine Country Photography Workshop. If you are on the Reserve List, but didn't get your invite, please contact me. You can learn more about the workshops by visiting the TDS Workshops Page.
B&H and Amazon tiles on www.thedigitalstory. If you click on them first, you're helping to support this podcast. And speaking of supporting this show, and big thanks to our Patreon Inner Circle members.
And finally, be sure to visit our friends at Red River Paper for all of your inkjet supply needs.
See you next week!
More Ways to Participate
Want to share photos and talk with other members in our virtual camera club? Check out our Flickr Public Group. And from those images, I choose the TDS Member Photo of the Day.
Podcast Sponsors
Sekonic Light Meters - Learn more about the amazing Sekonic Speedmaster L-858D-U handheld light meter by listening to next week's show and visiting the Sekonic web site.
Red River Paper - Keep up with the world of inkjet printing, and win free paper, by liking Red River Paper on Facebook.
The Nimbleosity Report
Do you want to keep up with the best content from The Digital Story and The Nimble Photographer? Sign up for The Nimbleosity Report, and receive highlights twice-a-month in a single page newsletter. Be a part of our community!
Want to Comment on this Post?
You can share your thoughts at the TDS Facebook page, where I'll post this story for discussion.