This week on The Digital Story Photography Podcast: Apple's iPhoto Switcheroo in iOS 8, Ten Quiet Cameras, Lithium-ion Batteries of the Future - All of this and more on today's show with Derrick Story.
Story #1 - Drobo has announced a new configuration for its Mini robotic storage, leveraging four 2-TB HDDs and selling the complete package for $999. The Mini features 2x Thunderbolt & 1x USB 3.0 ports, power fail protection with battery backup, and Drobo BeyondRaid for advanced data protection. (Source: Drobo).
In other news, New lithium-ion battery tech could charge in minutes, keep working for decades - A research team at Singapore's Nanyang Technological University is proposing a replacement for the anode of a typical lithium-ion battery that they say could be cheaply and easily manufactured, and yet provide significant benefits such as 20 year life and super fast recharging. (Source: Imaging-Resource.com).
And finally, Canon's Upcoming 11-24mm f/4L Will Reportedly Cost a Hefty $3,000. (Source: PetaPixel.com).
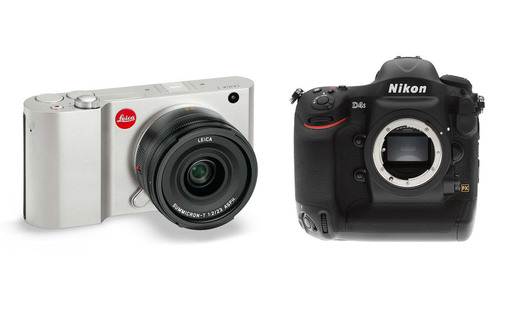
Story #2 - 10 Quiet Cameras (and 5 Very Noisy Ones) - Sascha Steinhoff published Keeping it Quiet in the latest issue (#17) of c't Digital Photography Magazine (page 90). She shares a through examination of what causes camera noise, then tests 30 popular models for their sound levels. Here are the 10 quietest cameras in normal shooting mode.
The Quietest Cameras
(Number 1 producing the least amount of noise in normal shooting mode.)
- Pentax Q7
- Pentax Q
- Leica T
- Olympus PEN E-P5
- Fujifilm X-E2
- Olympus OM-D E-M1
- Canon EOS M
- Pentax K-5 II
- Nikon 1 V3
- Leica M
Mirrorless cameras dominated the Top 10. Plus, seven of these models have a "Quiet Mode" that emits virtually no sound during capture. The three models that still produced noise in Quiet Mode (Pentax Q7, Pentax Q, and Nikon 1 V3), were able to substantially reduce sound, up to 40 percent quieter.
The Noisiest Cameras
The bottom of the list was dominated by professional grade DSLRs. Here are the five noisiest models.
(Number 1 producing the most noise in normal shooting mode.)
- Nikon D4s
- Canon EOS-1D X
- Nikon D800
- Nikon D300
- Nikon Df
Even in Quiet Mode or Live View, theses cameras created more sound than any of the Top 10 models in normal mode.
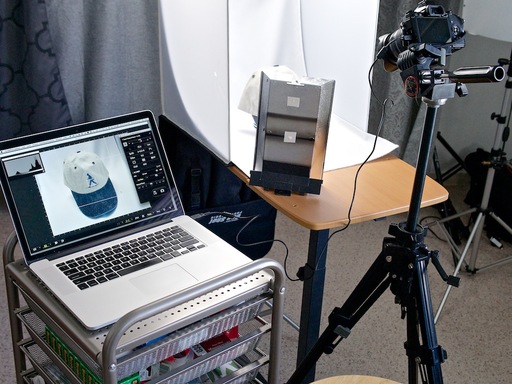
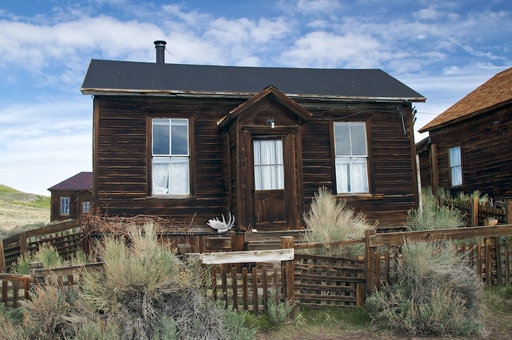
Story #3 - Workshop Dates for 2015 Season - On the TDS Workshops page, I've added the dates for next year's events. Here's how they shake out: Moving from Aperture to Photos or Lightroom - Feb. 6-7, 2015, San Francisco Street Photography - April 24-26, Bodie and the Eastern Sierra - June 11-13, and Fall Color with Safari West: October 23-25. Plus I talk about this week's scouting trip to the Eastern Sierra.
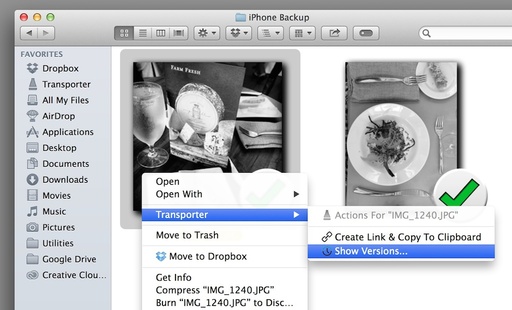
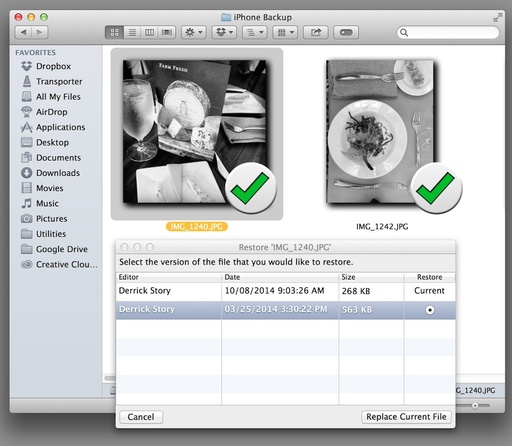
Story #4 - Did Apple Short Change Us with Photos.app in iOS 8? I've been getting lots of comments about the discontinuation of iPhoto for iOS and the shortcomings of the new Photos app that replaced it. I discuss in the fourth segment of today's show.
Virtual Camera Club News
Photo Assignment for October 2014 is "Water".
Order Your SizzlPix Early
Order your SizzlPix early to get holiday shopping out of the way. You'll give the double whammy of your own great image that has special meaning to your recipient, combined with the delightful surprise they'll have, seeing the back of the SizzlPix, wondering, "what the heck is this?", then lifting it out of the box, flipping it over, and there it is, a spectacular SizzlPix -- like Retina Display for the wall -- all ready with hanger attached!
If you haven't done so already, please post a review for The Digital Story Podcast in iTunes.
BTW: If you're ordering through B&H or Amazon, please click on the respective ad tile under the Products header in the box half way down the 2nd column on thedigitalstory.com. That helps support the site.
Download the Show
In addition to subscribing in iTunes, you can also download the podcast file here (30 minutes). You can support this podcast by purchasing the TDS iPhone App for only $2.99 from the Apple App Store.
More Ways to Participate
Want to share photos and talk with other members in our virtual camera club? Check out our Flickr Public Group. And from those images, I choose the TDS Member Photo of the Day.
Podcast Sponsors
Red River Paper -- Keep up with the world of inkjet printing, and win free paper, by liking Red River Paper on Facebook.
SizzlPix! - High resolution output for your photography. You've never seen your imagery look so good. SizzlPix.com. SizzlPix! now is qualified for PayPal "Bill Me Later," No payments, No interest for up to 6 months, which means, have your SizzlPix! now, and pay nothing until January!
Want to Comment on this Post?
You can share your thoughts at the TDS Facebook page, where I'll post this story for discussion.