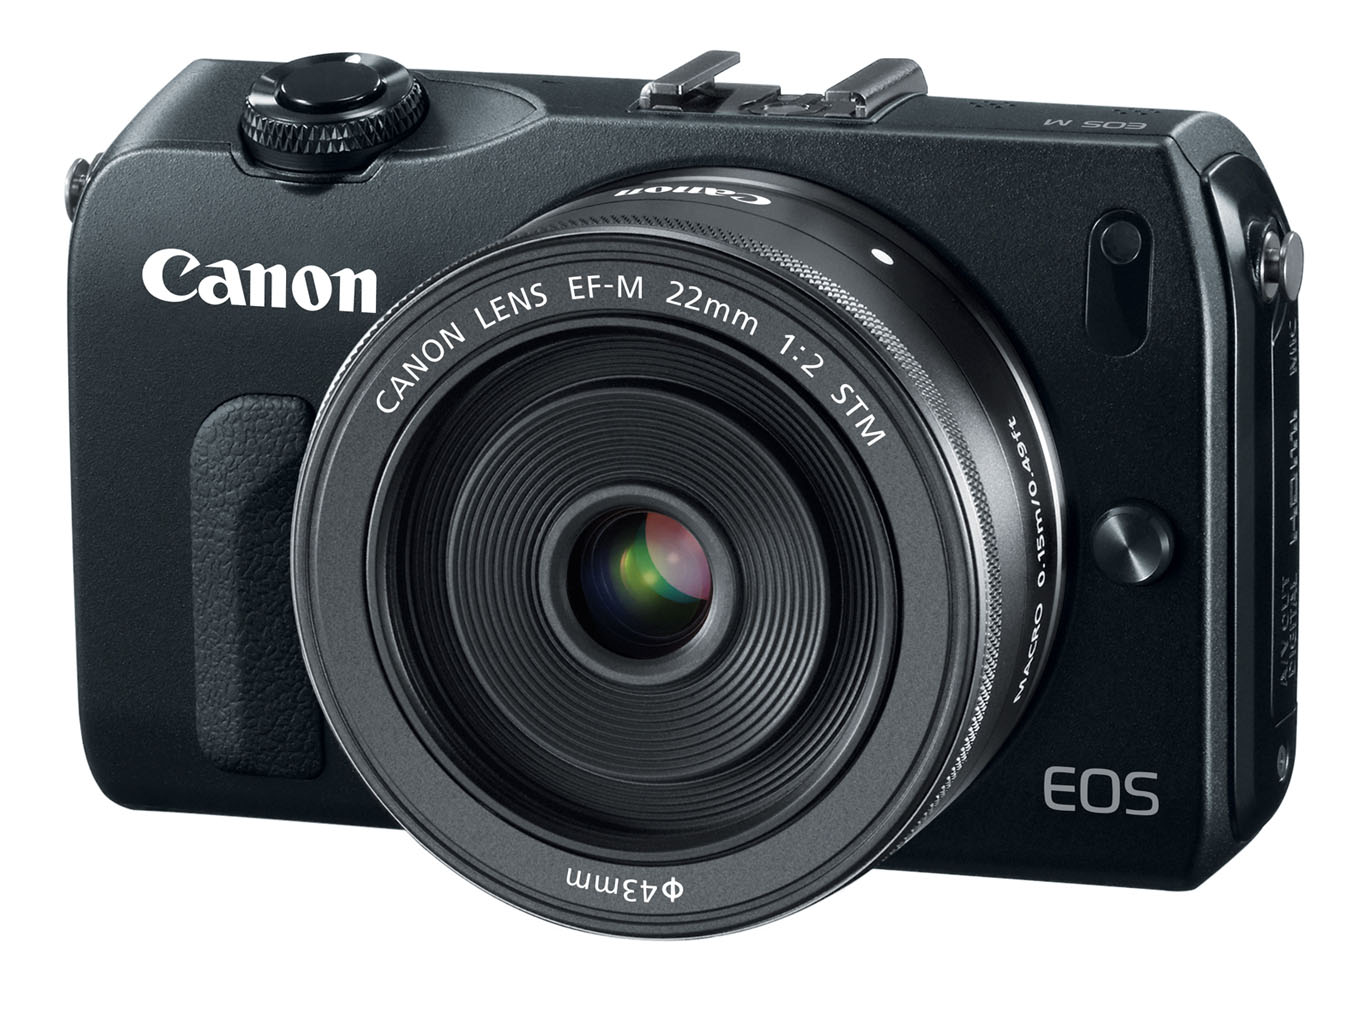
The Canon EOS M mirrorless camera has been officially announced. We've had some discussion on TDS about "is it the next camera for you," and I cover that conversation as the top story this week.
Then we get in to the Burger King Bust. Three employees at the hamburger shack photographed themselves standing in lettuce bins used for preparation. Then published the photo online. They were tracked down via geodata and fired.
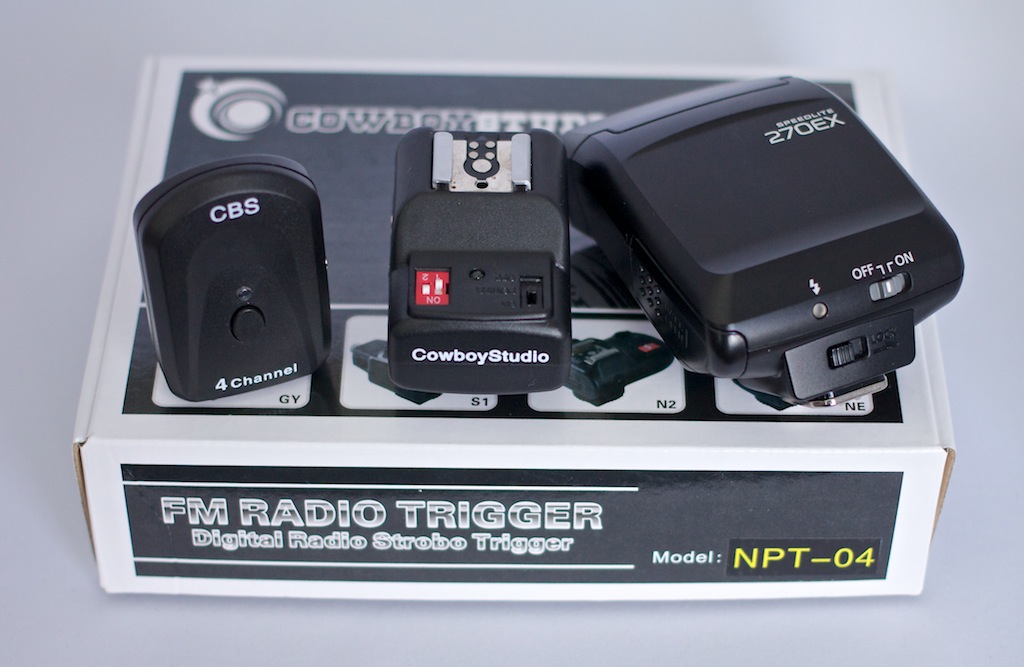
And finally, the $25 wireless flash trigger from Cowboy Studio. What a deal! All of this and more on this week's TDS podcast.
Listen to the Podcast
You can also download the podcast here (31 minutes). Or better yet, subscribe to the podcast in iTunes. You can support this podcast by purchasing the TDS iPhone App for only $2.99 from the Apple App Store.
Monthly Photo Assignment
Hot is the July 2012 Photo Assignment. You can read more about how to submit on our Member Participation page. Deadline for entry is July 31, 2012.
More Ways to Participate
Want to share photos and talk with other members in our virtual camera club? Check out our Flickr Public Group. And from those images, I choose the TDS Member Photo of the Day.
Podcast Sponsors
Red River Paper -- The $7.99 Sample Kit is back! And with free shipping.
Make Your Photos Sizzle with Color! -- SizzlPix is like High Definition TV for your photography. Get a 20% discount during July by adding "TDS" in the comment field of your order.
Need a New Photo Bag? Check out the Lowepro Specialty Store on The Digital Story and use discount code LP20 to saven 20% at check out.
Technorati Tags:
digital photography, podcast, technique, Technology, The Digital Story, tips