Leading up to the holidays, I took note of a BMW car commercial where this family was zipping from one event to the next in their very nice beemer on Christmas Day. I thought it was a good spot. And it dawned on me that it would be fun to record something like that on a single roll of film for my holiday.
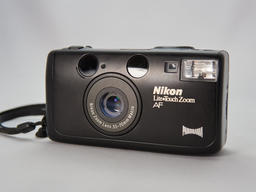
I had recently become enamored with the Nikon Lite Touch Zoom AF, a super compact 35mm film camera that weighs only 7 ounces, fits in my pocket, and sports a 35-70mm zoom. The other thing that makes this 1990s point-and-shoot perfect for the project is that the flash is fairly sophisticated, including a Slow Sync setting that captures more ambient lighting for indoor shots, mitigating that "overexposed subject/black background" look.
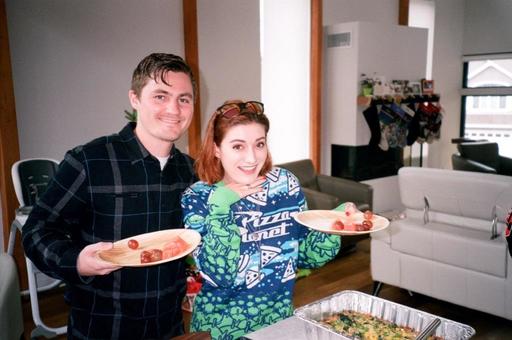 Photo by Derrick Story.
So I loaded up the Nikon with a 36-exposure roll of Fujicolor 200 film, stuffed it in my pocket, and embarked upon our Christmas day.
There were a few things that appealed to me about this project. First, I like the set number of frames for the day. I had 36 shots, no more, no less. So I couldn't just go crazy and take 10 pictures of the same thing that's so easy to do with digital.
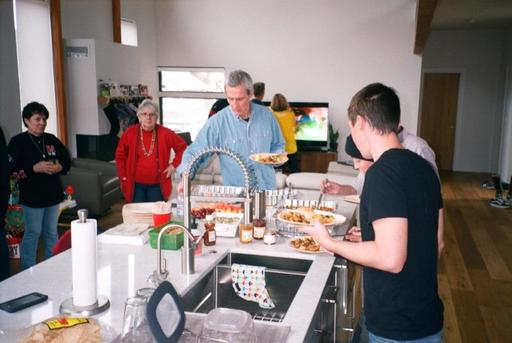 Photo by Derrick Story.
I also liked the idea of having the day preserved on film. My workflow for color work is to shoot the film, then send it to a lab for processing and scanning. The negatives get filed in archival sleeves that are numbered and correspond to the digital images in my Photos album. It's the best of both worlds.
I also liked the challenge of capturing images on film, especially with a point-and-shoot. Indoors, I always used Slow Sync mode, and the Nikon did a great job of balancing the exposure. The mixed lighting makes for some interesting effects. I think the images have a real nostalgic feel to them.
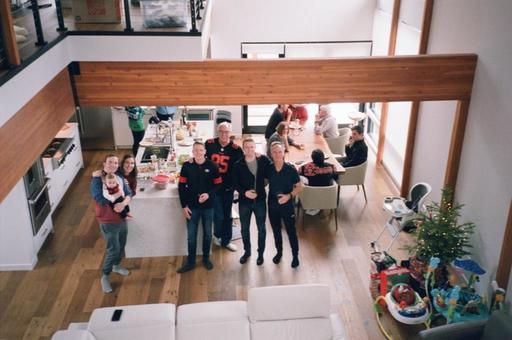 Photo by Theresa Story.
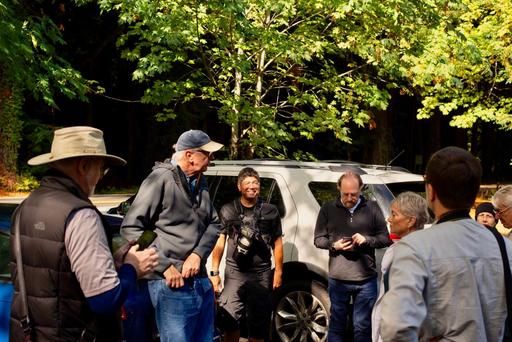
It's also fun to hand the camera to someone else so the photographer can get in a few frames. The group shot above was recorded by my wife. With the Nikon Lite Touch, all I had to so was set the camera and hand it to her. She took it from there.
When someone asked me, "How'd it turn out?" I would respond, "I'll know in a week." The anticipation is actually part of the fun. One of the cool things about 1990s compact cameras is that they are dependable. They were designed to deliver images regardless of the situation or skill of the photographer. Granted, the more you know about the settings, the better you can customize the results. But the fact of the matter is, I knew the shots would turn out and my holiday would be preserved on film.
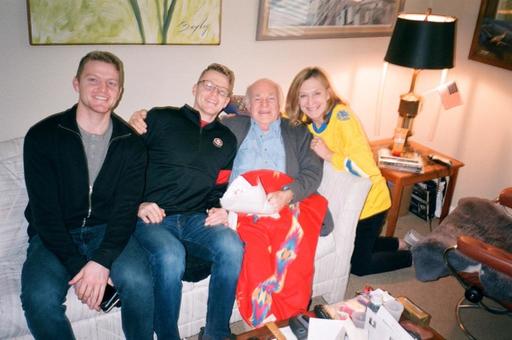 Photo by Derrick Story.
From a Nimble Photographer perspective, I think film compact cameras are cool counterparts to iPhone photography. When I'm shooting with the Nikon, I also have my smartphone available in the other pocket. (Thank goodness for pockets!) The iPhone records valuable metadata such as time, place, and even weather. When I mix the iPhone images with the film scans in my Photos album, I have a lot of valuable information that wasn't available to me in the film days. This hybrid approach makes for both an interesting variety and for historical accuracy.
 Photo by Theresa Story.
So, now that's it's all over, what do I think of my "One Day, One Roll of Film" experiment? I love it. I'm going to do this again for a different event. These are the kind of projects that keep me excited about photography.
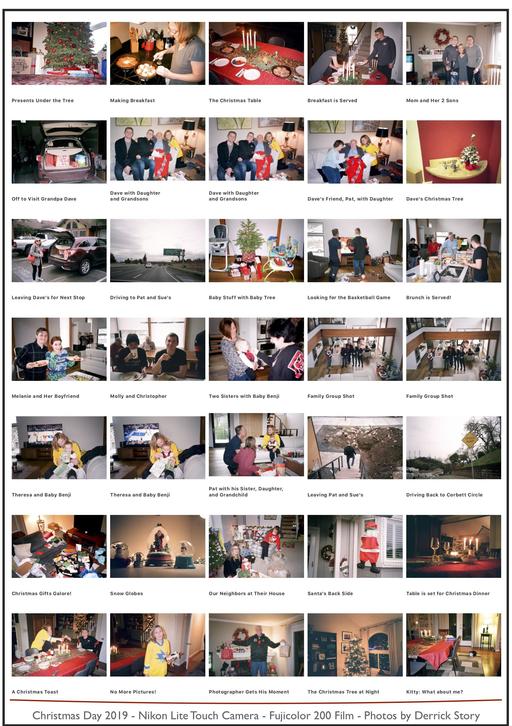 Here it is: My complete Christmas Day on one roll of film.
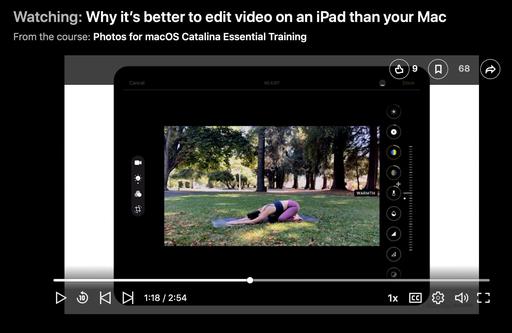
How to Watch Photos for macOS Catalina and iPadOS
Learn everything you need to know about Photos for the Mac and iPad by checking out my latest course on LinkedIn Learning and on lynda.com. This course is perfect for Mac and iPad based photographers who shoot with iPhone, Mirrorless, and DSLR cameras. It covers both photography and movies. And if I say so myself, it's a lot of fun.
You can share your thoughts at the TDS Facebook page, where I'll post this story for discussion.