One of the reasons that I had to get my hands on The new iPad was for a time-lapse movie project I'm working on. Yesterday, while at the TWiT Brick House shooting some test video, I decided to record sequences with both the iPad 2 and The new iPad to see how much difference there really was.
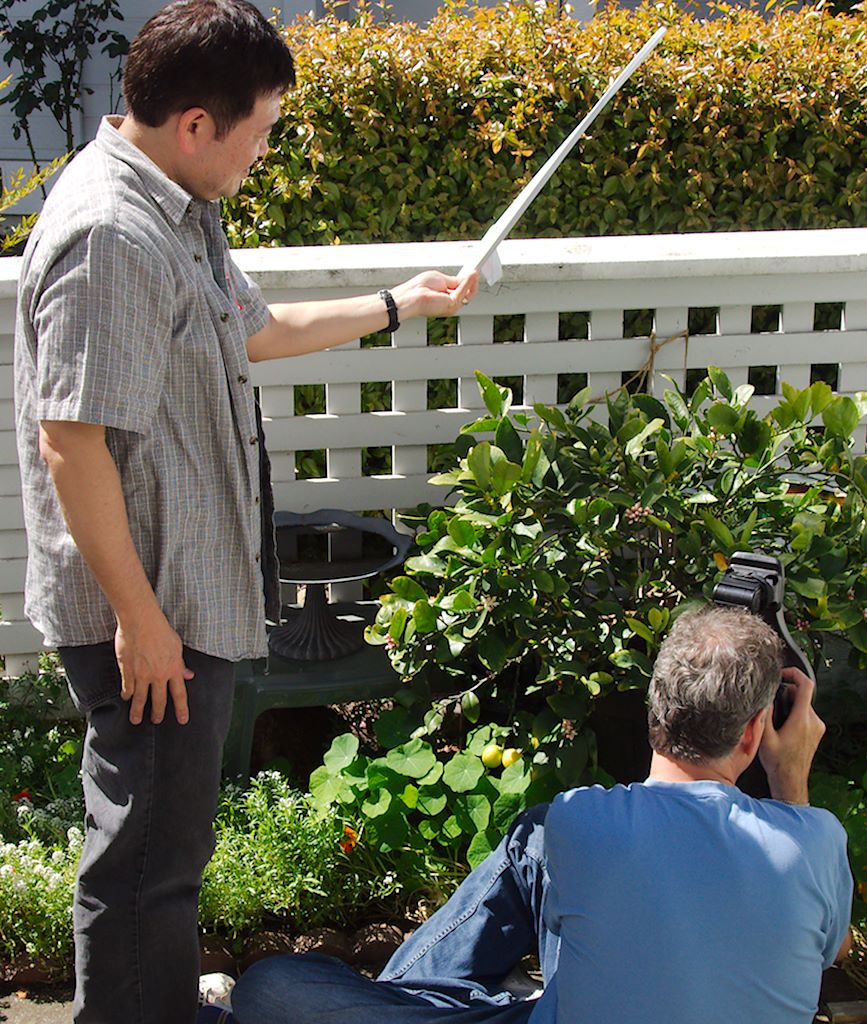
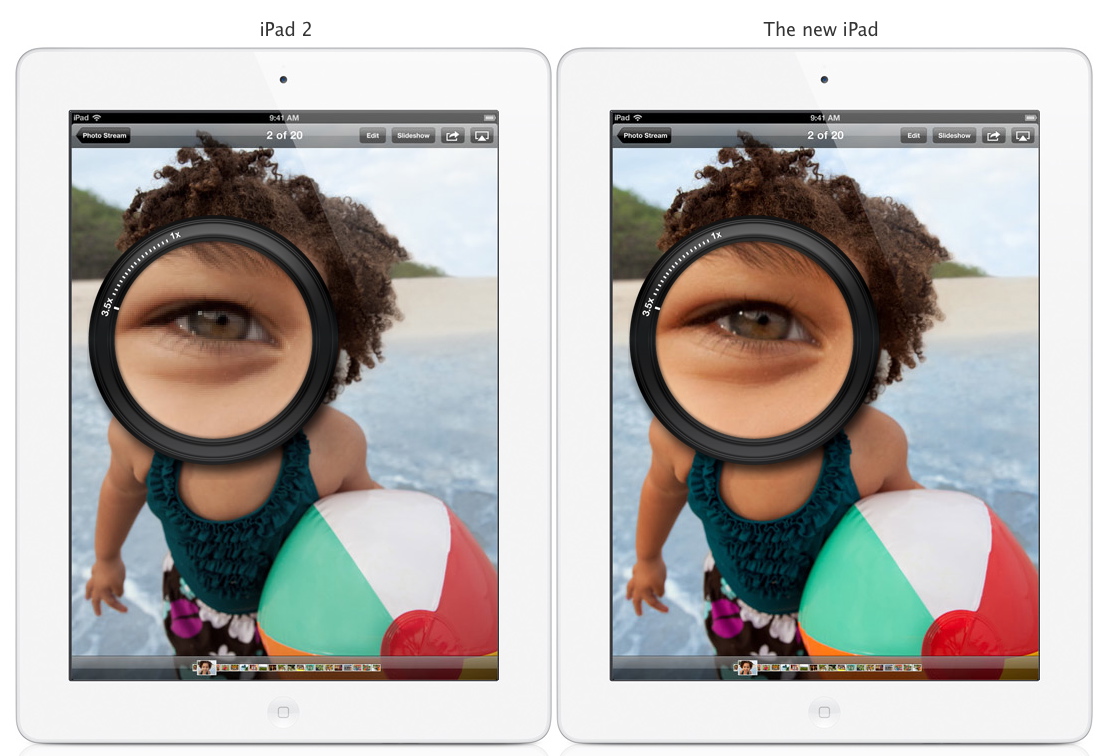
 Screen capture from recorded video using the iSight camera on The new iPad. Click on image for full resolution version.
 Screen capture from recorded video using the built-in camera for the iPad 2. Click on image for full resolution version.
I mounted each tablet to a sturdy tripod using the Makayama Movie Mount and recorded existing-light sequences. I then made a screen grab from each movie and posted them here without any editing.
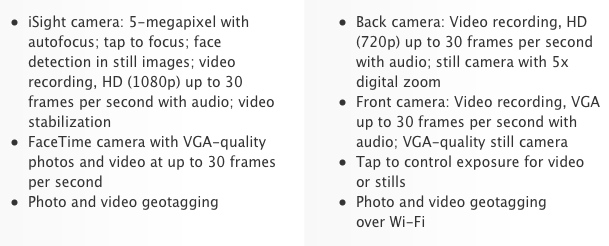
Between the improved camera and denser screen resolution of The new iPad, you can see a noticeable difference in detail between the two images. Here are the camera specs for the two iPads, with the iPad 2 specs on the right.
So in low-light situations where you need to milk as much quality as possible out of the video capture, there is definitely a difference between the iPad 2 and The new iPad. Is it worth the upgrade price? That depends on the projects you have at hand.
Related Stories
Is the Retina Display on the new iPad Worth the Upgrade?
The Digital Story on Facebook -- discussion, outstanding images from the TDS community, and inside information. Join our celebration of great photography!