It's already time to start thinking about the 2013 photography workshop season, and I have four events scheduled, with more to come. If you want to get on the reserve list for 2013, visit the TDS Workshops page and complete the Send Me Info box. It's going to be a great year!
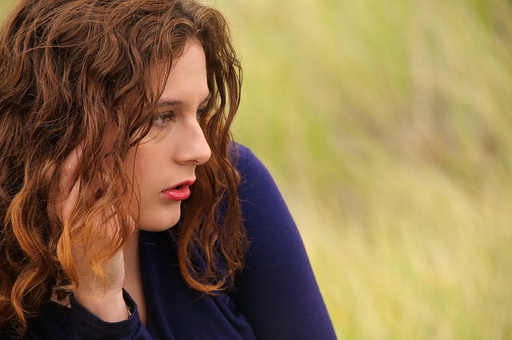 Portrait of Alyssa by Gary Angelo at the 2012 Sonoma Coast Photography Workshop
Scheduled TDS Workshops for 2013
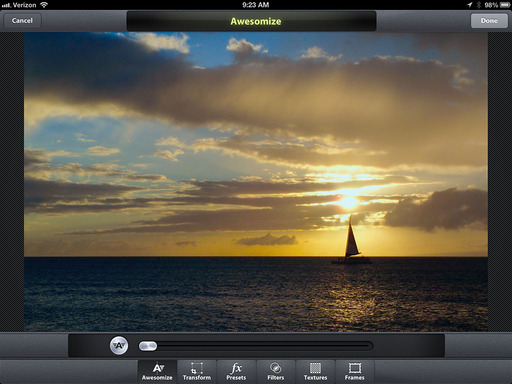
- April 2013: "iPad for Photographers" - Master the mobile workflow with Nimble Photographer, Derrick Story. We will pack our iPads and cameras and photograph interesting people and places, then perfect the mobile workflow with only our tablet computers. We'll cover capture, organization, editing, and sharing. Special sessions on time lapse photography and movie making. 2 full days, breakfast and lunch included, excellent swag, surprises - $475 (advance purchase price available through Feb. 2013)
- June 2013: "Movie Making for Photographers" - The camera gear we've invested in can do more than still photos. They are excellent HD movie making devices. In this workshop, you'll learn and practice storyboarding, filming techniques, audio recording, editing, and publishing. Designed for photographers who want to perfect their movie making skills. 2 full days, breakfast and lunch included, excellent swag - $475 (advance purchase price available through March 2013)
- August 2013: "Sonoma Coast Workshop" - One of the most popular events for 2011 and 2012. Roll up your pant legs and shoot portraits and landscapes on the rugged Sonoma Coastline. It's a treat for the senses. Classroom sessions at the amazing Bodega Bay Lodge "Library," and field sessions at our camp at Doran Beach. 2 full days plus pre-workshop reception, breakfast and lunch included, excellent swag, professional model - $550 (advance purchase price available through May 2013)
- October 2013: "Fall Color with Safari West" - Sonoma County has rolling hills covered in vineyards, beautiful trees, and gorgeous blue skies. What a prefect place to shoot Fall color and bolster your landscape library. But there's more. We include environmental portraiture with a professional model, and an exclusive African wildlife photo adventure at Safari West, led by a professional photographer, plus a few surprises. This is our premier workshop of the season. 2 full days plus pre-workshop reception, breakfast and lunch, excellent swag, professional model, Safari West adventure - all included for just $575 (advance purchase price available through May 2013)
